
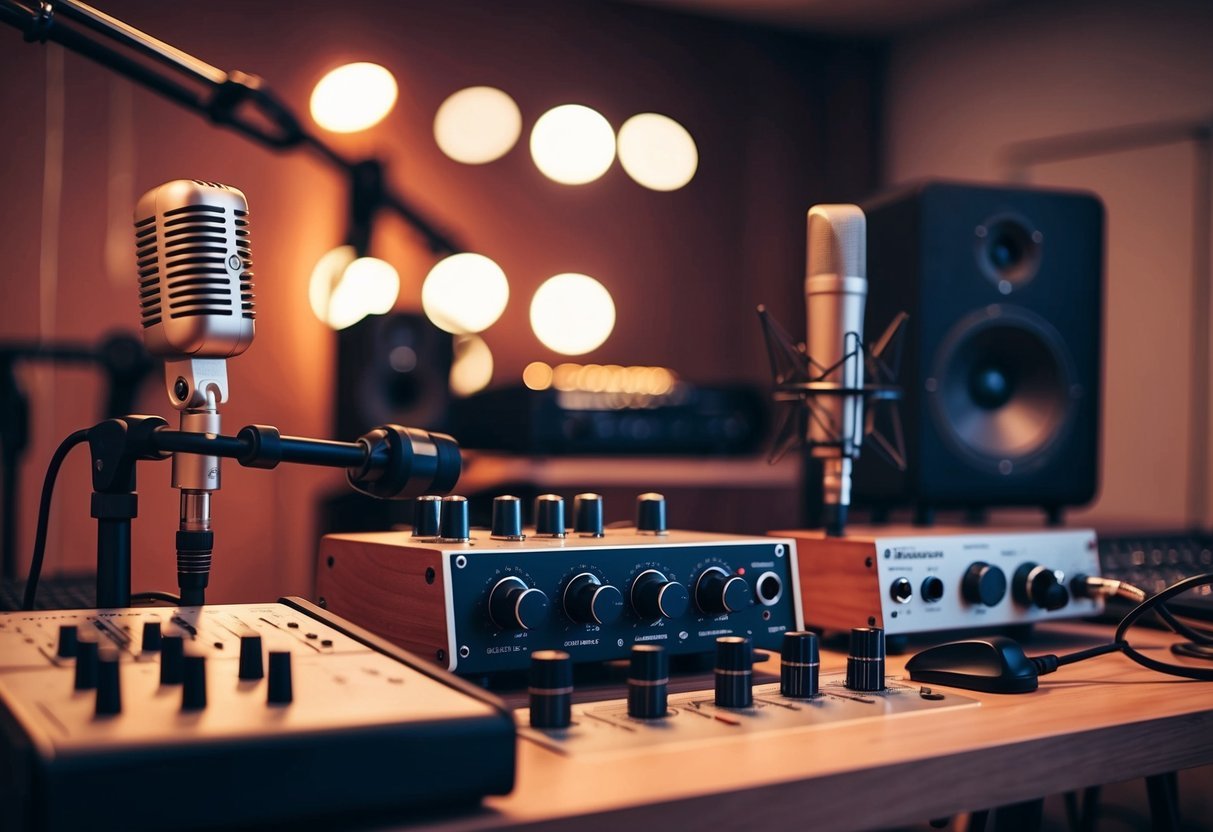
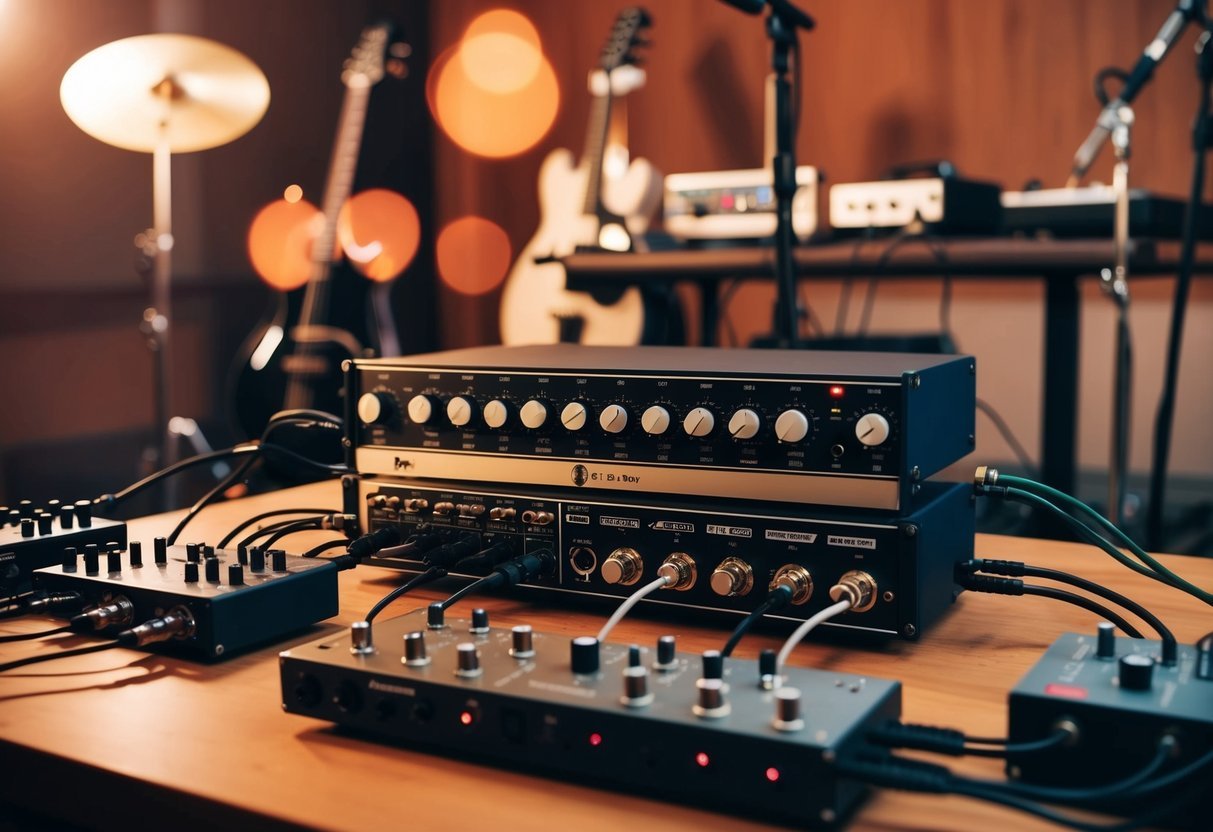
When you’re diving into the world of recording, you quickly realize that capturing great sound isn’t just about the right microphone.
A good preamp can be a game-changer in your setup.
Preamps are essential for amplifying weak audio signals from your microphone to a usable level without adding unwanted noise.
They provide the clarity your recordings need.
You’ll find a wide range of preamp options, from simple single-channel units to complex multi-channel setups.
Whether you’re working from a cozy home studio or a bustling professional space, there’s a preamp that matches your needs and budget.
Options like the Behringer ADA8200 offer affordability and versatility, while the Millennia HV-35 provides transparency for those who want pure, uncolored sound.
Choosing the right preamp is a personal journey, influenced by the gear you already have, the style you aim to capture, and your own artistic preferences.
Some might seek out the warmth of a Grace Design m101, while others might be drawn to the robust features of the Manley MVBX VoxBox for bigger workloads.
Whatever path you take, the right preamp will elevate your recordings to new heights.
Understanding Preamps
Preamps play a crucial role in recording by boosting weak audio signals to a usable level.
You’ll learn about the differences between tube and solid-state preamps and discover what makes a quality preamp stand out.
The Role of Preamps in Recording
When you’re recording, preamps are essential for elevating the weak signals from microphones to a stronger, line-level signal.
This ensures that your recordings are clear and that they capture every detail.
Recording studios, live performances, and broadcasting setups all rely on preamps for this purpose.
You’ll find that preamps act as the first stage of amplification in your audio chain.
They aren’t just about increasing signal strength; they also influence the tonal quality.
A good preamp will enhance your sound’s richness and clarity, ensuring that your tracks sound professional.
Tube vs. Solid-State Preamps
There are two main types of preamps: tube and solid-state.
Each has its own characteristics, and knowing the differences can help you choose the right one for your needs.
Tube preamps are often treasured for adding warmth and color to your sound.
They’re known for a rich harmonic distortion that can give recordings a vintage or classic feel.
On the other hand, solid-state preamps are valued for their clean and precise sound reproduction, often chosen for their transparency and reliability.
When deciding between the two, consider the type of music you’re recording and the sound you’re aiming to achieve.
Tube preamps might add a nice edge to vocal and guitar recordings, while solid-state preamps might be better for capturing intricate details in complex compositions.
Key Features of Quality Preamps
Gain control is one of the most important features of a quality preamp.
It allows you to fine-tune the signal strength, ensuring you can amplify your input without introducing unwanted noise or distortion.
Look for additional features that can enhance your recording experience.
These may include input impedance options, pad switches, and high-pass filters.
Each of these features can offer more control and flexibility, giving you the ability to tailor your sound to perfection.
When investing in a preamp, consider the build quality, connectivity options, and additional features that suit your recording style.
Quality preamps will not only improve your current recordings but are a lasting investment in your audio setup.
Essential Preamp Components
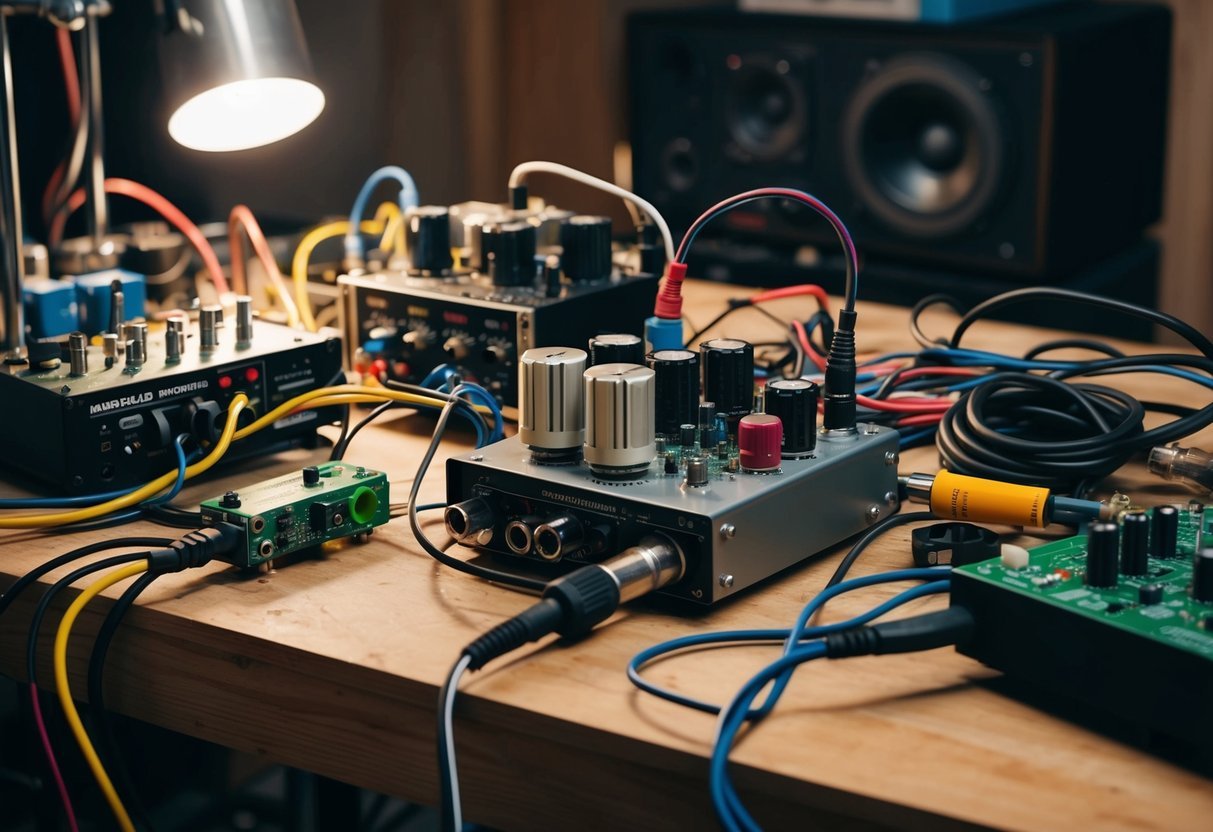
When you’re diving into the world of preamps, it’s important to understand the key components that make them tick.
Two crucial elements to focus on are transformer and gain controls and phantom power provision, both of which significantly impact the performance and functionality of your preamp.
Transformer and Gain Controls
Transformers in preamps play a crucial role in shaping the sound.
They help balance the signal and reduce unwanted noise.
Essentially, they act as a barrier, blocking interference while preserving the integrity of your audio.
Gain controls are what you use to adjust the input level of your signal.
This helps prevent distortion and ensures a clean, clear sound.
Most preamps offer variable gain, letting you tailor the amplification to suit your specific needs.
Choosing a preamp with quality transformers can really enhance the warmth and character of your recordings.
Meanwhile, accurate gain control is essential for getting the best sound from your microphone.
Make sure to look for preamps that offer a wide range of gain settings so that you can easily adapt to different recording environments.
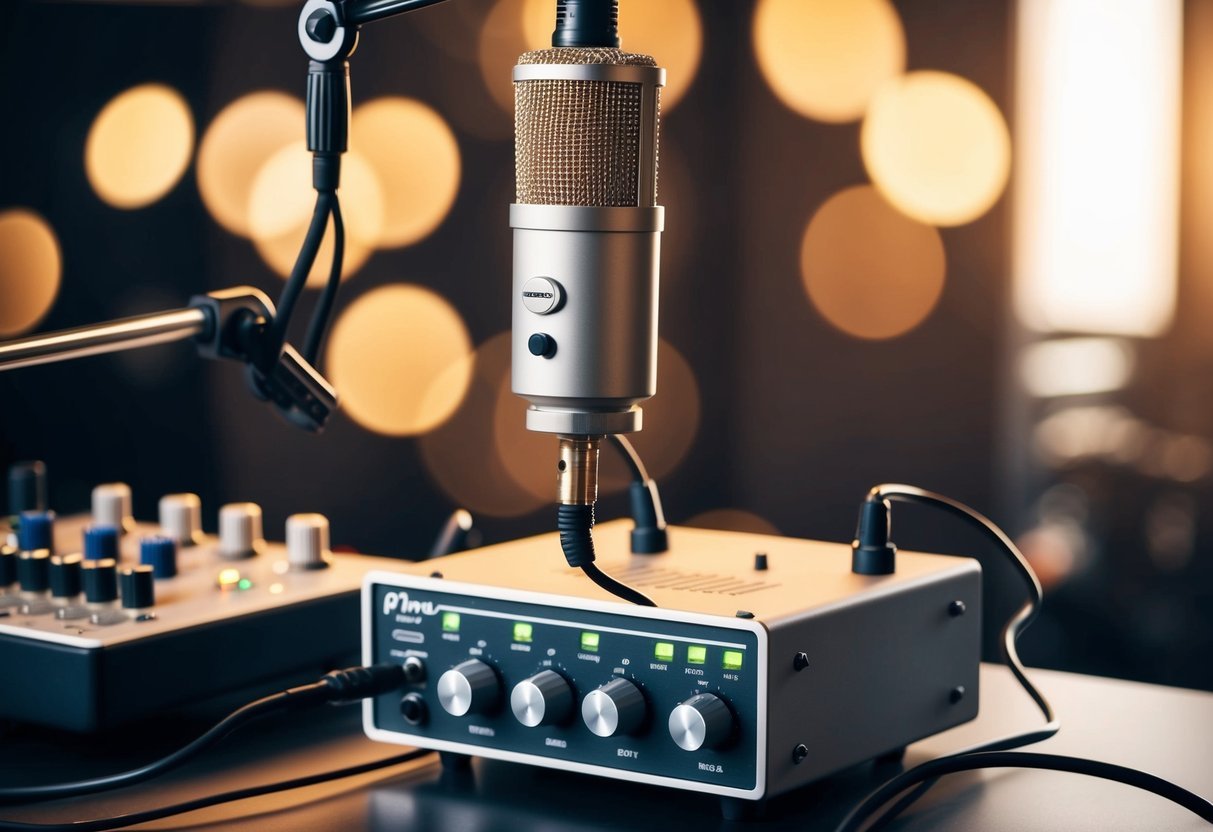
Phantom Power Provision
Phantom power is essential if you’re using condenser microphones.
It supplies the necessary voltage to power these mics, typically around 48 volts.
You’ll find phantom power on most professional preamps, usually activated by a simple switch or button.
When selecting a preamp, ensure it provides reliable phantom power.
It’s important for maintaining the functionality and performance of condenser mics.
Without it, condenser mics won’t work as expected, leaving you with fewer recording options.
Look for a preamp with stable and consistent phantom power delivery to avoid unwanted noise or signal drops.
This ensures your recording setup remains versatile and ready for any type of microphone you choose to use.
Top Preamps for Home Studios
When setting up a home studio, finding the right mic preamp is crucial.
Here, you’ll find both high-end options for more professional setups and affordable choices for those starting out.
High-End Preamps for Pros
For those with a higher budget, investing in a high-end preamp can significantly enhance your recording quality.
Grace Design m101 is an excellent choice.
Known for its rich and warm sound, it combines high performance with reliability, making it a solid addition to any home studio seeking professional-level results.
Another stellar option is the Neve 1073DPX, widely regarded in the audio industry.
Its signature sound has been a staple in studios worldwide, offering exceptional harmonic saturation and tonal clarity.
These high-end preamps may come at a higher price, but they deliver impressive audio fidelity and are well-suited for artists pursuing premium sound quality.
Affordable Options for Beginners
If you’re just starting out or working with a tighter budget, there are still great preamps available that won’t break the bank.
The Behringer ADA8200 is a popular budget-friendly choice.
It offers good sound for its price and is versatile enough for various recording needs in a home studio.
Another affordable gem is the Cloudlifter CL-1, which is perfect for boosting the gain of your dynamic mics without adding noise.
It’s straightforward and reliable, making it suitable for beginners who want to enhance their recordings with better dynamics and clarity.
These options ensure you don’t have to sacrifice sound quality just because you’re new to the game or on a budget.
Mic Preamp Essentials
Using a mic preamp is crucial for enhancing the sound quality of your recordings.
Proper adjustment of preamp settings ensures that different microphones can perform optimally, unlocking their full potential.
Achieving High-Quality Sound
Your quest for stellar sound starts with understanding what a mic preamp does.
It amplifies the weak signal from a microphone, bringing it to a suitable level for further processing or recording.
A good preamp enriches the depth and warmth of vocals or instruments.
Consider units like Warm Audio WA12 MkII mentioned for its versatile performance.
Paying attention to specs like frequency response and gain range can guide you in selecting one that matches your recording needs.
Always look for a clean, noise-free performance that highlights the true character of your microphone.
Adjusting Preamp Settings for Different Microphones
Different microphones require tweaks in preamp settings to perform their best.
Dynamic mics might need more gain compared to condensers.
Using phantom power is essential if you’re working with condenser mics as they need this extra boost.
When you set up, consider using features such as EQ controls and phase adjustments offered by your preamp.
These settings help tailor the sound to fit different recording environments or styles.
Testing different settings can help you learn what works best for specific mics, enhancing your recording experience significantly.
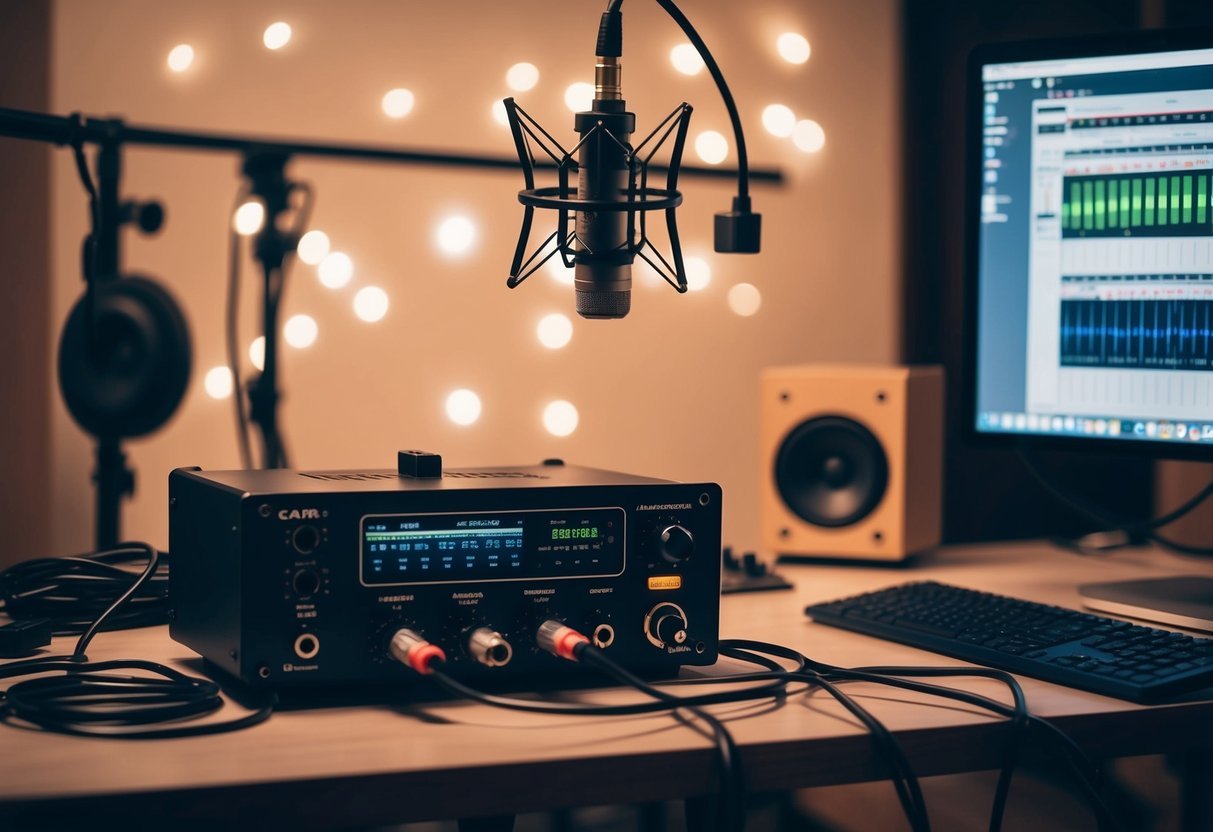
Advanced Preamp Features
When diving into advanced preamp features, it’s important to highlight how digital integration enhances sound quality and how unique circuitry can refine audio outputs.
Digital Integration in Modern Preamps
Modern preamps often sport digital features that take your recording setup to the next level.
Many preamps now come with built-in A/D converters, transforming analog signals into digital with precision.
This integration means you get high-resolution audio quality right from the start.
LED displays are another digital feature that provides real-time feedback on levels and settings.
This way, you can make quick adjustments on the fly.
Some preamps even allow for USB or MIDI connectivity, making them versatile for use in various digital audio workstations (DAWs).
Enhancing Sound with Unique Circuitry
Preamps with innovative circuitry can truly transform your sound. Ribbon mode is a feature in some preamps that optimizes the gain structure for ribbon microphones, which typically require more power.
This ensures you capture every nuance of your performance.
Another aspect of unique circuitry is the employment of tube or solid-state components based on the sound you aim to achieve.
Tube circuitry is known for providing warm, vintage tones, while solid-state components offer clarity and precision.
These circuit choices directly affect the tone and warmth of your recordings, tailoring them to your specific needs.
The Impact of Preamps on Signal Processing
Preamps are key in managing how audio signals are processed.
They play a crucial role in reducing noise and enhancing clarity while also optimizing the signal path for effective audio outcomes.
Noise Reduction and Clarity
When you use a preamp, one of its primary benefits is its ability to enhance the clarity of sound.
By amplifying low-level audio signals, you can minimize the background noise that usually creeps into recordings.
This part of signal processing ensures that your recordings maintain a cleaner and more professional quality.
Distortion is reduced, and the depth of your audio is enhanced, which is especially crucial in more refined audio productions like music and podcasts.
Optimizing the Signal Path
Preamps also serve as a critical component in improving the efficiency of your signal path.
They manage the transition of the signal from one device to another, ensuring that the signal is strong enough to be processed effectively by subsequent audio equipment.
In essence, a preamp helps balance and control signal levels, which can enhance overall workflow and audio quality.
You can switch between sources seamlessly, and when designed well, the preamp can help maintain the signal’s integrity, avoiding potential loss in quality during processing.
Recording Vocals: Selecting the Right Preamp
Choosing the right preamp is essential for capturing the best vocal performances.
You need to consider vocal quality and appropriate gain settings to ensure clarity and richness in the recorded sound.
Matching Preamps with Vocal Quality
First things first, understand your vocalist’s unique sound.
Different singers have different tonal qualities, and the preamp you choose can enhance or mask those characteristics.
For instance, the Manley MVBX VoxBox is known for its warm and rich output, making it ideal for soulful or powerful voices.
If you’re after transparency, the Millennia HV-35 is a fantastic choice as it delivers pure gain without altering the source sound.
Assess the recording environment as well.
A home studio might benefit from versatile options like the Grace Design m101, which offers high-quality sound without breaking the bank.
In a professional setting, investing in a high-end preamp can significantly impact your overall production quality.
Gain Boost for Dynamic Vocals
Adjusting gain is key when recording dynamic vocals.
Dynamic vocal performances can vary greatly in volume, so choosing a preamp with a flexible gain range is essential.
Preamps like the Behringer ADA8200 offer excellent gain control for multi-channel recording.
When setting the gain, ensure that it boosts the signal enough for clarity but avoids distortion.
This ensures that even the quietest parts of a performance are captured clearly.
Look for preamps with additional features like low-cut or high-pass filters, which help clean up unwanted noise and focus on your vocals’ best qualities.
Channel Strip Breakdown
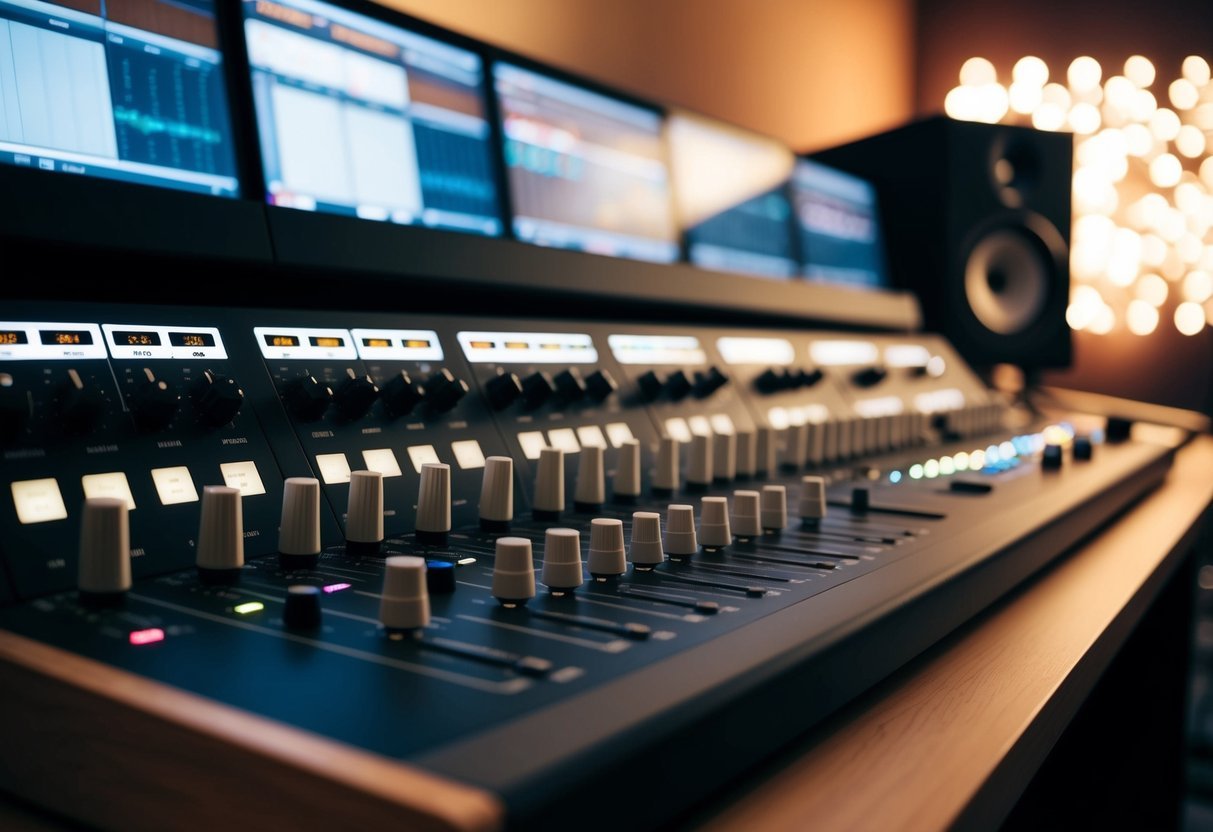
Channel strips integrate several audio processing elements into one unit, including EQs and compressors, combined with a preamp to enhance sound professionally.
You’ll explore how these components interact and how you can build a custom channel strip setup tailored to your needs.
Combining EQ, Compressor, and Preamps
A channel strip usually includes a preamp, an EQ section, and a compressor, all in one piece of gear. Why is this beneficial for recording?
First, the preamp boosts the microphone’s signal to a level suitable for processing.
This ensures clarity in sound capture.
Next is EQ, which shapes and adjusts the frequencies of your recording.
It allows you to cut unwanted noise or boost frequencies you want to emphasize.
Compressors control dynamics by evening out volume variations without introducing distortions.
This balance is crucial for consistent sound quality.
By combining these elements, a channel strip simplifies the recording chain, making your workflow efficient by reducing the need for separate devices.
Building Your Custom Channel Strip
When creating a custom channel strip setup, consider the quality and characteristics of each component.
You’ll want a preamp that matches your microphone and recording style.
What type of sound are you aiming for? Consider an EQ that provides precise control over a range of frequencies.
Some channel strips offer parametric EQ for tailored frequency manipulation, which is great for expert users.
The compressor’s role is to manage the dynamic range.
Opt for one with adjustable parameters if you need detailed control over your sound’s dynamics.
Mixing and matching different brands and models can lead to a distinctive sound profile.
Investing in versatile and quality components pays off, offering flexibility in crafting your unique audio signature.
Selecting Preamps for Different Musical Instruments
Choosing the right preamp for your instrument can transform your recording quality.
Whether you need something for your string instruments or percussion, there are specific preamps that deliver warmth, clarity, and the nuances each instrument deserves.
Specialized Preamps for String Instruments
When selecting a preamp for string instruments like electric guitars or violins, look for options that can capture the intricate details and dynamics.
Tube preamps add a warm, rich quality to your sound, perfect for those expressive string vibrations.
Multi-channel preamps are a bonus if you’re recording multiple string instruments simultaneously, helping you maintain consistent audio quality without the need for a large console.
Musicians often find solid-state preamps useful due to their transparency, delivering a clean and uncolored sound.
Tailoring Preamps to Percussion Nuances
Percussion instruments, including drums and cymbals, require a preamp that can handle quick transients and varying dynamics.
Look for preamps with high headroom capacity to avoid distortion in these scenarios.
Hybrid preamps are useful as they combine both tube and solid-state elements, offering a balance between warmth and clarity.
If you often record in a multi-channel setup, choose a preamp with flexible channel options to accommodate different percussion elements, ensuring each nuance is captured perfectly.
Integrating Preamps with Audio Interfaces
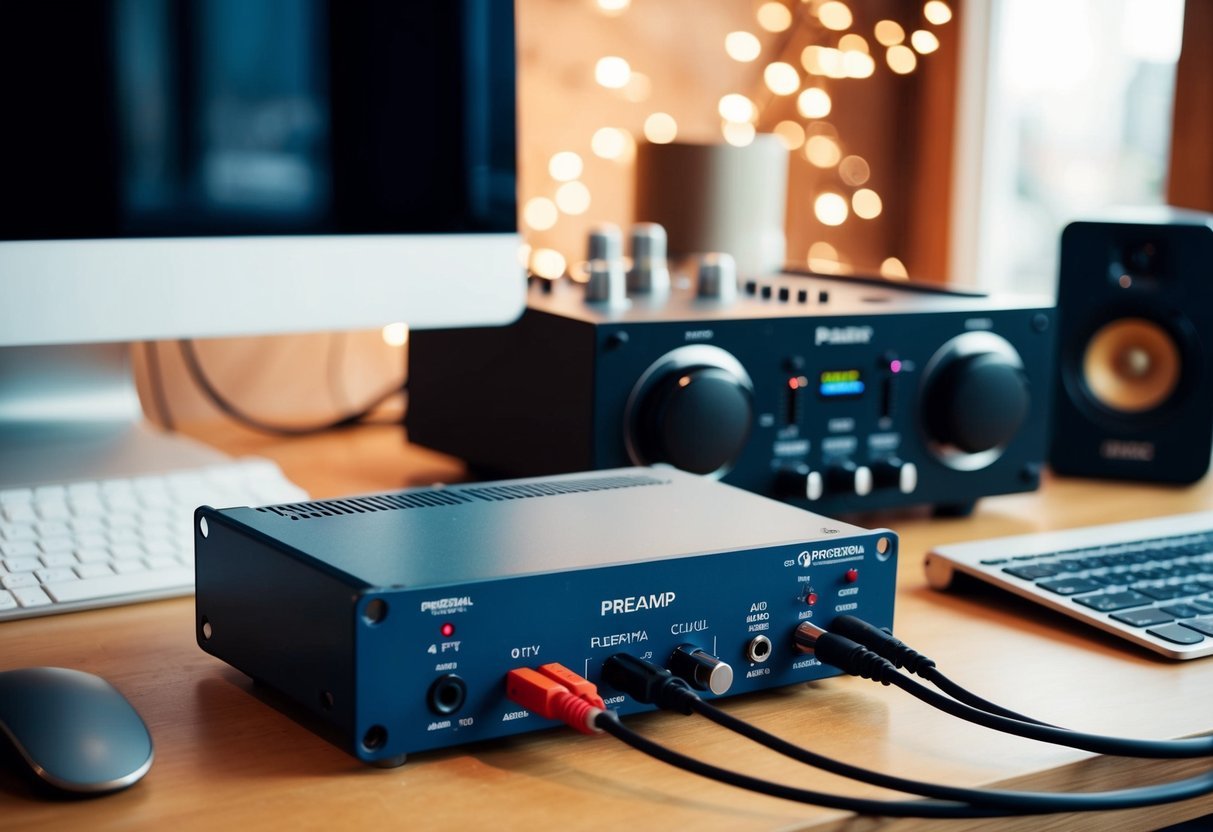
Integrating a preamp with your audio interface can significantly enhance sound quality and provide more control over the audio signal.
This practice is especially beneficial in achieving professional recording outcomes.
When to Use Standalone Preamps
Standalone preamps can be invaluable when seeking to enhance the tonal qualities of your recordings.
While many audio interfaces come equipped with built-in preamps, standalone units often offer superior audio fidelity and additional features.
You might choose to use a standalone preamp when specific sonic characteristics are desired, or if the interface’s built-in preamp lacks the necessary quality.
Another scenario is when you’re working with high-end microphones that require superior preamp capabilities for optimal performance.
Standalone preamps allow for greater flexibility in signal processing, providing access to unique sonic attributes and dynamic range adjustments that internal interface preamps might not support.
Benefits of Preamp-Interface Combos
Combining external preamps with audio interfaces can open up a realm of creative possibilities.
They allow you to customize your recording setup to achieve the desired sound profile for each session or instrument.
This combination is often the choice of professionals in pursuit of pristine audio quality.
Using an external preamp can help bypass inferior built-in preamps in some interfaces, reducing coloration of the sound and ensuring a cleaner signal path.
Interfaces often automatically detect when an external preamp is in use, enhancing signal routing and performance.
These combos can cater to enhanced versatility, offering a range of inputs and controls not available in typical built-in setups.
It’s an effective method to expand and customize your audio recording toolkit.
Expert Tips from Audio Engineers
When it comes to recording, the role of preamps is pivotal to shaping the quality of your sound.
This guide taps into the knowledge of audio engineers to help you fully utilize preamps and avoid common pitfalls.
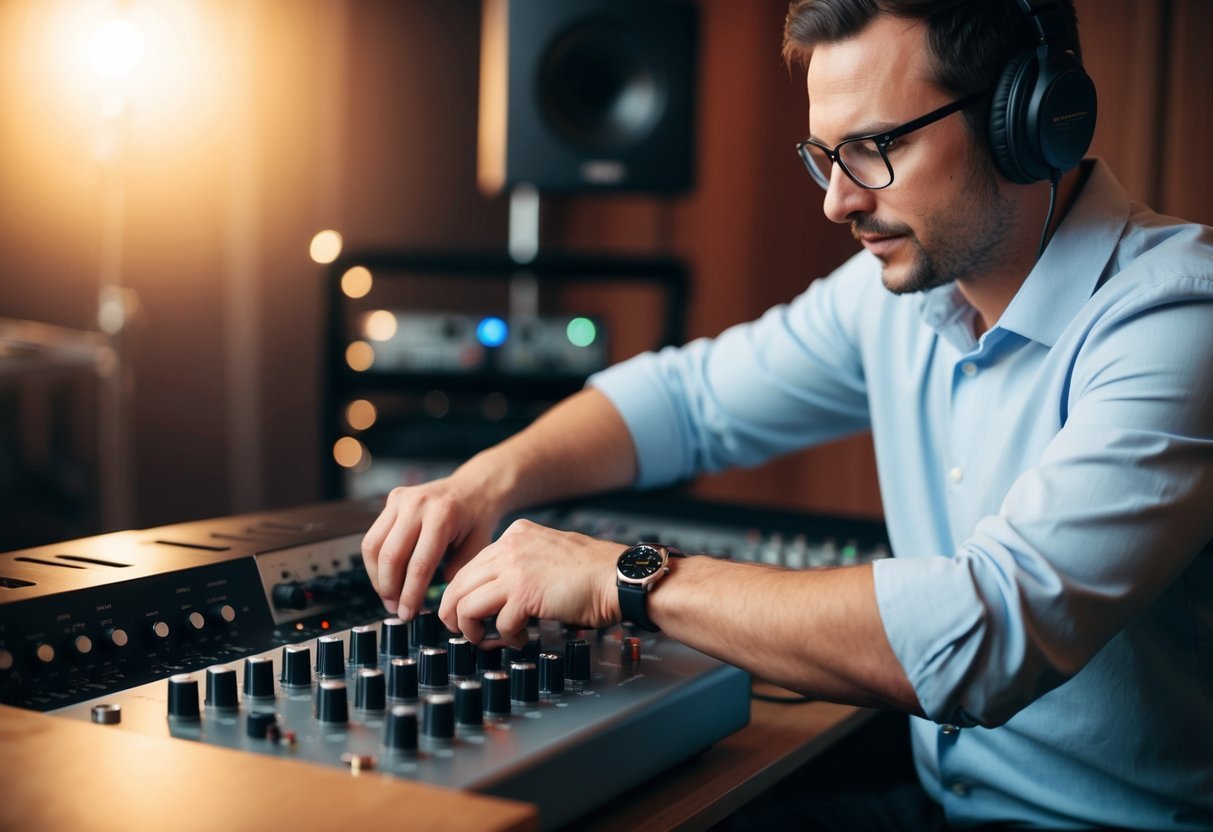
Maximizing Preamp Potential in Mixes
The preamp you choose can color your recordings profoundly.
Begin by experimenting with different preamp settings.
Turning up the input gain can enhance characteristics by amplifying the subtle nuances of your microphone.
If you’re using a Neve or API preamp, push the input gain to explore their famous warmth.
Whether you favor a crisp or vintage sound, choose a preamp that complements your desired tone.
Don’t hesitate to combine preamps for diverse sonic textures.
Integrating preamp coloration into the mix phase allows for creative expression.
Subtle adjustments can highlight or mute textures, offering flexibility.
Test different combinations of preamps and mics to learn how they interact with each other, which broadens your recording palette.
Common Mistakes to Avoid
First, don’t overload the preamp beyond its capabilities.
This can result in unwanted distortion that’s tough to fix later.
Many make the error of automatically setting high gain levels.
Instead, gradually increase gain while monitoring the output closely.
It’s essential to adjust the impedance settings on your preamp properly, especially if it offers multiple options.
Failing to do so might lead to mismatched tones or reduced fidelity.
Another mistake is ignoring the importance of clean power.
Interference can mar audio quality, so prioritize equipment that ensures stable electric delivery.
Lastly, don’t bypass preliminary testing phases; these will highlight issues faster, saving time in post-production.
Frequently Asked Questions
Preamps play a critical role in enhancing audio signals, impacting sound quality, and offering various features for recording.
You might wonder why they’re important, how they affect your recordings, and which options suit your needs, especially when budget constraints exist.
What’s the deal with preamps and why do I need one for recording?
Preamps are essential for boosting weak signals from microphones to a usable level for recording.
They enhance the clarity and detail of your sound, ensuring that every nuance is captured.
Without a preamp, you risk missing out on the full potential of your recordings.
How do mic preamps actually affect the sound quality?
Mic preamps significantly impact sound quality by managing the signal-to-noise ratio.
A good preamp can make your recordings sound cleaner and more professional.
Preamps can also add subtle coloration or warmth, depending on whether you choose a solid state or tube model.
Any recommendations for the best budget-friendly preamps for vocals?
Several budget-friendly preamps offer good performance for vocal recordings.
Brands like Behringer and Focusrite provide some popular options, with models offering reliable amplification without breaking the bank.
Look for features like phantom power and adjustable gain.
When should I consider using an external preamp over my interface’s built-in ones?
Consider using an external preamp when you need more control over your sound or desire a specific tone that your interface can’t provide.
External preamps often offer better sound quality and additional features that built-in options may lack.
Are there noticeable differences when using a wireless preamp for recording?
Wireless preamps offer convenience but may not always match the sound quality of wired models.
Potential latency or interference can impact recordings.
If your setup demands mobility and you’re willing to compromise slightly on quality, a wireless preamp can be a good fit.
What makes a preamp ‘the best’ for mic recordings, any specific features to look out for?
The “best” preamp for mic recordings often depends on your needs.
Key features to consider include the availability of phantom power, high headroom, low noise levels, and the ability to add desired tonal characteristics.
Compatibility with your existing gear is also crucial.