
When you dive into music production, you’ll find that samples, plugins, and MIDI open doors to endless creative possibilities.
Music production isn’t just about having the right gear, but also how you use these tools to shape your sound.
Samples let you integrate pieces of other tracks into your own work.
This offers an opportunity to both pay homage and innovate.
Your digital audio workstation, or DAW, is where the magic happens.
This software will become your creative playground, where you’ll work with samples and plugins to craft your tracks.
Plugins enhance your DAW by adding effects or emulating instruments.
Meanwhile, MIDI acts as the digital language that allows your instruments and software to communicate seamlessly.
This gives you control over every note and sound in your production journey.
By understanding the fundamentals of these elements, you equip yourself with the ability to experiment and express your musical ideas more effectively.
Embrace the process, experiment boldly, and remember that every master was once a beginner navigating the vast universe of music production.
Exploring Digital Audio Workstations
Navigating the world of Digital Audio Workstations (DAWs) is crucial for effective music production.
From selecting the right DAW to understanding its interface and setting up your equipment, these steps will form the backbone of your workflow.
Choosing Your DAW
Picking the right DAW depends on your needs and budget. FL Studio, Ableton Live, and Pro Tools are popular options.
- FL Studio: Known for its user-friendly interface and capability in creating electronic music, it ranges from $99 to $499. It offers a lifetime of free updates.
- Ableton Live: Great for live performances, it features a unique session view for flexibility and creativity in production.
- Pro Tools: Industry standard in studios, renowned for its audio recording and mixing capabilities.
Investing time in trial versions can give you a better feel of each DAW and help determine which suits your creative process best.
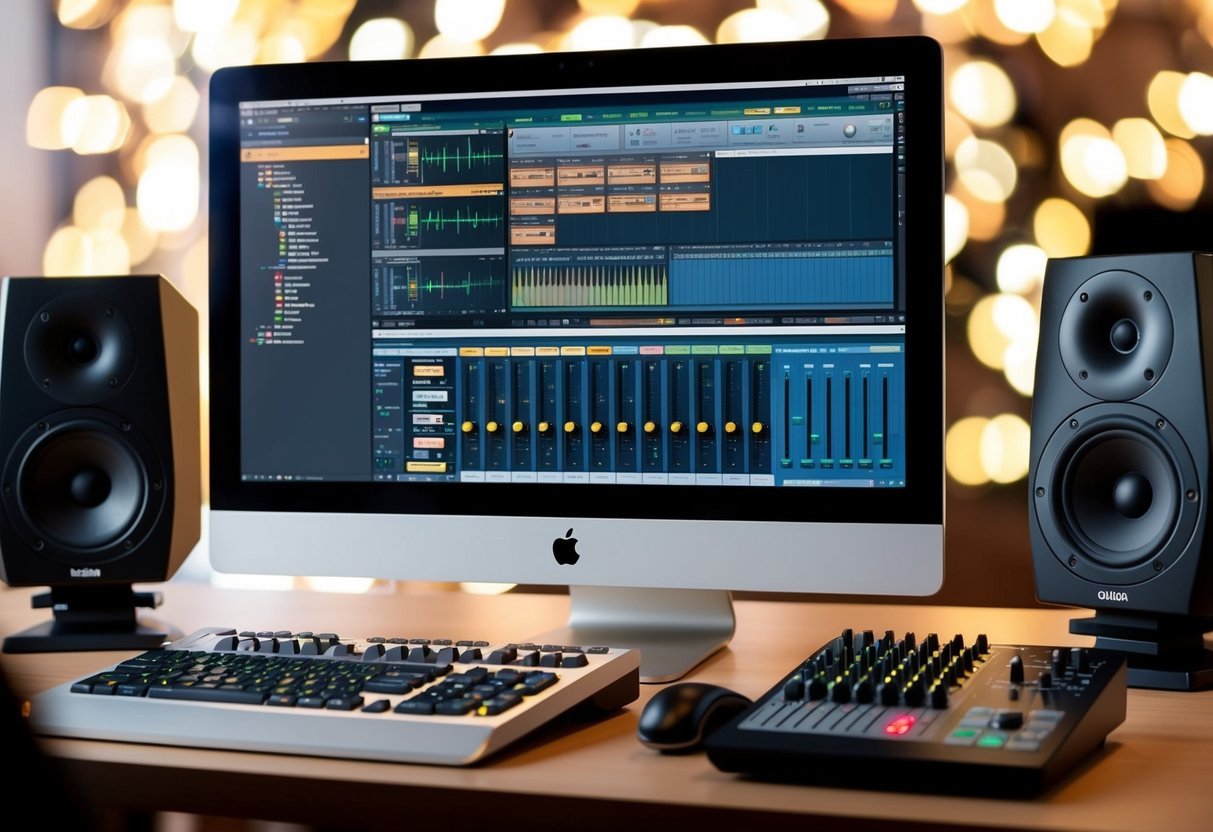
DAW Interface Basics
The interface is where you’ll spend most of your time.
Learn the layout of the DAW you choose.
Typically, you’ll find arrangement and mixer views, providing ways to organize and mix your tracks.
In Ableton Live, the arrangement view is linear, while the session view allows for non-linear creation.
Meanwhile, FL Studio has the channel rack, piano roll, and mixer as key working areas. Pro Tools excels with its comprehensive mixing and editing windows, ideal for detailed work.
Each DAW has unique features and tools that cater to different workflow styles.
Regular practice will make navigating interfaces quicker and more intuitive.
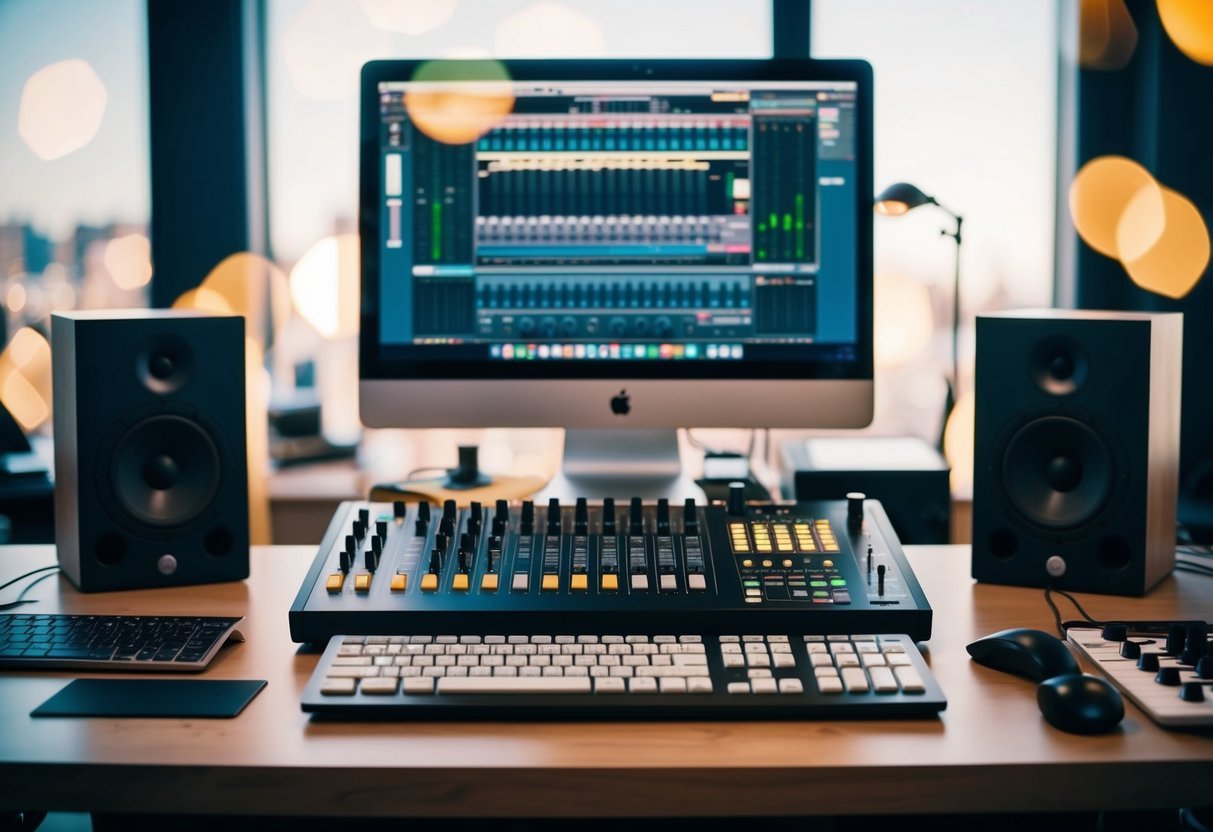
Setting Up Your Audio & MIDI
Setting up the correct audio and MIDI settings is essential for smooth operation.
Start by configuring your audio interface to ensure your playback and recording runs without glitches.
Choose your sample rate and bit depth carefully.
Commonly, this is set at 44.1 kHz and 16-bit for standard projects.
For professional quality, you might opt for higher settings.
Configuring MIDI settings involves connecting your MIDI keyboard or controller, making sure it’s recognized by your DAW.
Most DAWs provide an easy way to map controls to your MIDI devices, allowing for a more hands-on approach to music production.
Diving Into MIDI
MIDI, or Musical Instrument Digital Interface, is a technology that lets you control music software and hardware seamlessly.
It covers how MIDI data works, setting up MIDI controllers, and programming sequences for dynamic music creation.
Understanding MIDI Data
MIDI is a type of communication that uses MIDI messages to control instruments and software.
These messages include note-on, note-off, velocity, pitch bend, and more.
Unlike audio files, these messages don’t contain sound but instructions.
This allows for a versatile interaction between devices, not limited to playback but including everything from triggering samples to controlling effects.
Understanding this technical language helps you make more creative choices.
With just a basic grasp, you can transform a simple MIDI sequence into an expressive musical performance.
This simplicity and power drive its widespread use in studios and live performances everywhere.
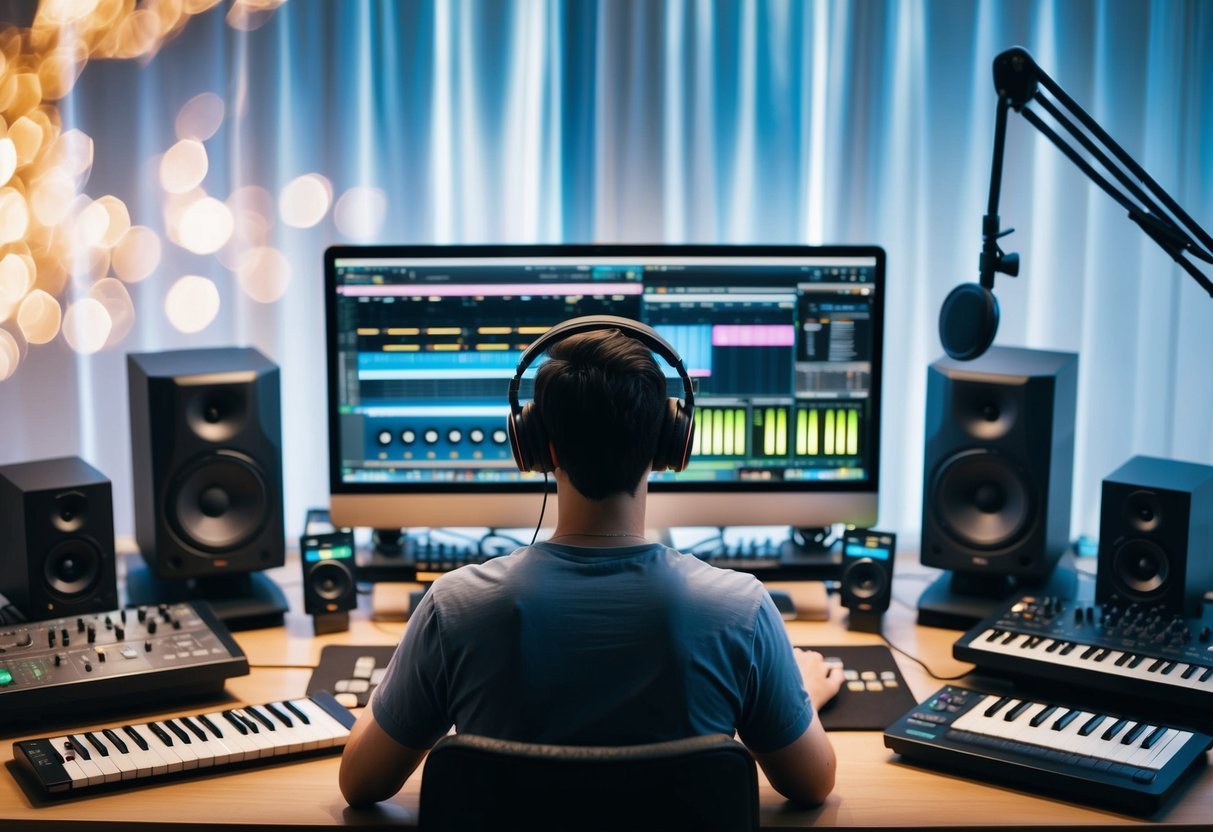
Connecting MIDI Controllers
Setting up a MIDI controller, like a MIDI keyboard, requires selecting the right hardware for your needs.
These controllers come in different sizes and functionalities, from basic keyboards to advanced units with pads and sliders.
Once you’ve got the gear, you connect it via USB or a traditional MIDI port.
Your computer or sequencer software will then recognize the controller, letting you map controls to various software parameters.
This setup opens up creative possibilities, such as controlling synthesizers or adjusting effect levels.
Whether performing live or producing in a studio, a MIDI controller becomes an extension of your creative vision.
Programming MIDI Sequences
Creating music with MIDI involves programming MIDI sequences that dictate the flow of your composition.
You can manually input notes using a MIDI keyboard or draw them on a digital piano roll in your DAW.
These sequences can then be edited to perfection, including adjusting note lengths and velocities for natural expression.
You can further enhance your music by incorporating automation.
This may include changing filter cutoffs or adding dynamic effects, adding life to your sounds.
The ability to edit and modify these sequences makes MIDI an essential tool for both beginners and seasoned producers looking to refine their music-making process.
Utilizing Samples
Utilizing samples in your music production can truly unlock your creative potential.
It’s all about selecting quality sample packs, effectively working with a sampler, and mastering the art of chopping and manipulating audio to fit your track.
Finding Quality Sample Packs
Finding the right sample packs is crucial for your music’s vibe.
Look for packs that align with the style you’re aiming for. Quality packs are usually curated by experienced producers or reputable music production companies.
They often provide a diverse range of sounds, from drum loops to melodic phrases.
Tip: Check out platforms like Splice or Loopmasters, as they offer a wide selection of high-quality samples.
Additionally, pay attention to user reviews and sample demos to ensure you’re getting something worthwhile.
If you’re on a budget, explore free sample packs available online, but be mindful of their licensing terms.
Working with a Sampler
Understanding how to use a sampler is a key part of efficiently incorporating samples into your tracks.
A sampler lets you upload, manipulate, and play back samples.
Most DAWs come equipped with a built-in sampler, but you might want to explore standalone options like NI Kontakt or Ableton’s Simpler for more features.
To improve your workflow, learn shortcuts for common tasks like trimming, looping, and pitch-shifting samples.
This helps you quickly shape your sounds and keep your creative process smooth.
By building muscle memory with frequent tasks, you can spend more time inventing and less time fiddling with settings.
Chopping and Manipulating Samples
Chopping and manipulating samples lets you transform existing sounds into something unique.
Start by slicing a long sample into smaller pieces so that it fits rhythmically or melodically into your track.
Tools like Serato Sample or the slicing feature in your DAW can assist with this task.
Once chopped, experiment with reversing, pitch-shifting, and time-stretching pieces to create interesting variations.
Use effects like reverb or delay to add texture.
Remember, the key is to maintain a balance between the sample’s original feel and your own creative touch, ensuring it complements the rest of your composition.
Integrating Plugins and Virtual Instruments
Integrating plugins and virtual instruments can enhance your music production process, providing you with a diverse set of tools for crafting unique sounds.
From installing VSTs (Virtual Studio Technology) and AUs (Audio Units) to creating distinct sounds using synthesizers, understanding these components can greatly enrich your musical projects.
Installing VSTs and AUs
When starting with digital music production, installing VSTs and AUs is essential. VSTs and AUs are the core technologies you’ll likely incorporate into your workflow. VSTs, developed by Steinberg, are widely compatible across most DAWs.
They offer a broad range of instruments and effects.
To install a VST, download the plugin file and place it into the correct folder on your computer.
Your DAW will typically have an option to scan for new plugins, making them available for use.
For AUs, follow a similar process.
Remember that AUs are tailored for Apple’s ecosystem, primarily supported in DAWs like Logic Pro X.
Creating Sounds with Synths
Synthesizers are powerful tools for creating unique sounds.
You can explore a range of synthesized sounds from classic analog emulations to modern digital effects.
When using VSTi (VST instruments), these digital synths allow you to manipulate waveforms and filters.
Start by loading a synth plugin and experiment with presets to get a feel for its capabilities.
Use the interface to tweak parameters like oscillators, filters, and LFOs (Low-Frequency Oscillators) to sculpt your sound.
With practice, you can generate anything from atmospheric pads to punchy bass lines and everything in between.
Layering Instruments for Richer Sound
Layering instruments can give a richer, more complex sound to your compositions.
By stacking different virtual instruments, you create a fuller texture.
Consider blending acoustic with synthesized elements.
For example, combine a sampled piano with a soft synth pad to add depth.
Use your DAW to balance volumes and apply effects like reverb or compression to each layer.
Panning instruments to different stereo fields can enhance clarity and separation, providing space for each element to shine.
Adjust these layers to find the perfect harmony that complements your music style.
Sound Design and Effects
Exploring sound design and effects is all about creating unique sounds, enhancing audio with effects, and adding dynamic elements using automation.
Whether you’re a beginner or refining your skills, this area is crucial for crafting professional-sounding audio.
Crafting Unique Sounds
When it comes to crafting unique sounds, the key lies in experimentation and creativity.
Start by understanding the basic components like waveforms, oscillators, and filters.
These are the building blocks of sound synthesis.
You can start with a simple waveform, like a sine, square, or sawtooth, and manipulate it using synthesizers or digital audio workstations (DAWs).
Fine-tuning parameters like pitch, envelope, and modulation adds distinct characteristics to your sound.
Layering different sounds can also produce rich textures.
Combine acoustic and synthesized elements for complexity.
Explore sound libraries and tweak samples to achieve a signature sound. Sampling is a great way to introduce individuality, allowing you to blend real-world recordings into your projects.
Utilizing Effects and Effects Pedals
Enhancing your audio with effects can transform a plain track into something remarkable.
Common audio effects include reverb, delay, chorus, and distortion.
Each adds a different flavor to your sound.
Effects pedals are widely used in live performances and studio sessions.
They offer tactile control over sound manipulation.
These pedals, ranging from classic delay to modern multi-effects units, can be easily integrated into your setup.
Experiment with chaining multiple effects to discover innovative combinations.
A well-placed reverb can add spaciousness, while a subtle chorus thickens the sound.
Keep in mind the importance of moderation; overusing effects may lead to a muddy mix.
Automation for Dynamic Soundscapes
Automation brings movement and interest to your audio by dynamically adjusting parameters over time.
Most DAWs offer automation features for virtually every knob or slider.
Use automation to gradually introduce effects or change the feel of a track.
For instance, automating filter sweeps can create excitement and build tension.
Volume automation ensures that key elements stand out at the right moments.
Transition smoothly between different sections of a song with automation.
It allows you to control how the energy builds and releases, enhancing the listener’s experience.
By automating the elements of your mix, you shape evolving soundscapes that captivate your audience.
Recording and Editing Audio Tracks

When you’re getting into music production, recording and editing audio tracks are key skills to master.
You’ll need to focus on setting up your equipment, understanding multitrack recording techniques, and polishing your recordings through editing and comping.
Setting Up for Recording
Getting your setup right is crucial.
Start with a quality microphone suited for your instrument or vocals.
Ensure your audio interface is properly connected to your computer.
Then, adjust your input levels to avoid distortion.
Aim for around -12 dB on your meter, which leaves you headroom for adjustments later.
Acoustic treatment in your space minimizes unwanted noise.
Simple fixes like placing carpets or foam can make a difference.
Check your cables for faults to prevent interference during your sessions.
Using a pop filter for vocals can also be beneficial in capturing clear audio.
Multitrack Recording Tips
Multitrack recording allows you to record several instruments simultaneously.
Make use of the talents of each instrument by using separate microphone placements.
Panning is your friend here, as it creates depth and space in your mix.
Label your tracks clearly in your DAW (Digital Audio Workstation) to avoid confusion and stay organized.
If you mess up a section while playing, don’t worry—record over just that part without redoing the entire track.
Monitoring your recordings with headphones helps you catch issues as they happen.
Keep an eye on phasing problems caused by multiple microphones picking up the same source.
Before your session, do a couple of practice runs to nail down levels and fix potential problems.
Editing and Comping Tracks
With editing, start by removing any unnecessary noise or parts.
Use crossfades to smooth transitions between audio clips and prevent pops or clicks.
If a part stands out in volume, adjust it with gain automation.
Comping combines the best parts from multiple takes into a seamless performance.
Mute the non-used parts, and while cutting your best takes together, focus on natural-sounding transitions.
Making use of shortcuts in your DAW can save you time during this process.
Editing tools like EQ, compression, and reverb play a significant role in refining your tracks.
Always trust your ears and compare edited sections to your original recordings for reference.
This ensures the finished product stays true to your initial vision.
Building Your Musical Ideas
When building your musical ideas, focus on crafting engaging melodies and harmonies, and effectively organizing your song’s structure.
These elements are key to producing captivating music that resonates with your listeners.
Composing Melodies and Harmonies
Start by experimenting with melodies that catch your ear.
Use a MIDI keyboard or software to test different scales and keys.
Playing around with sound textures can also help in creating unique melodies.
Layering harmonies adds depth to your music and enriches the overall feel.
Consider harmonizing your melody by adding thirds, fifths, or even sevenths.
Using chord progressions as a base can guide you in constructing harmonious melodies.
Listen to different genres to gather inspiration and notice how other producers use harmony.
Don’t be afraid to record multiple takes and mash them together until it clicks.
Arranging Song Structure
Once your melodies and harmonies are set, focus on how they fit within a song structure.
Traditional structures like verse-chorus-verse, or the more creative AABA pattern can be considered.
Break your song into sections such as intro, verse, chorus, and bridge.
This can help keep your music organized.
Think about how each part transitions; smooth transitions can keep listeners engaged.
Using a DAW, you can visually arrange your compositions, allowing for easier adjustments and experimentation.
It’s often helpful to map your ideas on paper before translating them into your project.
Remember, each song is its own musical journey!
Mixing and Mastering Essentials
Mixing and mastering are crucial stages in music production, ensuring each instrument shines and the final product sounds polished on different playback systems.
Mastering balances track elements and optimizes audio for a professional sound.
Balancing Levels and EQ
The planning stage for any mix should prioritize balancing levels.
This means adjusting the volume of each instrument or audio track so it fits cohesively within the overall mix.
Use clear reference points by listening to well-mixed tracks in your genre to guide your ears.
Proper use of equalization (EQ) is vital.
It helps in carving out space for each sound by boosting or cutting specific frequencies.
You want to enhance the natural tone of each instrument while avoiding frequency clashes.
Start by isolating and identifying problem areas using an analyzer plugin.
Then, work in small adjustments to avoid overwhelming the listener.
Experimentation is essential here.
Try different EQ settings until you’re satisfied with the sound.
Some producers use multiband EQ to have more control over various frequency ranges, particularly if the initial recordings have complex tones.
Dynamic Processing and Mastering
Dynamic processing tools like compressors and limiters help manage the loudness and softness of tracks.
A compressor reduces the dynamic range, bringing softer sounds up and keeping louder sounds controlled.
It smooths out variations and ensures consistent volume throughout the track.
A limiter goes at the end to maximize overall loudness without distortion, especially important for modern, competitive mixes.
Mastering is your track’s final polish.
This stage focuses on making the mix sound good on all platforms and formats.
Enhance clarity and definition with harmonic exciters or stereo wideners.
Use dither to minimize quantization noise in digital compressions.
Consider professional mastering if unsure of the process.
A professional ear might pick up on subtle issues your ears missed.
Tools matter, but the skilled ear and practices are what makes a mix and master shine.
Optimizing Workflow and CPU
In music production, optimizing your workflow and managing CPU usage are vital.
By focusing on these aspects, you can enhance your productivity and avoid technical hiccups during your creative sessions.
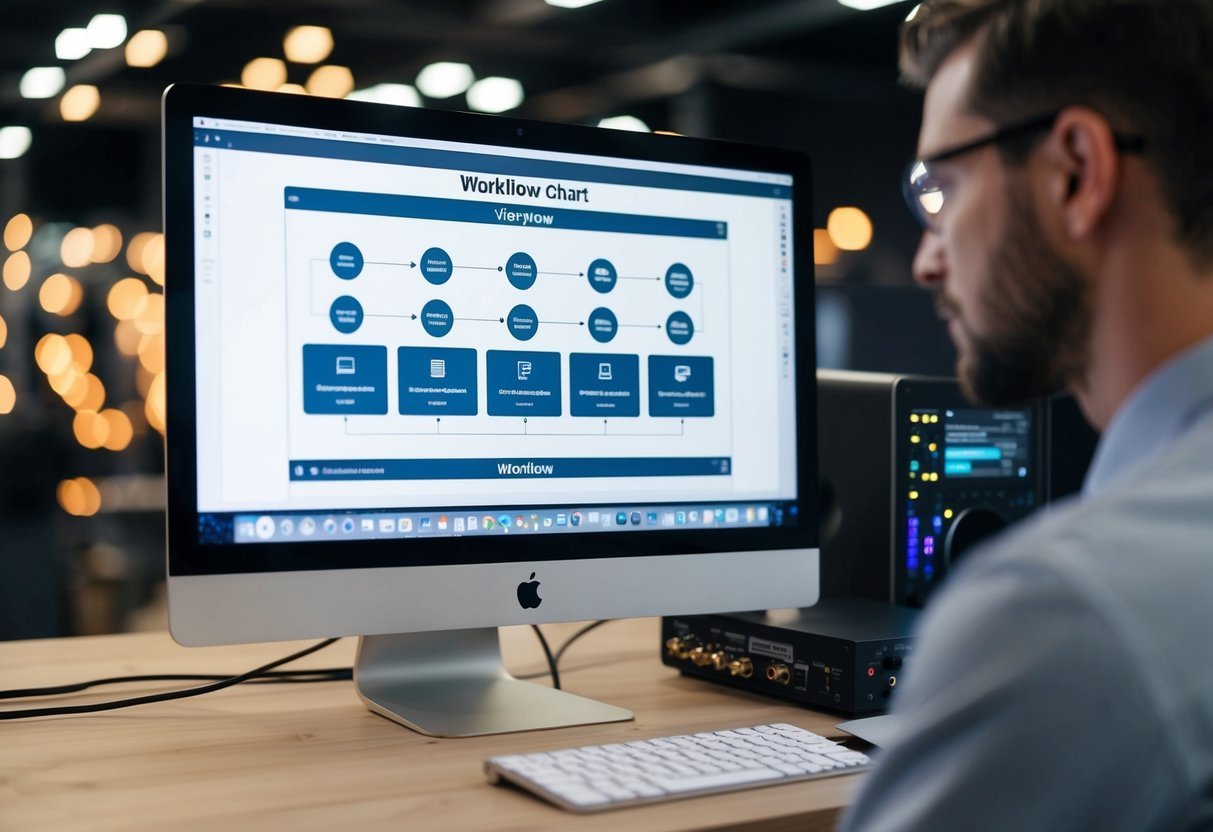
Streamlining Production Workflow
Efficiency is your best friend in the studio.
Organize your project files and name your tracks clearly to avoid confusion.
Using customizable templates can save you time by setting up your favorite instruments and plugins as a starting point.
Keyboard shortcuts are another great way to speed things up.
Learn the shortcuts for your music production software to jump between tasks quickly.
Batch processing is useful for processing multiple files at once, reducing repetitive tasks.
Keep your workspace tidy to maintain focus and reduce distractions.
A systematic approach will boost your creativity by freeing up mental space for creative decisions.
Managing CPU Load
Your CPU is the engine of your production setup.
Monitor your CPU usage regularly using tools like Task Manager on Windows or Activity Monitor on Mac to prevent overloads.
Avoid running too many resource-intensive plugins simultaneously, which can drain CPU resources quickly.
Adjusting the audio buffer size in your digital audio workstation (DAW) can make a huge difference.
A longer buffer size reduces CPU strain but can increase latency, so find a balance based on your needs.
Freezing or bouncing tracks to audio can also relieve your CPU, as can using track buses.
Be mindful of your system updates, ensuring that software and drivers are up to date for optimal performance.
Live Performance and DJ Software
Exploring the tools for live performance and DJing can transform your music setup.
Essential software options help you seamlessly blend tracks and bring creative projects to life with ease.
Integrating DAWs and Live Setup
Ableton Live is a popular choice when it comes to integrating DAWs into your live performance.
It’s flexible, offering features like a Session View for improvisation and real-time editing.
You can switch quickly between song parts and adapt your set on the fly.
When setting up, using MIDI controllers with Ableton Live adds another layer of control.
Transport controls, like play, stop, and record, are handy for managing your session seamlessly.
You’ll also find instruments and effects that are great for warping audio and creating those unique sounds that set your performance apart.
Using DJ Software for Live Performance
If you’re into DJing, software like Serato DJ Lite is worth checking out.
It’s excellent for those just starting out and supports streaming, beat-matching, and track manipulation.
This makes it effective for performing live and keeping the energy high.
When performing, transporting controls similar to DAWs can assist in managing tracks smoothly.
Using DJ software, you can scratch, loop, and rearrange tracks effortlessly, ensuring your audience gets an engaging experience.
It’s important to explore all these features to find a setup that resonates with your style and needs.
Frequently Asked Questions
When you’re just starting with samples, plugins, and MIDI, there are some common questions you might face regarding their setup and use in different Digital Audio Workstations (DAWs).
From assigning sampled sounds on platforms like Ableton and Logic Pro X to using samplers in GarageBand, here’s a quick Q&A to help guide you.
How do I assign sampled sounds to a MIDI keyboard in Ableton?
To get started in Ableton, first, load a Simpler or Sampler device onto a MIDI track.
Then, drag the desired sound sample into the device.
Your MIDI keyboard should be configured in Ableton’s preferences.
Once it’s set up, you can use it to trigger different sounds as you play.
What’s the process to get different samples to play on a Logic Pro X MIDI controller?
In Logic Pro X, create a new software instrument track and select the EXS24 Sampler or the Sampler plugin.
Then, drag your samples into the interface and map them to specific keys on your MIDI controller.
Make sure your MIDI controller is connected correctly through Logic’s settings.
Can you walk me through using MIDI to trigger samples in FL Studio 20?
In FL Studio 20, load a sample into the Channel Rack.
Then, use the Piano Roll to sequence your MIDI notes, which triggers the sample.
You can link your MIDI keyboard to the sampler by ensuring it is recognized in FL Studio’s MIDI settings, allowing for hands-on control.
What steps do I take to set up a sampler on GarageBand with a MIDI controller?
Open or create a new track in GarageBand with an appropriate software instrument, like the Sampler.
Then, import your sample by dragging it onto the instrument.
Ensure your MIDI device is connected and configured in GarageBand’s preferences to control the sampler with your MIDI keyboard.
What are MIDI samplers used for, exactly?
MIDI samplers allow you to play back recorded sound snippets, or samples, across a range of pitches, using a MIDI controller.
They’re incredibly versatile for creating anything from simple drum loops to complex musical phrases, giving you more creative options in your music-making process.
Is it possible to create your own sample packs with VST plugins?
Yes, you can create your own sample packs using VST plugins.
Record or synthesize sounds within your DAW using various plugins.
Save these audio files, then organize them into a structured folder.
These folders can then be used as sample packs, which you can use or share with others.