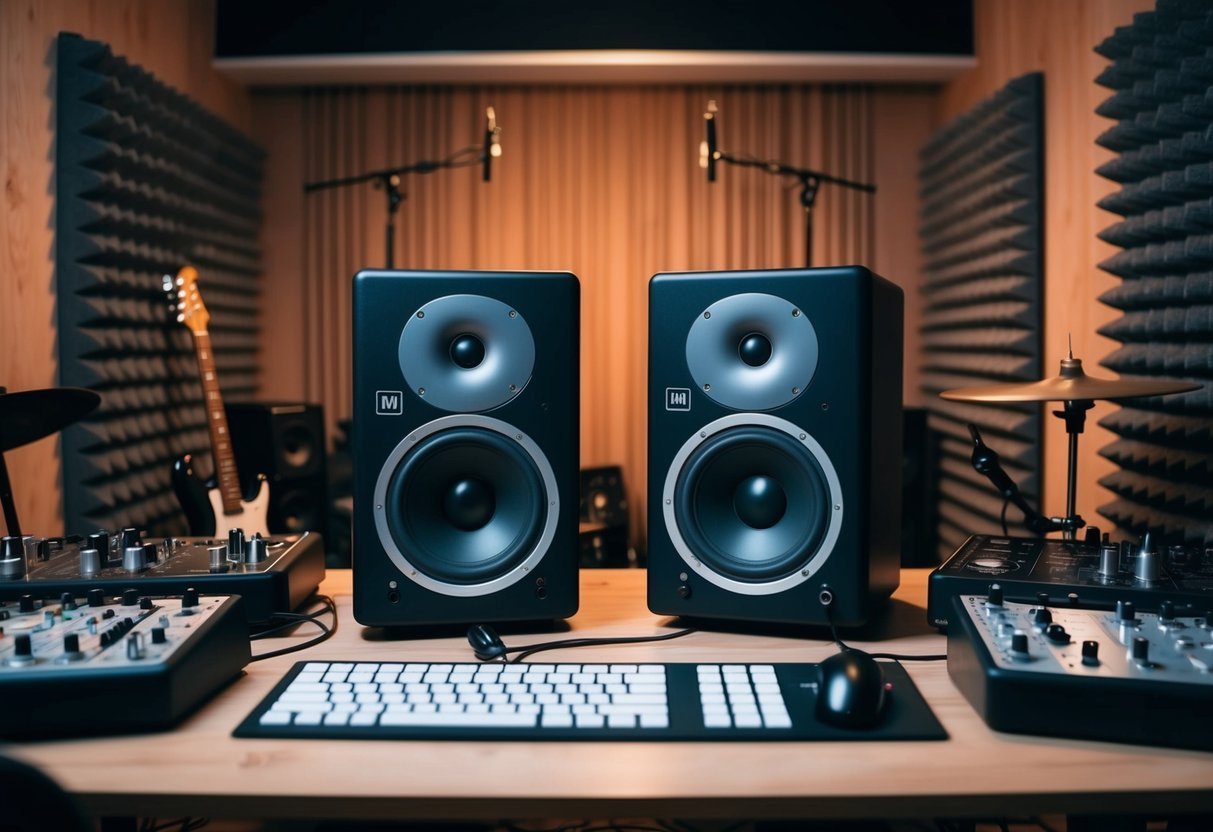
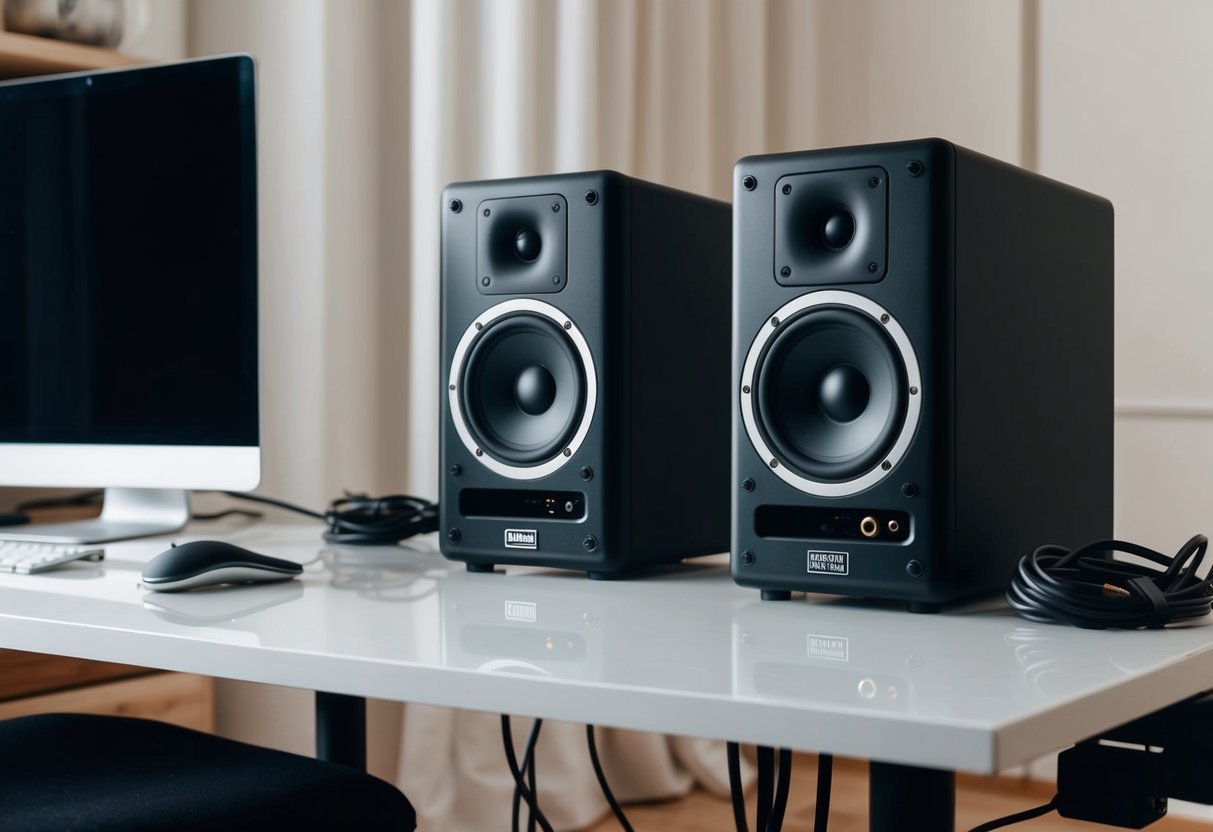
When you dive into music production, studio monitors play a crucial role in ensuring that your tracks sound just right.
Unlike regular speakers, they provide an accurate representation of the audio, helping you catch every detail.
Whether you’re a seasoned producer or just starting, finding the right monitors can significantly affect your work.

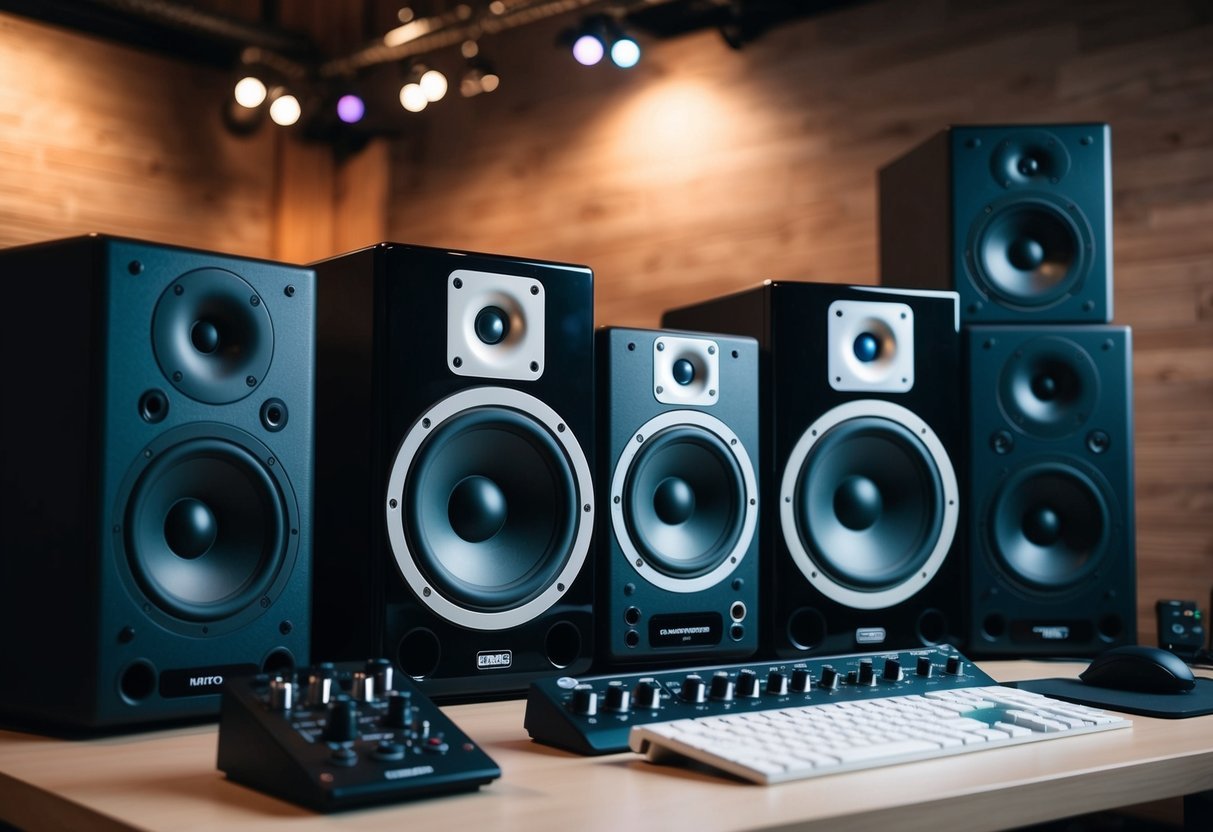
Choosing the right studio monitors can elevate your sound production to professional levels. From budget-friendly options like the M-Audio BX4s to high-end choices like the Neumann KH 120, there’s a wide range to consider depending on your needs and budget.
The key is to find a pair that delivers clear and precise audio, allowing you to make informed decisions during the mixing process.
You’ll come across popular choices such as the Yamaha HS5 for home studios or the Focal Shape 65 for more professional setups.
These monitors cater to different genres and preferences, ensuring that whatever music you’re making, there’s a monitor out there perfectly suited to your sound.
Exploring these options will set you on the right path to achieving the mix you envision.
Understanding Studio Monitors
When you dive into the world of studio monitors, you’ll notice several key concepts.
It’s essential to understand the differences between active and passive designs, the significance of frequency response, and the types of speakers commonly used.
Active vs. Passive Monitors
Active monitors are your typical plug-and-play speakers.
They come with built-in amplifiers, which means you don’t need an external amp to power them.
This makes them more convenient to set up, often offering better integration between the amp and speaker.
On the other hand, passive speakers require an external amplifier, giving you more flexibility in choosing your preferred amp.
Pros: Active monitors simplify setup and reduce the guesswork of matching amps to speakers.
Passive speakers allow for customization based on unique needs.
Think of passive systems as piecing together a puzzle, allowing you to tailor sound components, whereas active systems are more like an all-in-one package.
Frequency Range and Response
Studio monitors are designed to provide a flat frequency response.
This means they reproduce sound accurately without artificially boosting any frequencies.
You get to hear the recording as it truly sounds, identifying imbalances in high, mid, or bass frequencies.
From deep bass notes to high-pitched cymbals, understanding this range is crucial.
Many monitors range from 50Hz to 20kHz, but some extend even lower for bass-heavy genres.
A flat response is vital for critical listening, as you want the sound to be uncolored and true to the original mix.
Monitor Speaker Types
Studio monitors come mainly in two types: nearfield and midfield.
Nearfield monitors are typically smaller and meant to be placed close to you.
They’re excellent for smaller studios and mixing spaces because they reduce the interference of room acoustics, focusing the sound directly on you.
Midfield monitors are larger and intended to be positioned further away.
These are ideal for bigger spaces, offering a broader sweet spot — the optimal listening area.
Choosing between these depends largely on the size of your room and the configuration of your workstation.
Understanding these aspects helps you choose the best monitors for your setup and ensures you’re getting the most accurate sound representation possible.
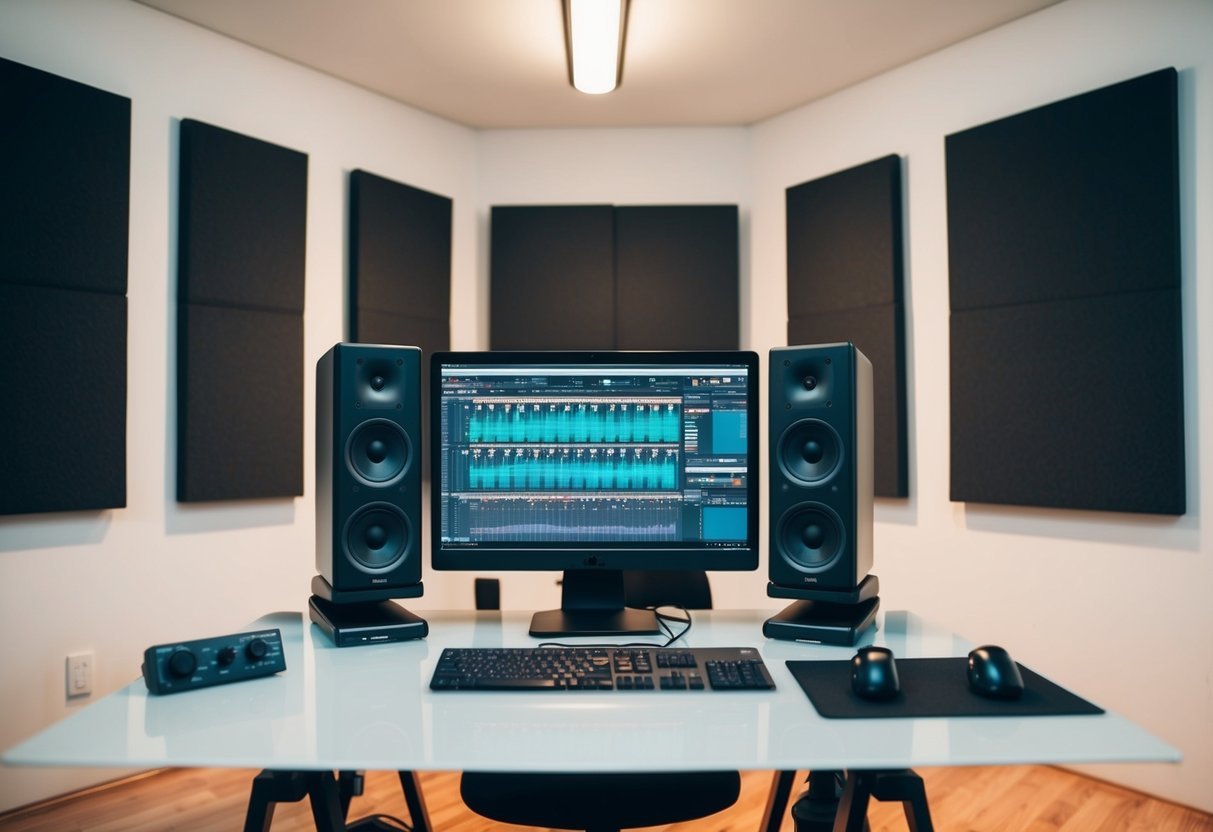
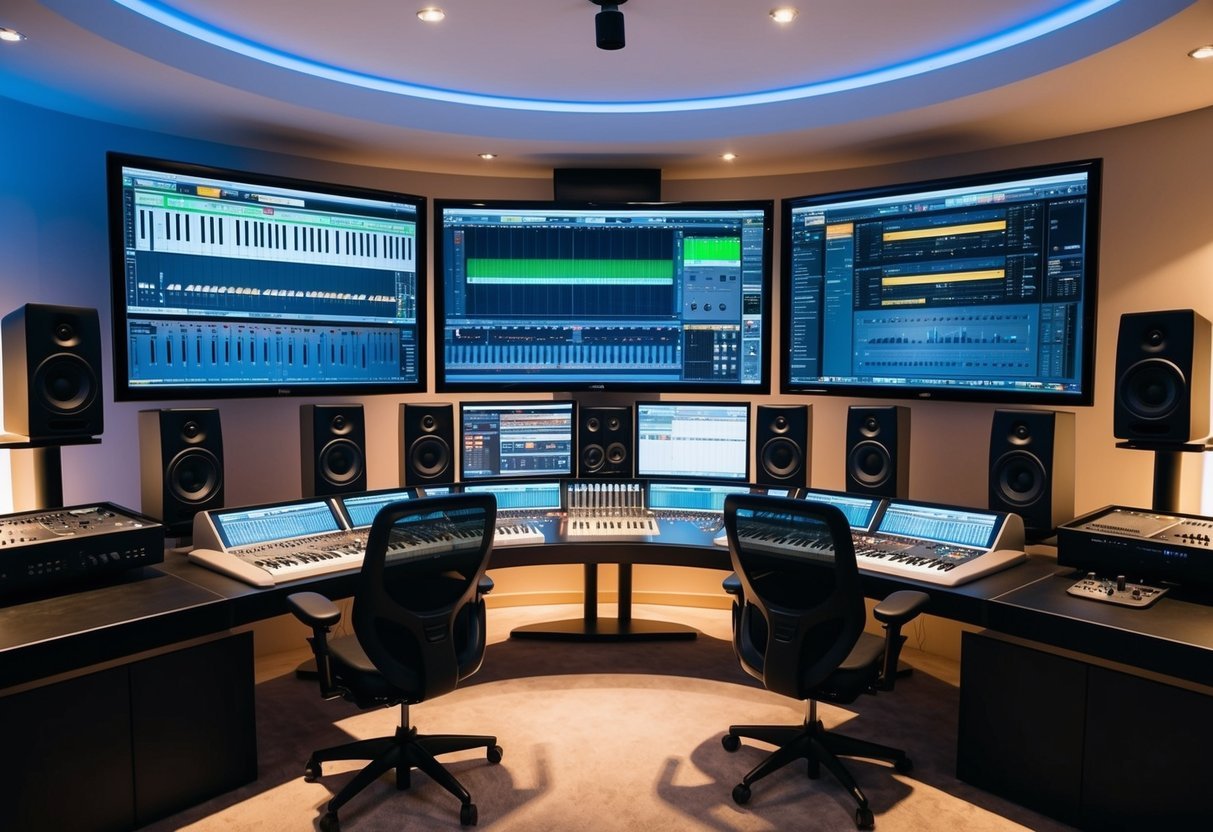
Setting Up Your Studio Space
Creating an effective studio space involves considering the placement of your studio monitors, addressing room acoustics with treatments, and selecting the right size and type of monitors based on your room size.
Each aspect ensures you get the best sound for your home studio or professional setup.
Optimal Monitor Placement
Positioning your studio monitors correctly is crucial for accurate sound.
You should place your monitors and chair in an equilateral triangle.
The distance from your listening position to each monitor should be similar to the distance between the two monitors.
Keep your ears leveled with the tweeters.
These are the small speakers within your monitors, guiding crucial high frequencies directly to you.
Ensure that your monitors are vertically aligned and not tilted.
This helps retain the clarity of the soundstage.
Start with them a third of the way into your room to minimize reflections.
Acoustic Treatment for Studios
Room acoustics play a big role in your studio’s sound.
Adding acoustic panels to key areas in your studio can reduce reflections and help achieve a more neutral sound.
You should place these panels behind and beside your monitors, preventing sound from bouncing off walls and skewing what you hear.
Bass traps in corners can help manage low-end frequencies, while diffusers can scatter sound to avoid echoes.
Focus on treating the first reflection points of sounds as a priority to get cleaner, more accurate acoustics.
Room Size Considerations
The size of your room influences your choice of studio monitors.
For small spaces, compact monitors with 5-inch or 6-inch woofers are often ideal.
Medium-sized rooms can benefit from monitors with 6-inch to 8-inch woofers, offering a broader frequency range without overpowering the room.
Evaluate whether you’re primarily using your studio for personal projects or professional recordings.
Larger rooms might require more powerful monitors and additional acoustic solutions, while a smaller home studio setup will need monitors tailored to its scale.
Adjusting the monitor’s proximity to walls and corners can also aid in fine-tuning the sound in your space.
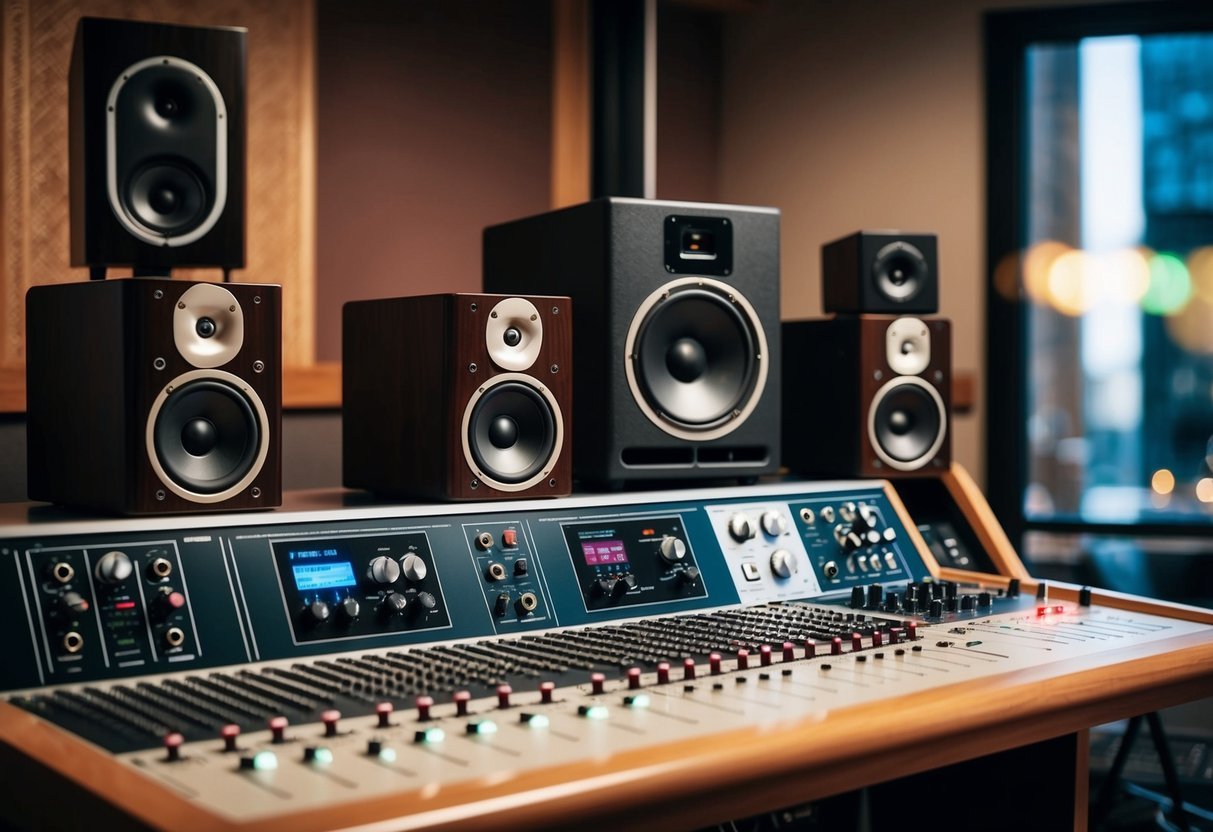
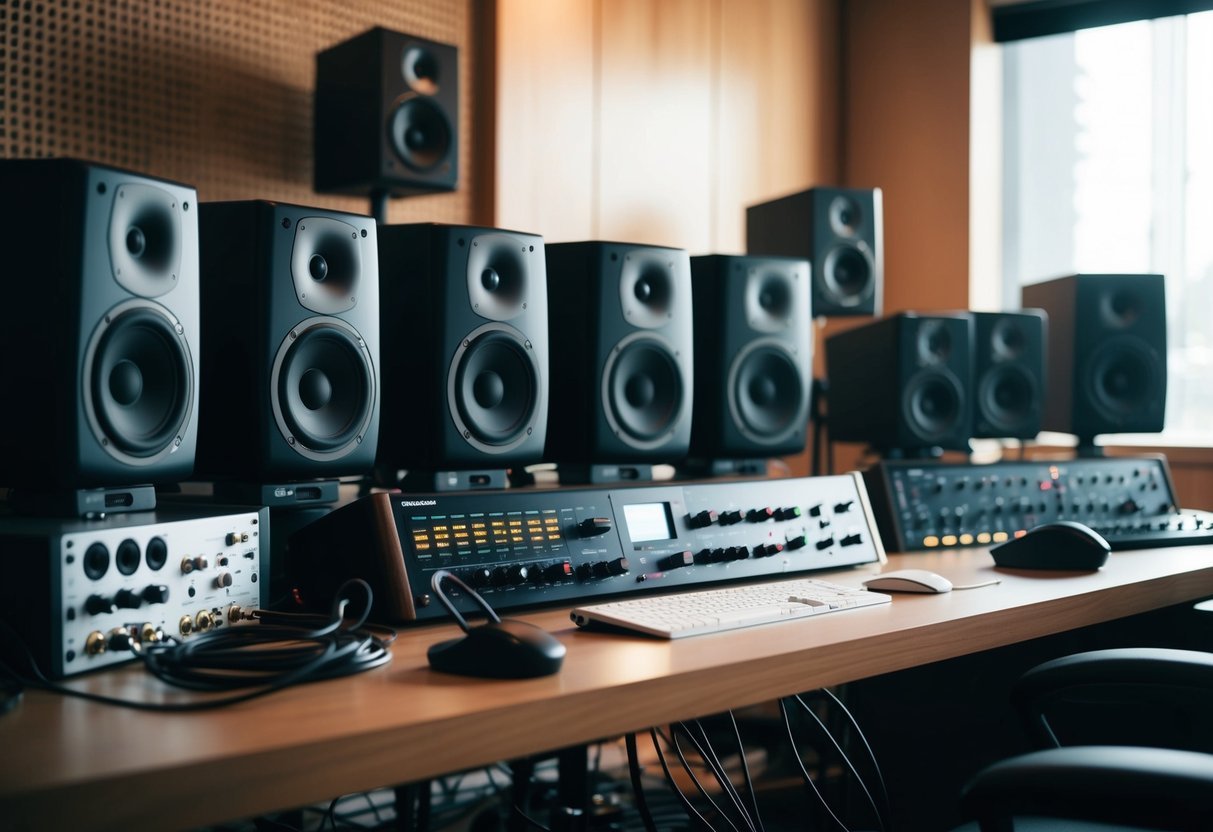
Choosing the Right Monitors for Your Budget
When setting up a music production space, monitors are essential tools.
Finding the right balance between budget and quality can make all the difference in your projects.
Budget-Friendly Picks
Choosing budget studio monitors doesn’t mean you have to compromise on quality.
Many options offer excellent value for money. M-Audio BX5-D3 and M-Audio BX4 are often highlighted as some of the best budget studio monitors.
Their small size packs a punch with decent clarity and volume, making them ideal for home studios or entry-level producers.
Another solid choice is the Kali Audio LP-6 V2, which offers quality at a reasonable price.
Known for delivering accurate sound reproduction, these can cater well to those needing dependable monitors without overspending.
Keep an eye on deals from online stores like Gear 4 Music or Thomann for budget-friendly prices.
High-End Choices for Professionals
For professionals looking at high-end choices, investing in premium studio monitors enhances sound fidelity and detail, which is crucial for critical listening and mixing.
Models like the Focal Shape 65 stand out due to their superior sound clarity and craftsmanship, making them top choices in many professional environments.
KRK Rokit 7 G4 is another worthy mention, designed to offer precision and reliability, essential for high-quality audio production.
A professional studio with a bigger budget benefits from the nuanced audio quality these monitors provide, ensuring every frequency is heard clearly.
Premium models are built for longevity and performance, making them excellent long-term investments.
Connectivity and Compatibility
In music production, understanding how your studio monitors connect to other equipment is crucial.
Different connection types can impact your audio quality and versatility in the studio.
Analog vs. Digital Connections
When setting up studio monitors, you’ll encounter both analog and digital connections.
Analog connections, common in many setups, might use balanced inputs like XLR or TRS, which help reduce noise and interference.
This is especially useful in professional mixing and mastering environments, ensuring clear audio signals.
Digital connections such as USB or SPDIF are becoming more popular.
They allow for direct digital input without conversion, potentially enhancing audio quality.
They also integrate well with digital signal processing (DSP) features, providing more control over sound.
Choosing between analog and digital depends on your specific needs and existing equipment, so consider what will seamlessly fit into your workflow.
Essential Connectivity Options
Choosing the right connectivity options for your studio monitors involves understanding which ports and interfaces you’ll use. HDMI, DisplayPort, and USB-C are essential for compatibility with modern audio interfaces and computers.
Having multiple connection options enables flexibility in connecting various devices.
When picking studio monitors, check for balanced inputs, which are crucial for maintaining high audio fidelity.
Balanced connections are less likely to pick up electrical interference, maintaining signal integrity.
This is vital when precision audio is a priority, like during mixing and mastering.
Always look for monitors that offer a broad range of connectivity options to fit your diverse range of equipment and ensure a streamlined setup.
The Influence of Monitor Size and Configuration
Monitor size and configuration greatly affect the sound characteristics in your studio.
The dimensions of the speaker, tweeter type, and room size all play crucial roles.
Subwoofers and Bass Response
Including a subwoofer in your setup can enhance bass response, which is essential if you’re working with bass-heavy music.
Subwoofers handle lower frequencies that smaller monitors might miss, providing a fuller sound.
Even compact studio monitors can benefit from a subwoofer if space allows.
However, placement is key; improper subwoofer positioning can lead to inaccurate bass representation.
You might want to experiment with different spots to find the ideal sound balance.
Consider the speaker configuration where a 2.1 system includes two monitors and one subwoofer, striking a balance between compactness and performance.
Speaker Size and Room Fit
Choosing the right speaker size for your room is a balancing act.
Small rooms, usually up to 10 square meters, are best suited for 5-inch or 6-inch monitors.
This size offers adequate sound coverage without overwhelming the space.
For larger rooms, consider larger driver sizes like 8-inch models.
This is where tweeter type comes into play; a good tweeter can make a big difference in high-frequency clarity.
Best small studio monitors often include options with quality tweeters, allowing you to get exceptional sound even in limited spaces.
Matching speaker size to your room dimensions ensures better acoustics and a more enjoyable listening experience.
Fine-Tuning Your Monitors
Getting the most out of your studio monitors involves carefully adjusting their settings to suit both your personal sound preferences and the acoustics of your room.
This ensures optimal sound reproduction, particularly concerning bass response and EQ settings.
Using EQ to Optimize Sound
EQ (equalization) is a powerful tool that allows you to shape and fine-tune the audio output of your studio monitors.
Many monitors come with built-in EQ controls, enabling you to adjust frequency bands and enhance specific sound characteristics.
Experiment with tuning options to target problem areas.
If your mixes often feel too bass-heavy, consider reducing the low-end frequencies.
For midrange clarity, slightly boost the mids.
A flat EQ setting might work well for some, giving you a neutral sound to build your mixes upon.
When setting the EQ, consider the type of music you produce.
Different genres may require different EQ settings for optimal sound reproduction.
Don’t be afraid to spend time tweaking; finding that sweet spot will make a significant difference in your final mixes. Remember, small adjustments can lead to noticeable improvements.
Room Correction Features
Room correction features can significantly enhance the accuracy of your monitors by compensating for room acoustics.
Some monitors include DSP (Digital Signal Processing) technology, which adjusts the sound to fit your room’s characteristics.
Identify key acoustic issues like flutter echoes or standing waves.
Use room correction to adjust how your monitors project sound, focusing on rectifying these issues.
These features often come with software that can map your room’s acoustics.
Experiment with placement and positioning of your monitors as well.
Sometimes, moving your monitors even slightly can help you find the best spot for accurate sound delivery.
Utilize isolation pads to reduce vibrations if needed.
Room correction features are a game-changer in achieving precise sound reproduction.
Specific Monitor Recommendations
When choosing studio monitors for music production, the right choice depends on your specific needs, whether it’s for electronic music or mixing and mastering.
Here, you’ll find recommendations tailored to these distinct purposes.
Best for Electronic Music
For those in electronic music, the KRK Rokit 5 G4 is a solid pick.
Known for its powerful bass response, it caters to genres like EDM and hip-hop, delivering the deep lows you need.
Its built-in DSP-driven room tuning offers customization, ensuring your sound is precisely tuned to your environment.
Another great option is the Yamaha HS Series, particularly the HS8 model.
With an 8-inch cone woofer, this monitor excels in clarity, providing a neutral sound that’s crucial for electronic production.
The clear, detailed sound means you won’t miss any important sonic elements.
Meanwhile, the Kali Audio LP-6 features an impressive low-end extension that suits electronic music well.
Its waveguide ensures a wide listening area, letting you move around and still get a consistent sound.
Top Picks for Mixing and Mastering
For mixing and mastering, the Neumann KH 120 stands out.
Its compact design doesn’t compromise on quality, offering precise frequency response and impressive clarity.
This makes it ideal for critical listening environments where accuracy is key.
If you’re on a tighter budget, the PreSonus Eris E5 provides excellent value.
These monitors offer a balanced frequency response with smooth highs.
You’ll find these are great for nuanced tasks like mixing vocals and fine-tuning tracks.
Finally, the Genelec 8010A is a premium choice for mastering.
These small but powerful monitors deliver incredible accuracy and detail.
They excel in mid and high frequencies, ensuring your master has a pristine finish.
With their robust build, they’re reliable for day-to-day studio work.
Critical Listening and Analysis
When diving into music production, it’s crucial to rely on studio monitors for tasks like critical listening and sound analysis.
Your monitors will aid you in ensuring sound quality, clarity, and accuracy, allowing you to perceive even subtle nuances in a track.
They help in training your ears to recognize the finer details in audio.
The Role of Monitors in Sound Analysis
Studio monitors are central to achieving accurate sound representation.
Unlike regular speakers, they don’t color the sound, giving you a neutral sound stage to work with.
This neutrality helps in identifying flaws in the audio, ensuring each component is well-balanced.
By using quality monitors, you can focus on the precise aspects of your music, such as frequency balance and dynamic range, crucial for mixing and mastering.
Accurate studio monitors can highlight differences you might miss using regular speakers, making them essential for any sound analysis work.
These monitors allow you to detect and correct issues in tracks by providing a true representation of the audio signal without any enhancements.
Training Your Ears with Studio Monitors
Using studio monitors is not just about listening but actively improving your critical listening skills.
With practice, you’ll become familiar with the monitors’ capabilities, enabling you to detect subtle imbalances and tonal discrepancies.
You can engage in various audio tasks to enhance your listening abilities, such as comparing original tracks with remastered versions.
Consider creating listening sessions focused on different aspects of sound, like bass or treble.
By regularly engaging with these tasks, your ear becomes more attuned to detail.
Over time, this training sharpens your ability to create more precise and compelling mixes, as you’ll be better equipped to refine sound quality and achieve clarity.
Maintenance and Care for Longevity
To keep your studio monitors working well over time, focus on cleanliness and minimizing wear and tear.
Regular maintenance helps ensure your monitoring systems deliver neutral sound for accurate audio production.
Cleaning and Dust Prevention
Regular cleaning is essential.
Dust can accumulate and cause problems for both performance and longevity.
Use a microfiber cloth for gently wiping exteriors, and a can of compressed air for any hard-to-reach areas.
Avoid harsh chemicals that might damage the finish or affect the sound quality.
Keep your monitors in a dust-free environment.
Using speaker covers when they’re not in use is a simple yet effective technique.
Dust filters in your studio can also help maintain a clean atmosphere for sensitive equipment.
Avoiding Wear and Tear
Be mindful of how you move and handle your studio monitors. Secure transportation is key, especially if you often relocate or reconfigure your setup.
Position them on stable surfaces to prevent falls or knocks.
Manage signal levels carefully, as constant overloading can affect the internal components.
Set volume controls at appropriate levels and avoid clipping to maintain the integrity of your monitoring systems.
Proper calibration guarantees your monitors operate within suitable limits, preserving sound clarity and extending their life cycle.
The Future of Music Production Monitors
As technologies advance, the landscape of studio monitors for music production is set to evolve significantly.
From integrating cutting-edge tech features to predicting trends that will shape high-end and pro studio monitors, staying ahead is essential for sound professionals.
Emerging Technologies
You can expect studio monitors to incorporate AI-driven features for adaptive sound response.
These smart systems might adjust frequency settings based on room acoustics and the type of music being produced.
Such enhancements can save you time and ensure more accurate mixing sessions.
Wireless connectivity is another trend you shouldn’t overlook.
The convenience of Bluetooth and Wi-Fi integration means less clutter and more flexible studio setups.
Imagine controlling your monitor settings directly from a smartphone app or connected device.
Moreover, advanced materials in monitor construction will likely become more common.
Materials such as carbon fiber could lead to lighter but more durable monitors.
This means you’ll have more portable and resilient options without compromising on sound quality.
Predictions in Studio Monitoring
The future of studio monitors is gearing towards more personalized and immersive experiences.
Expect manufacturers to offer models with customizable sound profiles that cater to various music genres and personal preferences.
Virtual reality and augmented reality might also find their way into your production processes.
Picture a scenario where you use AR to visualize acoustic spaces and how your monitors interact with those environments.
Additionally, the miniaturization of components could lead to more compact designs without sacrificing performance.
For those working in limited spaces, smaller, best studio monitors will provide an ideal solution.
This modernization in studio monitors aims at elevating your music production capabilities, ensuring you stay on top of your creative game.
Frequently Asked Questions
Choosing studio monitors involves considering factors like your budget, the acoustics of your space, and specific features like frequency response.
Many people wonder about using regular speakers for mixing and differences between types of monitors.
Also, the decision to buy used units comes with pros and cons worth considering.
How do you choose the right studio monitors for home music production?
Identify your budget and the size of your space.
Monitor size and power should suit both your room and style of music.
Consider features such as flat frequency response and build quality to ensure accuracy.
Can you use regular speakers instead of studio monitors when mixing?
Regular speakers can be used, but they color the sound, affecting accurate mixing.
Studio monitors provide a flat frequency response, crucial for hearing every detail in your mix.
What features are important when looking for high-quality studio monitors?
Important features include a flat frequency response, durable build, balanced inputs, and room adjustment controls.
These can significantly impact the fidelity and accuracy of sound reproduction.
How much should you expect to spend on studio monitors for professional-level mixing?
Studio monitors for professional-level mixing typically range from a few hundred to several thousand dollars.
The price varies based on brand reputation, size, and additional features.
What are the pros and cons of using used studio monitors?
Used monitors can be cost-effective but may have hidden wear and tear.
Ensure they are tested beforehand.
Check for cosmetic damage and verify performance to avoid issues.
Is there a significant difference between near-field and far-field studio monitors?
Near-field monitors are designed for close listening, and they are ideal for small studios.
Meanwhile, far-field monitors excel in larger spaces, allowing for further listening distances.
The choice depends on your studio size and workflow preferences.