When you first hear the term “mastering music,” it might sound like a mysterious art reserved for the pros, but it’s actually an essential step that elevates your tracks to a professional level.
It’s not just about making your music louder; it’s about creating a balanced and polished sound.
The magic of mastering lies in its ability to ensure your songs sound consistently amazing on all types of playback systems.
At its core, mastering is both an art and a science.
By using techniques that involve equalization and compression, you’ll control the dynamics and find the perfect tonal balance for your tracks.
The Complete Beginner’s Framework can guide you through the steps, ensuring each track in your project not only stands out individually but fits perfectly with the rest of your music.
Working with a mastering process that’s transparent and easy to follow takes the guesswork out of finalizing your tracks.
You can harness the power of specialized tools to achieve a cohesive album or EP experience for your listeners.
With a strong foundation in mastering, your music will have that professional sheen that captures and holds a listener’s attention.
Getting Started with Mastering
Mastering music involves refining the audio to enhance its overall sound quality, ensuring each frequency is balanced and polished.
This process is essential for creating a professional-sounding track that translates well across different playback systems.
Understanding the Mastering Process
Mastering is the final step in music production.
It enhances the overall sound and ensures your tracks are ready for distribution.
You’ll use tools like equalizers and compressors to adjust frequencies and dynamics.
Focus on maintaining consistency between different tracks in an album.
It’s crucial to perform a detailed analysis of your mix, checking for any distortion or unintended artifacts, like clicks and pops.
A fresh perspective is valuable, so give your ears regular breaks.
Setting Up Your Mastering Workspace
Creating an effective workspace is key.
Use a Digital Audio Workstation (DAW) that you are comfortable with; popular options include Ableton Live, Logic Pro, and Pro Tools.
Invest in reliable studio monitors that offer accurate sound representation.
Organize your workflow by arranging your plugins logically—equalizers first, followed by compressors, then limiters.
Your workspace should be acoustically treated to ensure that what you hear is accurate and not misrepresented by room acoustics.
Think about adding bass traps and diffusers to optimize sound quality.
Mastering Vs. Mixing: Clearing the Confusion
Mixing and mastering are two distinct stages in music production, often confused.
Mixing deals with blending individual tracks together, adjusting volume, panning, and adding effects to create a cohesive sound.
Mastering, on the other hand, is about fine-tuning the final mix.
It focuses on enhancing the stereo image, ensuring clarity, and creating a final sound that is consistent and balanced across all platforms.
By understanding the differences, you can apply the right techniques at the appropriate stage, ensuring the best results for your music.
The Tools of the Trade
To master music effectively, you’ll need certain tools to ensure high-quality sound.
This involves working with specialized software and hardware that enhance your audio production process.
Essential Mastering Software
Mastering software is crucial for achieving a polished final track.
A Digital Audio Workstation (DAW) is a must-have.
Popular options include Ableton Live, Logic Pro, and Pro Tools.
They provide the platform for editing and finalizing tracks.
You also need specialized mastering plugins.
Look for plugins offering equalization, compression, and limiting functions.
Popular choices are iZotope Ozone, Waves, and FabFilter.
Each has unique features designed to optimize the song’s sound.
These tools help create a cohesive and professional sound as a mastering engineer.
Practice using different plugins to find the ones that suit your style best.
Choosing the Right Audio Interface and Studio Monitors
An audio interface connects your computer to other audio equipment.
Key features to consider include low-latency performance and high-quality preamps.
Focusrite and Universal Audio offer reliable options that are widely used in studios.
Pair your interface with studio monitors for accurate sound reproduction.
Look for monitors that provide a flat frequency response, allowing you to hear the true sound without coloration.
Brands like Yamaha, KRK, and Genelec are highly recommended.
When setting up, position monitors at ear level and in an equilateral triangle with your listening position.
This setup ensures the most accurate sound representation, crucial for mastering.
Quality Headphones for Critical Listening
Headphones are vital for a second opinion on your mixes.
Open-back headphones are often preferred for mastering because they offer a more natural sound.
Some top choices include models from Sennheiser, Beyerdynamic, and AKG.
Keep in mind that headphones should complement your studio monitors, not replace them.
They are useful for detecting fine details and making adjustments that might be missed on monitors.
When selecting headphones, prioritize comfort during long sessions.
A good quality headphone can make critical listening more efficient and less fatiguing.
Fundamentals of Sound Quality
Improving sound quality requires attention to tonal balance and equalization.
These aspects ensure that all elements in your mix sit well together and sound their best.
Understanding these fundamentals can significantly enhance your music production skills.
The Importance of Tonal Balance
Tonal balance is all about ensuring harmony between different sound elements in your mix.
When the frequencies are well-balanced, each instrument and vocal part can be heard clearly, without overpowering others.
A mix that lacks tonal balance might sound too bass-heavy or shrill. Achieving this balance involves adjusting levels so that both low and high frequencies are properly represented.
As a result, your music will sound polished and more pleasing to listen to.
You can use tools like EQ and reference tracks to achieve a good tonal balance.
These help you compare your mix to professionally mastered tracks, providing insights into how your mix should sound.
Keeping an ear out for tonal balance is crucial in mastering and ensures your music translates well across different playback systems.
Frequency Spectrum and Equalization
The frequency spectrum represents all possible audio frequencies, ranging from the lowest bass to the highest treble.
Equalization (EQ) plays a key role in adjusting these frequencies to the desired levels.
When you apply EQ to your mix, you’re tweaking the frequency spectrum to enhance or reduce specific frequencies.
This can help in resolving issues like muddiness or harshness in your tracks.
You might boost frequencies where your mix sounds flat or cut areas that are overwhelming.
EQ also allows you to carve out space for each instrument, giving each one a defined place within the mix.
By understanding and applying EQ effectively, you can greatly improve the sound quality of your music.
Dynamic Range and Loudness
Understanding dynamic range and loudness in music mastering is key to making your tracks sound their best.
You’ll learn about the impact of dynamic range, how loudness shapes your music, and standards that ensure consistency in playback.
Dynamic Range: The Life of Your Music
Dynamic range is what breathes life into your music.
It’s all about the contrast between the softest whispers and the loudest roars in your track.
A wide dynamic range adds depth and emotional impact, creating a more expressive and engaging listening experience.
In mastering, managing this range is crucial.
Too narrow a range, and your music might lack contrast and feel flat.
Dynamics processing tools like compressors and limiters are often used to either gently control or enhance the dynamic range.
This helps you strike the right balance, maintaining clarity without losing the music’s emotion.
Loudness in Music Production
Loudness is not just about making your track louder; it’s about perceived volume.
Two tracks can have the same peak loudness but feel different to the ears.
Using RMS (Root Mean Square) measurements helps you understand average loudness, which influences how punchy and impactful your music feels.
LUFS (Loudness Units Full Scale) is another metric that gives a modern measurement of the perceived loudness in music.
Be mindful that chasing excessive loudness can lead to distortion and listener fatigue.
Aim for a balance where your track is strong and clear without sacrificing quality.
Loudness Normalization and Standards
In today’s digital era, loudness normalization is important for maintaining consistency across different playback systems and platforms.
Various streaming services have adopted their own LUFS targets to ensure each track is played at an optimal level, preventing drastic volume changes.
Adhering to these standards can prevent your music from being turned down automatically during playback.
Check the specific LUFS levels required by each platform to adjust your tracks accordingly.
Keeping these standards in mind ensures your listeners have a consistent and enjoyable experience, no matter where they hit play on your music.
Compression and Limiting
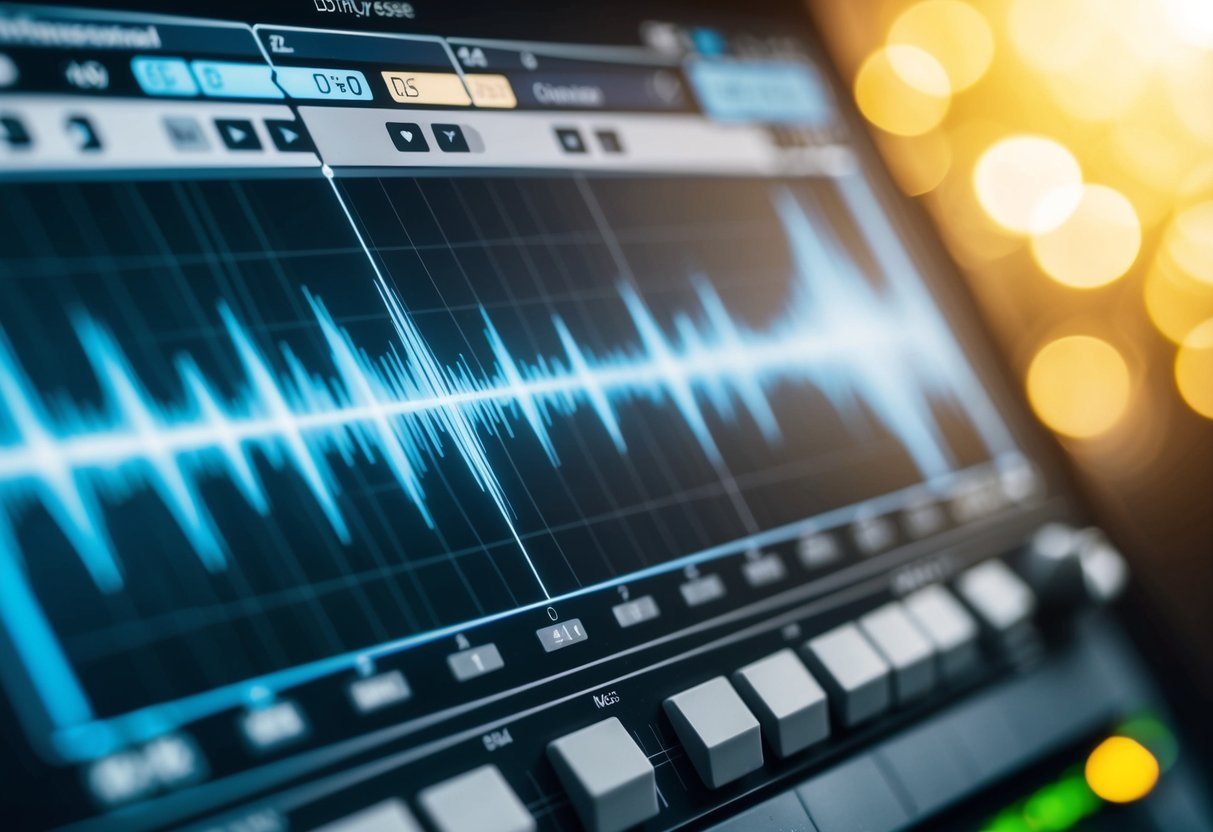
In audio mastering, compression and limiting are critical techniques that shape the final sound of your music.
They ensure dynamic consistency and clarity, creating a polished, radio-ready track.
Each tool comes with its own set of features and settings, designed to handle different aspects of audio dynamics.
The Role of Compressors in Mastering
Compressors help to maintain and balance the dynamic range of your tracks.
When the volume goes past a certain threshold, a compressor lowers the gain to keep everything consistent.
This process is known as gain reduction.
During mastering, you’d typically aim for subtle gain reduction, around 2 to 3 dB, to avoid squashing your mix too much.
Using a low ratio setting, like 1.25:1 or 1.5:1, can protect the nuances in your music while still controlling peaks.
Makeup gain is often applied afterward to bring the overall level of the track back up to a desired loudness.
The goal is to enhance the music’s clarity and punch without losing its original character.
Limiting Techniques for Maximum Impact
Limiters act as the final safeguard against clipping by setting a ceiling for your track’s volume.
This is essential for achieving commercial loudness standards while preserving audio quality.
Unlike compressors, limiters handle peaks more aggressively, ensuring that no part of the audio exceeds a certain maximum level.
During mastering, limiting fine-tunes both loudness and dynamic range.
The key is to set the threshold and ceiling properly to avoid distortion while maximizing impact.
By carefully adjusting these parameters, you ensure that your track sounds consistent across different playback systems.
Balancing these aspects will help your music stand out in any environment.
Stereo Imaging and Enhancement

Stereo imaging and enhancement are crucial for creating a balanced and immersive audio experience.
By focusing on stereo width and stereo imagery, you can achieve a professional mix that captivates listeners with depth and clarity.
Achieving a Professional Stereo Image
To start, panning plays a significant role in establishing the stereo image.
Position key elements like vocals and bass in the center for a solid anchor.
Contrast this with instruments that can add width, placed off-center, like guitar or keyboards.
Mid/Side processing is a powerful technique to refine stereo imagery.
By adjusting parts of the audio that are common to both stereo channels (the mid) separately from those that are unique (the sides), you gain control over the width and depth of your mix.
Cut low frequencies in the side channels to maintain a clear center, while boosting highs can widen the stereo field, adding clarity.
Recording techniques also influence stereo imaging.
Using XY or AB mic configurations leads to a varied stereo perspective, maintaining spatial cues that make the soundstage more expansive.
Tools for Stereo Widening and Enhancement
Numerous tools help with stereo widening and enhancement, allowing you to push the boundaries of stereo widths in your productions. Stereo enhancers like iZotope’s Ozone Imager or Waves S1 deliver control over the perceived space and dimensions of audio.
Graphic magnitudes, such as vector scopes, offer visual feedback, showcasing how elements are positioned in the stereo field.
Complement these with parametric EQs for precise frequency adjustments.
Multi-band processing can also focus stereo imaging adjustments to specific frequency ranges.
Apply a stereo enhancer specifically to high frequencies to extend their placement without disrupting bass or mid elements.
Streamlining the Workflow

Streamlining your mastering workflow means making efficient use of time and resources while maintaining high-quality audio.
It involves having a clear plan and using technology to automate repetitive tasks.
Organizing a Step-by-Step Mastering Flow
Begin by importing all audio files into your digital audio workstation (DAW).
Start fresh by setting up a new project exclusively for mastering.
Create organized track groups like drums, melody, and vocals.
Consider laying out a step-by-step plan by drafting a list of each mastering task in order.
For example, start with equalization to adjust the tonal balance, move on to compression to control dynamics, and then focus on limiting to increase perceived loudness without distorting the sound.
Use visual aids like checklists or flowcharts to monitor your progress.
Keeping track ensures that nothing is missed, especially when working on multiple projects.
Also, save your preferred settings as presets to speed up future sessions.
Automation for Efficient Mastering
Integrate automation to make repetitive tasks more efficient.
Use the automation features in your DAW to adjust levels and effects automatically during playback.
Software plugins often support automation for parameters like equalizer bands, reverb levels, or compressor thresholds.
You can automate fades, panning, and other settings to give a consistent sound.
Synchronization is another powerful tool, especially if you’re mastering multiple tracks.
Match dynamics and loudness across songs.
This saves significant time and ensures consistency throughout the project.
Mastering for Different Formats
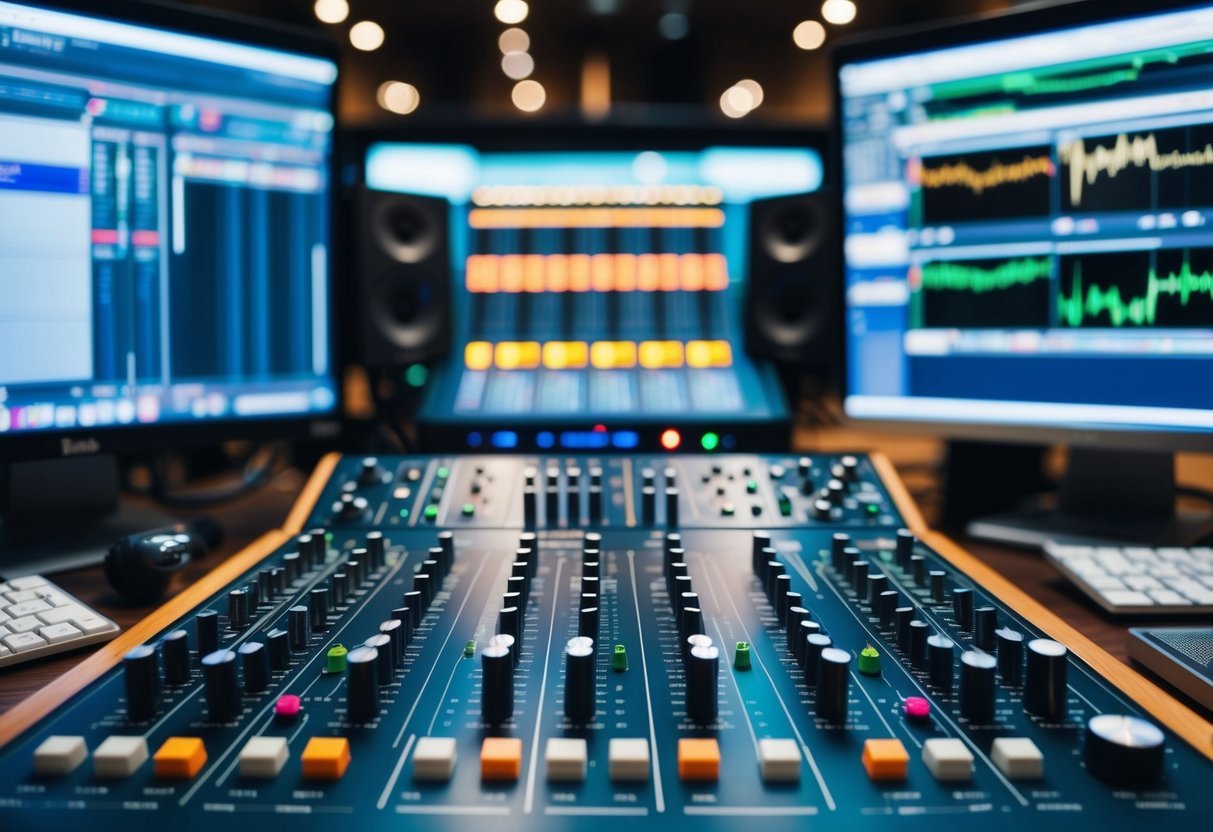
When adapting music for various formats, it’s crucial to take into account the unique requirements of digital distribution and streaming platforms.
Factors like sample rates need careful consideration for optimal playback.
Optimizing for Digital Distribution
In digital distribution, quality and consistency are key.
You’ll want to ensure your tracks are mastered at the industry-standard sample rate, typically 44.1 kHz for most applications.
Bit depth, often at 24-bit, is crucial for maintaining high-resolution audio quality during distribution.
Consistency is another factor to consider.
Your tracks should sound cohesive when played back-to-back.
Pay close attention to loudness levels across all songs.
This ensures your audience gets a smooth, uninterrupted listening experience, crucial for playlists and album continuity.
Don’t overlook metadata in your digital files.
Properly tagging your music can make a difference in discoverability, helping listeners find your work more easily through digital platforms.
Considerations for Streaming Platforms
Streaming platforms have their own sets of requirements.
You should be aware of the loudness normalization standards employed by different services.
This affects how your tracks will be leveled when streamed.
Aim for a loudness level around -14 LUFS, common among major platforms like Spotify and Apple Music.
Sample rates affect streaming quality.
Some platforms support higher rates, such as 48 kHz, especially for high-fidelity music services.
Choosing the appropriate rate can ensure your music sounds the way you intended.
Pay attention to bitrates as well, as they influence the data compression of your music.
Adjust your mastering process accordingly so your tracks retain quality even when compressed for streaming.
Final Checks and Quality Control
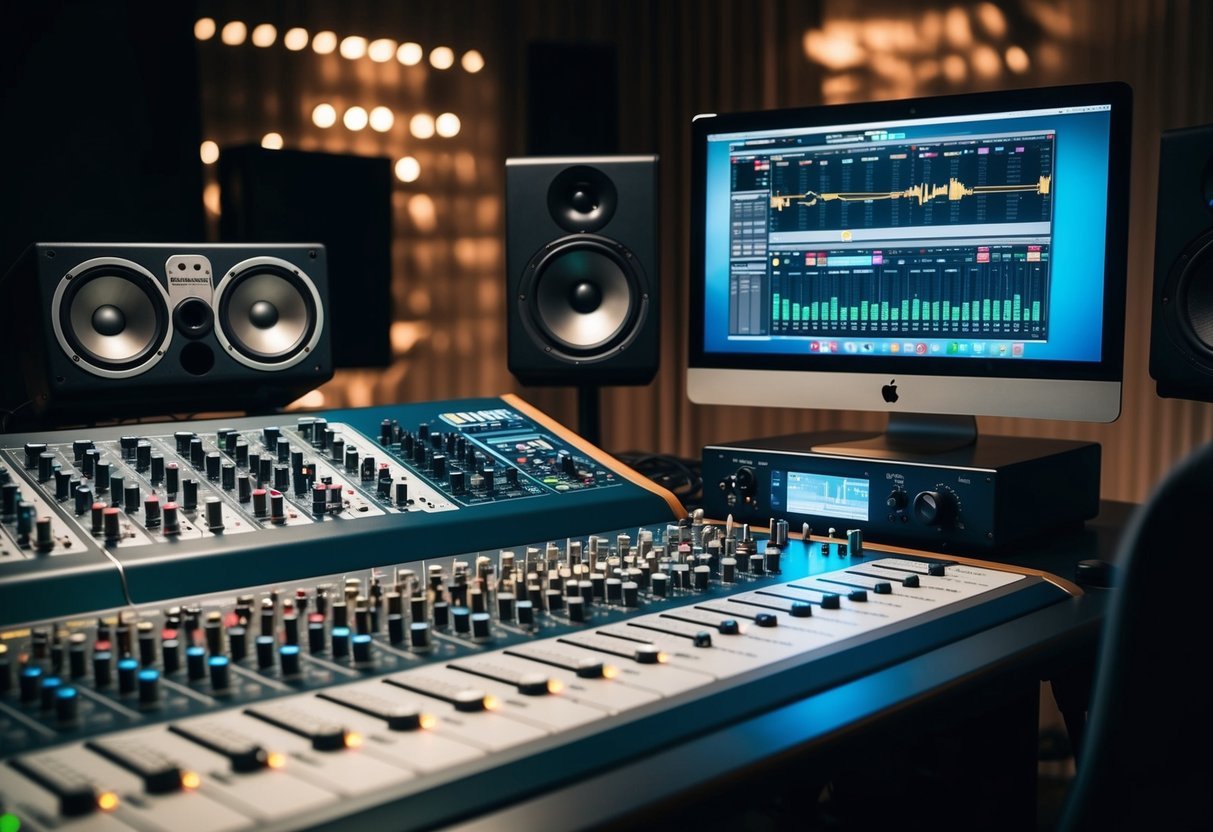
Before finalizing your music, it’s crucial to perform quality control to ensure consistency and optimal sound.
This involves comparing your tracks to reference materials and closely monitoring audio levels to avoid distortion.
Using Reference Tracks for Consistency
Using reference tracks is an effective way to maintain consistent sound across your projects. Reference tracks are professionally mastered songs that can guide your mixing decisions.
They help you understand how your track measures up in terms of volume levels and tonal balance.
Pick tracks that match your desired sound and genre.
Listen carefully and note differences in EQ, dynamics, and stereo width.
This approach allows you to make adjustments and ensure your track holds up against industry standards.
Regularly comparing your mix to reference tracks can prevent common pitfalls, such as excessive bass or harsh treble.
Use A/B testing to check changes in real-time, adjusting as needed to achieve a professional finish.
Metering and True Peak Considerations
Metering is a vital part of quality control.
Tools like VU meters and RMS meters help you monitor average volume levels.
Keeping levels consistent ensures your music sounds polished across various playback systems.
True peak level monitoring is essential to prevent clipping and distortion.
True peaks represent the absolute peaks in digital audio, sometimes exceeding the set limit.
Pay attention to both peak and true peak levels during the mastering process.
Set a ceiling on your limiter to avoid exceeding the desired true peak, usually around -1 dB.
By carefully observing your metering, you can make sure your final product is clean and undistorted, providing listeners with a seamless audio experience.
Delivering Your Master
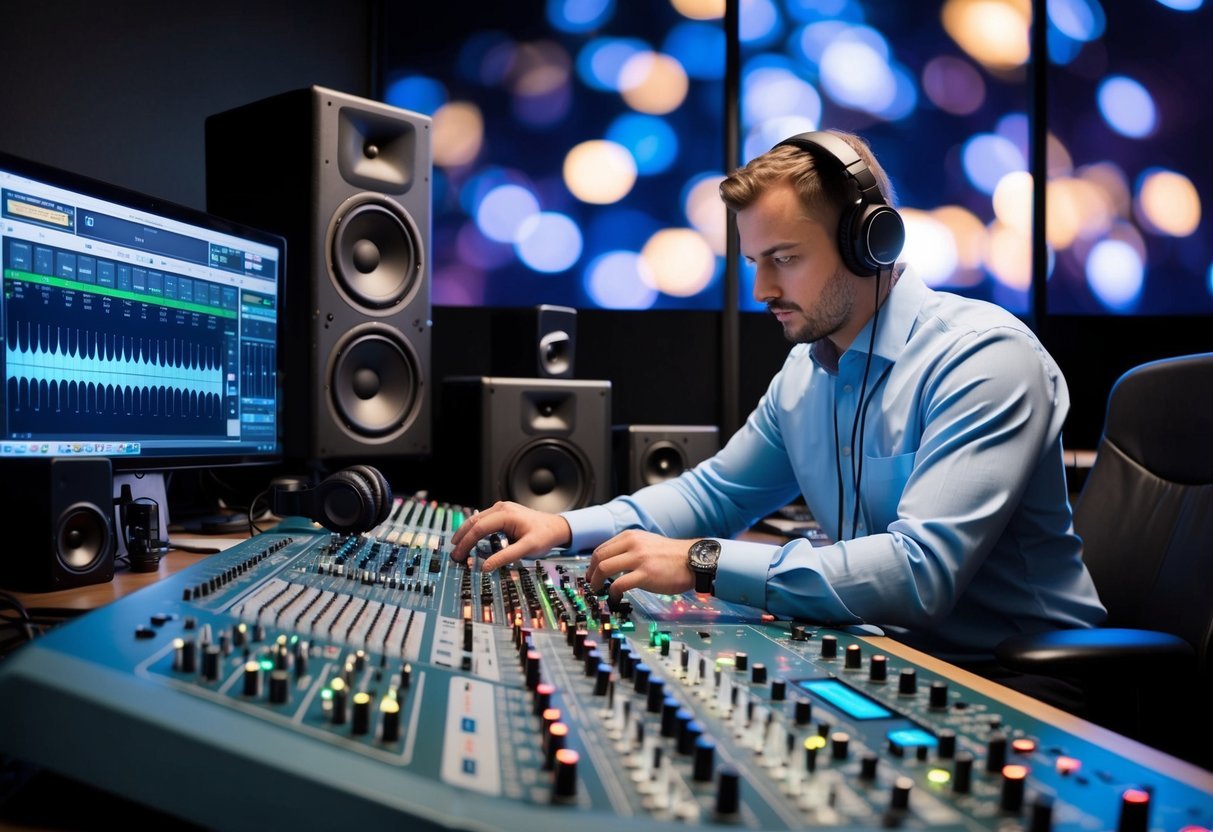
Delivering a polished master requires attention to detail, covering essential aspects like metadata and choosing the correct final formats.
It’s also crucial to navigate the mastering services available, which can vary in quality and scope.
Metadata and Final Formats
Metadata includes essential details like artist name, album title, track numbers, and more, ensuring your master is easily identifiable in the digital realm.
Platforms like streaming services and digital stores rely heavily on proper metadata for categorizing and displaying your music correctly.
When it comes to final formats, it’s crucial to export your music in the highest quality possible. WAV and FLAC are common choices due to their lossless quality, preserving audio fidelity.
It’s important to also consider compressed formats like MP3 for broader compatibility and faster streaming.
Understanding Mastering Services
Mastering services play a critical role in shaping your music’s final sound.
Services can range from professional studios with experienced engineers to automated online platforms.
Each option has its pros and cons, depending on your budget and needs.
Professional studios offer a personal touch, with skilled engineers who can provide feedback and make detailed adjustments manually.
Automated services can be more budget-friendly and faster, using algorithms to master tracks.
If you’re looking for a professional sound, it’s key to weigh these options carefully within the context of the music industry.
Frequently Asked Questions
Mastering music can seem like a complicated task, but with the right tools and knowledge, it’s definitely achievable.
You’ll want to focus on the essential steps, useful software options, and understanding what mastering actually involves.
What does it take to master a song if you’re just starting out?
You’ll need a basic understanding of audio engineering and access to mastering software.
Programs like Logic Pro or Ableton can help, but practice and attention to detail are also crucial.
Listen critically to your tracks and tweak them to achieve the sound you want.
What are the usual steps in mastering a track using a DAW like Ableton?
Start by importing your final mix into Ableton.
Adjust levels, apply equalization to enhance different frequency ranges, and use compression to control dynamics.
Ensure your track sounds consistent and has the desired loudness level.
How can you mix and master your tunes with BandLab?
BandLab offers online tools that allow you to upload tracks, apply EQ, compression, and other effects.
It provides presets for those who need a quick solution, though you can also manually adjust settings to refine your sound further.
Can you find tools to master music tracks online for free?
Yes, several platforms offer free mastering tools.
Services like LANDR and BandLab provide options for online mastering at no cost.
They are user-friendly, although having a basic understanding of music mastering helps you use these tools more effectively.
What’re the key elements to focus on when learning music mastering?
Pay attention to equalization, compression, and limiting.
EQ helps in balancing the frequency spectrum.
Compression manages the dynamics of the track.
Limiting boosts the track’s volume to make sure it’s competitively loud without distortion.
Could you explain what mastering music really means in simple terms?
Mastering is the final polish on your music.
It ensures your track sounds great on all playback systems.
This is done by optimizing audio levels, balance, and overall clarity.
It’s like the final touch that makes your music ready for distribution and listening everywhere.

