
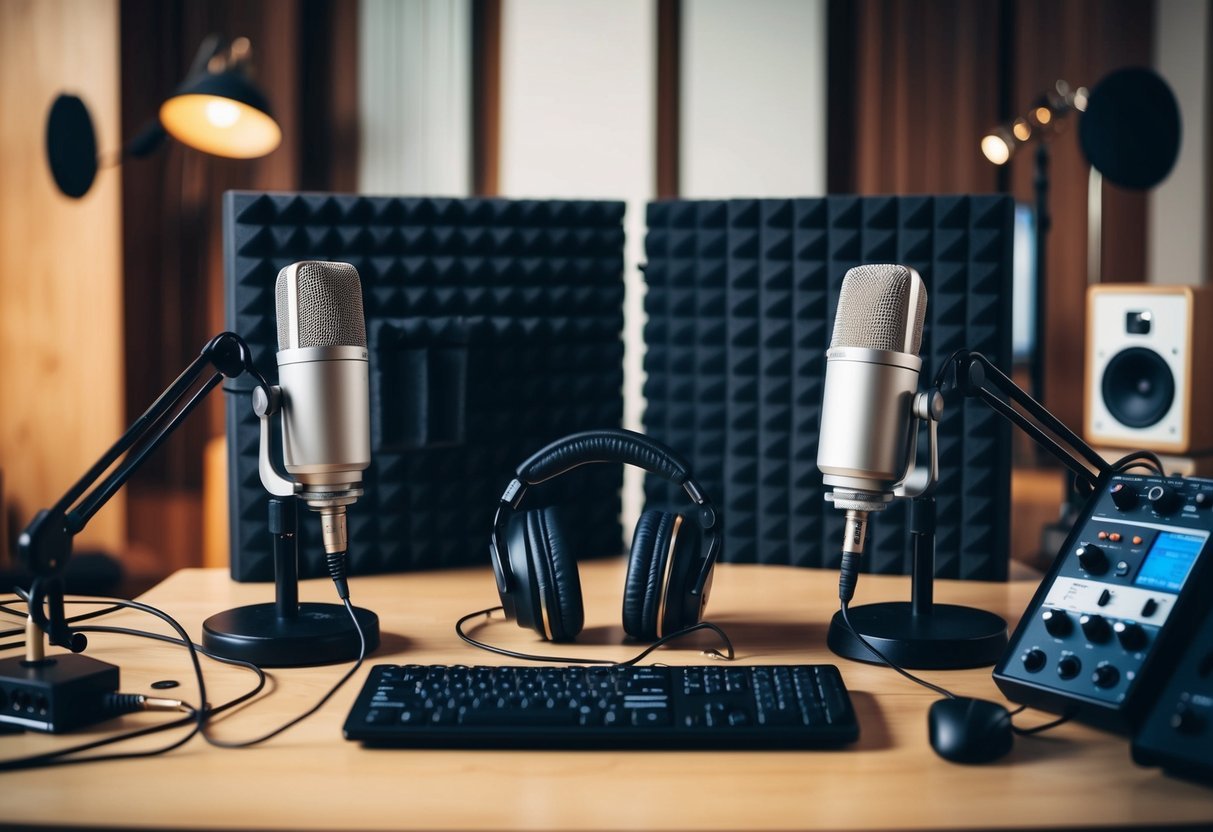
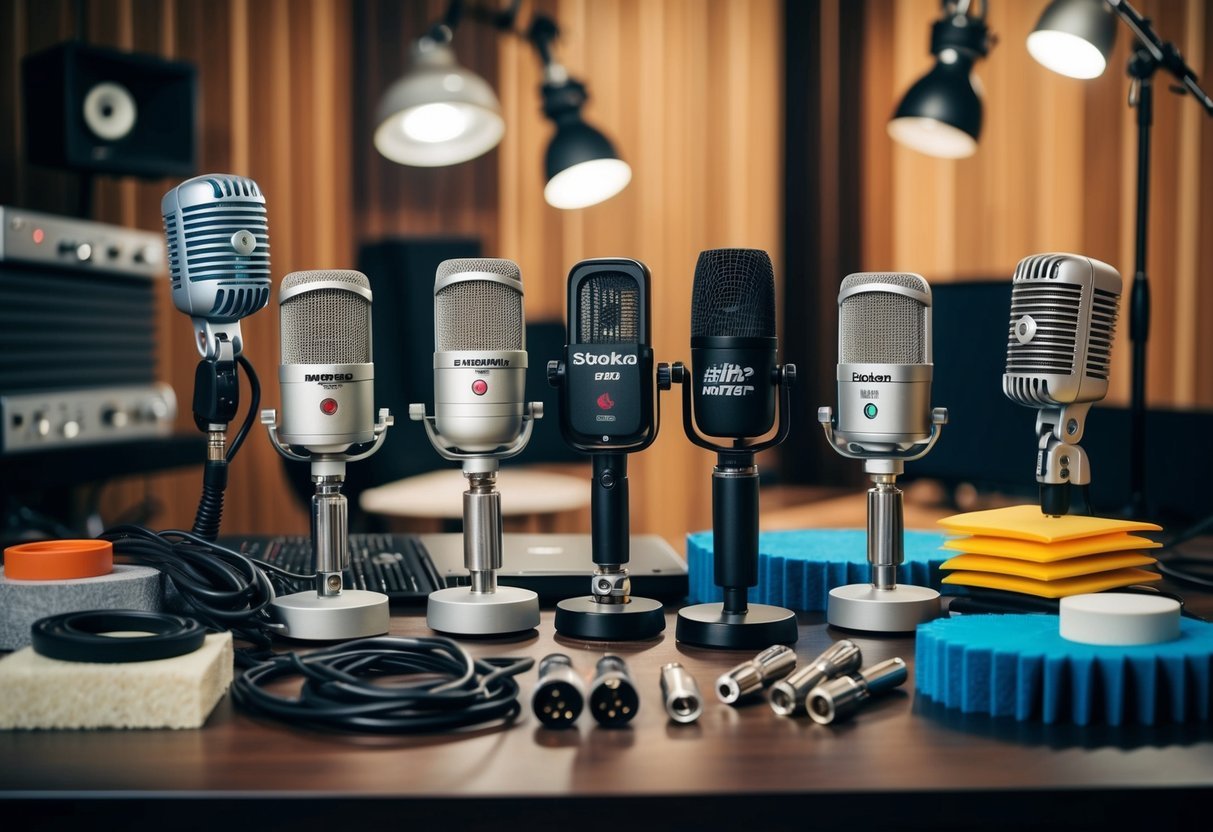
When you’re diving into the world of sound recording, choosing the right microphone can be a game changer.
Whether you’re recording vocals, capturing instrumentals, or creating content for YouTube, having the right microphone setup is essential to bring your sound to life. The Shure SM7B, Rode NT1, and Blue Yeti X are standout choices for versatility and sound quality.

Microphones come in various types, each serving different recording needs. Condenser microphones like the AKG C212XLII are often preferred for studio recordings due to their sensitivity and accuracy.
Dynamic mics such as the Shure SM58 are rugged and reliable, perfect for live performances and situations where durability is key.
Budget is always a factor, and there’s something for everyone, from cost-effective options to high-end solutions.
Affordable models like a $19.99 wireless lavalier might be just what you need for casual podcasting or TikTok creations, while those looking to invest in their craft may consider premium condensers or dynamic mics.
Understanding Microphone Types
When you dive into the world of microphones for recording, it’s important to understand the different types available.
Knowing the main categories, including dynamic, condenser, USB versus XLR mics, and specialty microphones like ribbon and tube mics, can help you make an informed decision tailored to your recording needs.
Dynamic Microphones
Dynamic microphones are versatile and durable, making them ideal for live performances and high-pressure sound environments.
They work using a diaphragm connected to a wire coil that moves within a magnetic field.
This setup makes them less sensitive to humidity and temperature, which is a big plus if you’re recording in various settings.
Unlike condenser microphones, dynamic mics don’t need an external power source.
They’re great for capturing loud sounds without distortion, like drums or amplified guitars.
A popular choice is the Shure SM58, known for its robust build and reliability.
Condenser Microphones
Condenser microphones are commonly found in studios due to their sensitivity and ability to capture detailed sound.
They use a capacitor to convert sound vibrations into electrical signals.
This design makes them ideal for vocals and acoustic instruments.
Phantom Power is typically required to operate condenser mics.
They’re more delicate than dynamic microphones, but their ability to capture subtle nuances is unmatched.
Models like the Neumann U87 are especially favored for vocal recordings.
USB Microphones Versus XLR Mics
Choosing between USB and XLR mics often depends on your recording setup.
USB microphones are plug-and-play, convenient for beginners, podcasters, and anyone looking to simplify their recording process.
They connect directly to a computer without the need for additional equipment.
XLR microphones, on the other hand, require an audio interface or mixer.
While they offer superior sound quality and flexibility, setup can be more complex.
USB mics are perfect for straightforward tasks, but XLR mics might be the choice for professional studio work due to their higher fidelity.
Specialty Microphones: Ribbon & Tube Mics
Ribbon microphones are known for their smooth and natural sound capture.
They use a thin metallic ribbon to produce sound and excel in picking up warm tones.
Studios often use them for brass instruments and vocals.
Tube microphones hark back to vintage recording equipment and offer a unique sonic characteristic.
They’re warm-sounding and add a distinctive color to recordings.
While they require more maintenance and care, they are excellent for those seeking a classic audio aesthetic.
Microphone Polar Patterns Explained
When choosing a microphone, it’s essential to understand polar patterns.
These patterns shape how mics capture sound from different directions, which greatly impacts the quality and breadth of your recordings.
Let’s break down the most common ones: cardioid, omnidirectional, and bidirectional.
Cardioid Pickup Pattern
The cardioid polar pattern is popular due to its heart-shaped pickup area. Cardioid mics mainly capture sound from the front, rejecting a lot of ambient noise from the sides and rear.
You’ll find these valuable in settings where you want to isolate the main sound source.
They’re perfect for live performances or solo vocal recordings.
Just point the mic directly at the source, and you’ll notice how it minimizes unwanted background noise, giving you a cleaner sound.
Omnidirectional Microphones
Omnidirectional mics capture sound equally from all directions.
This pattern is fantastic when you need an open, natural sound because it picks up the room’s acoustic ambiance.
They’re commonly used in settings where multiple sound sources are present, like round-table discussions or capturing environmental sounds.
Be aware, though, these mics don’t reject noise, so they are not the best choice in loud environments.
Their strength really lies in their ability to provide an inclusive sound, capturing everything within their range.
Bidirectional Mics and Stereo Recording
Bidirectional, or figure-8, mics pick up sound from the front and back, but reject it from the sides.
This makes them ideal for stereo recording techniques, such as mid-side and Blumlein pair setups, where capturing sound from two distinct directions adds depth and richness to the recording.
They are often used in interviews between two people facing each other or in recording instruments where you want to capture both the direct and indirect sound.
This unique characteristic enhances recordings by offering a more immersive audio experience, allowing you to exploit the stereo field effectively.
Microphone Features for Superior Sound

When choosing a microphone for recording, certain features can dramatically improve the quality of the sound. Pop filters and windscreens help manage plosive sounds, while low self-noise ensures clarity.
Additionally, onboard controls and connectivity options enhance usability.
Understanding these features allows you to select the right microphone for your needs.
Pop Filters and Windscreens
Pop filters are essential for reducing harsh plosives caused by sounds like “p” and “b.” These sharp bursts of air can distort your recordings, but a pop filter placed between your mouth and the microphone helps to minimize these effects.
Windscreens are another valuable tool.
Designed to fit over the microphone, they dampen unwanted noises from wind or breathing.
Both devices are relatively affordable and easy to attach.
By using them, you can achieve a cleaner and more professional recording, especially in environments with background noise or air movement.
Incorporating these accessories into your setup is a straightforward way to enhance your recordings.
Low Self-Noise for Clarity
Microphones with low self-noise are vital for capturing clear audio, especially for delicate recordings like vocals and acoustic instruments.
Low self-noise means the microphone itself doesn’t add extra sound, which is crucial when striving for a pristine recording.
Selecting a microphone with a low self-noise specification allows you to focus more on your performance and less on worrying about background hiss or hum.
It’s essential for applications where capturing every nuance without interference is important, such as studio work or solo performances.
This feature enhances the clarity of your audio and delivers professionally polished results.
Onboard Controls and Connectivity
Microphones with onboard controls offer flexibility and control over your recording process.
Features like gain adjustment, high-pass filters, or pad switches let you tailor the mic’s response directly.
This means you can adapt the microphone to different environments or sound sources efficiently.
Connectivity is also a vital consideration.
Look for mics with a variety of connectivity options like XLR or USB, which ensure compatibility with your recording equipment.
Some models even include a headphone jack for real-time monitoring.
These features enable you to have immediate control over your recording experience, lessening the need for additional gear and simplifying the process.
Setting Up Your Recording Space
Creating an ideal recording space at home involves addressing acoustics, managing sound pressure levels, and implementing effective noise reduction strategies.
These elements collectively ensure top-notch audio quality, whether you’re recording vocals, acoustic instruments, or experimenting with various sound effects.
Acoustic Treatment for Recording
When setting up your recording space, acoustic treatment is a game-changer.
Your focus should be on reducing reflections and echoes that can alter the sound quality.
Think of adding materials like foam panels or bass traps to your walls.
These help in absorbing sound waves, especially if you plan to record an acoustic guitar or other acoustic instruments.
You could also consider using diffusers, which scatter sound waves, preventing standing waves and comb filtering.
While it might sound expensive, DIY options using thick blankets or bookcases can be effective and budget-friendly.
The idea is to create a space where the sound neither echoes excessively nor gets severely dampened, striking the right balance for clear recordings.
Understanding Sound Pressure Levels
Knowing about sound pressure levels (SPL) is crucial for a good recording environment.
Sound is measured in decibels (dB), and it’s important to control these levels to avoid distortion.
For home studios, keep SPL under 85 dB to prevent sound overloads, maintaining clarity in your recordings.
For those recording soft or moderately loud sources like an acoustic guitar, ensure your room is not overly exposed to high ambient SPLs.
This ensures that you’re capturing the nuances of your instrument or voice without unnecessary distortion.
Tools like SPL meters can help you monitor and adjust levels as needed.
Managing SPL effectively keeps your recordings clean and true to the source.
Noise Reduction Strategies
Once your space is treated acoustically, tackle unwanted noise interference. Noise reduction helps in maintaining the integrity of your recordings.
Simple measures include closing windows and doors, which cuts down external noise remarkably.
For street or neighbor noise, consider thicker curtains or even installing window inserts.
You might also try using a portable vocal booth, which isolates sound around the microphone.
For additional soundproofing, consider using weather stripping around doors or adding a thick rug to reduce floor vibrations.
These strategies ensure that your recordings are focused on desired sounds and are free from disruptive noise, whether coming from outside your room or within.
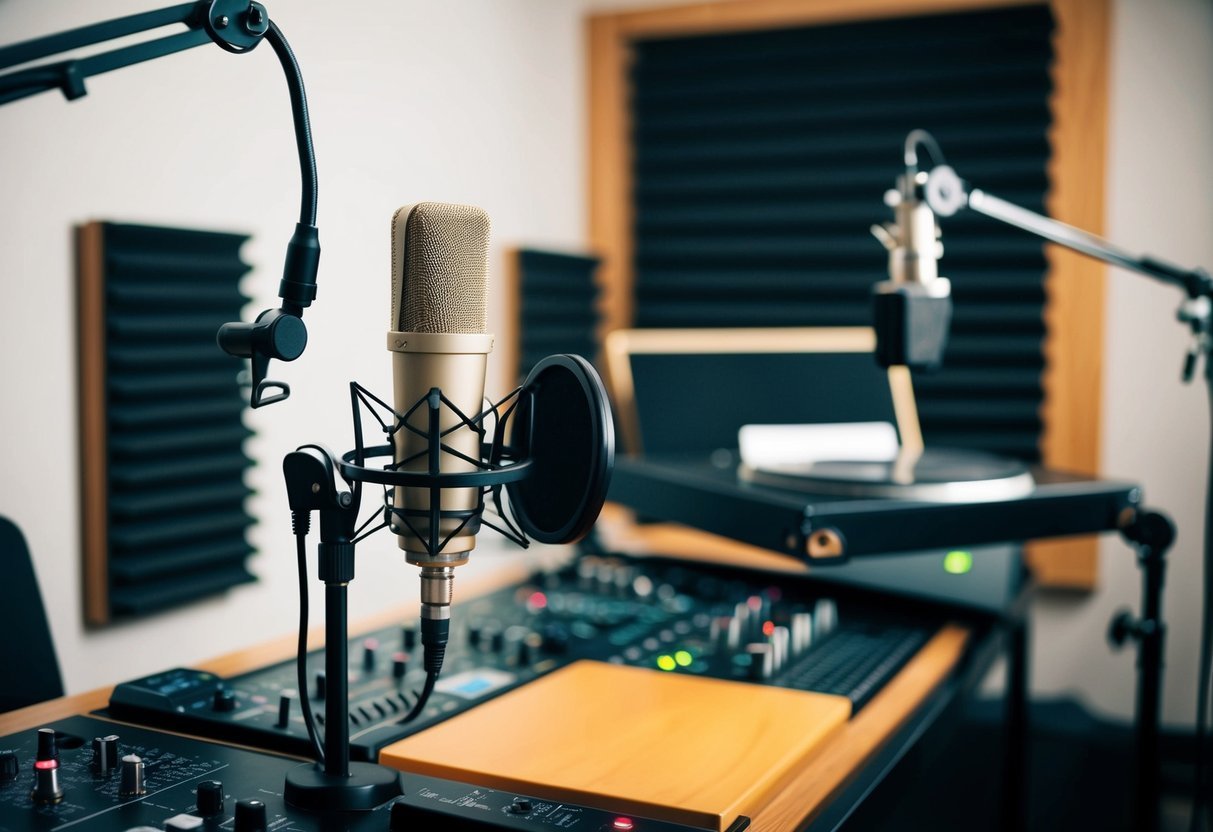
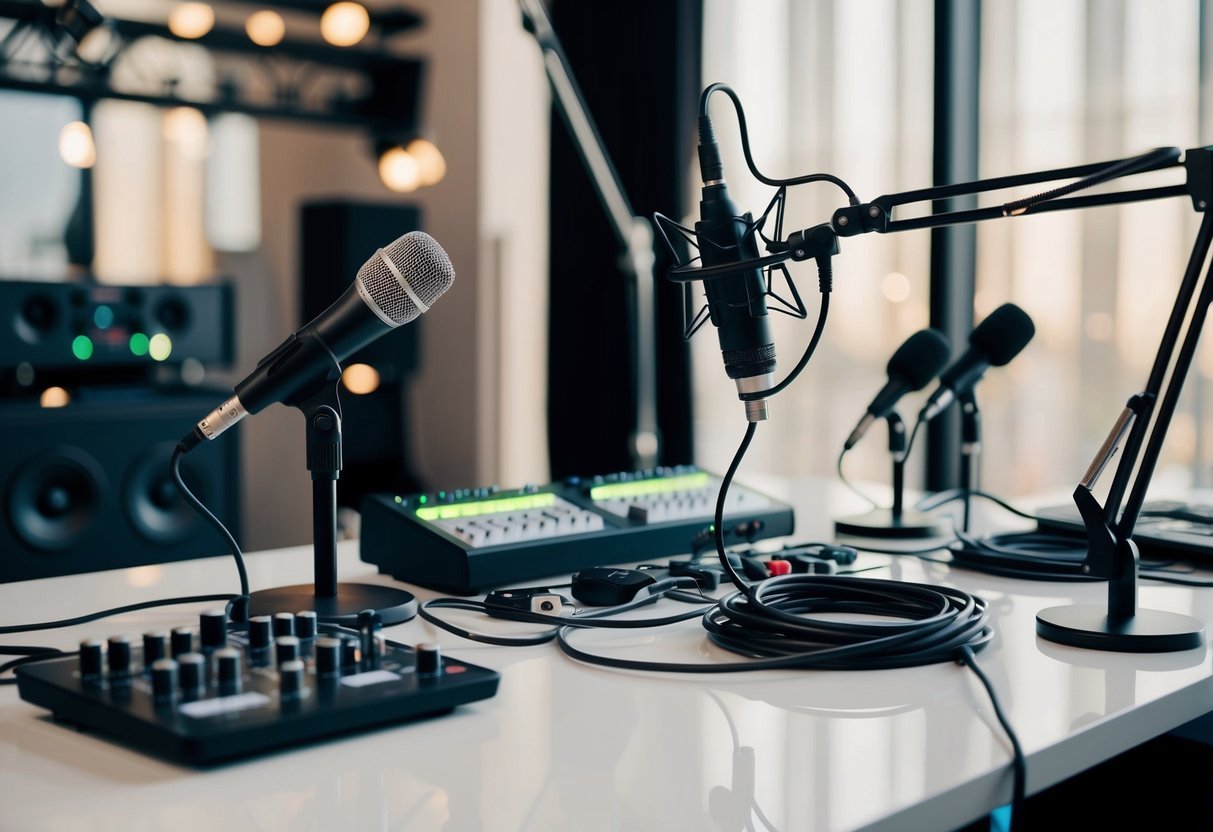
Essential Accessories and Interfaces
When setting up a recording studio, having the right accessories and interfaces can make a big difference in your sound quality.
Key components include audio interfaces, cables, and stands, which all play critical roles in connecting and supporting your recording equipment.
Choosing the Right Audio Interface
An audio interface is crucial for converting analog sound from microphones into digital audio.
You’ll want to look for interfaces with enough inputs and outputs to accommodate your equipment.
For USB condenser microphones, you’ll often see simple plug-and-play USB interfaces.
If you’re using equipment that relies on XLR connections, consider options like the Focusrite Scarlett series or the Universal Audio Apollo.
Make sure the interface has good preamps and low latency for the best performance.
A clear, intuitive interface can also streamline your recording process.
Essential Cables and Stands
Cables are the connective tissue of your studio setup, ensuring that the mic, audio interface, and other equipment communicate effectively.
XLR cables are commonly used for microphones, whereas USB cables are often needed for direct digital connections.
Aim for high-quality, durable cables to reduce noise interference.
Microphone stands keep your mic stable and at the right height—key for capturing clear recordings.
Look for adjustable stands with a sturdy base to avoid tipping.
For vocals, adding a pop filter to your setup can help eliminate unwanted plosives, making your recordings sound much cleaner.
Microphone Selection for Specific Applications
Choosing the right microphone for your task can make a significant difference in the quality of your recordings.
Whether you’re capturing vocals, instruments, or streaming content, selecting the appropriate microphone is crucial for optimal sound.
Microphones for Vocal Recording
For vocal recording, you generally want a microphone that captures the richness and detail of the voice. Condenser microphones, like the Neumann U87, are popular for studio settings due to their sensitivity and frequency response.
This type captures intricate vocal nuances, making it ideal for singers and vocal performances. Dynamic microphones like the Shure SM7B are also excellent choices, especially in environments with less-than-perfect acoustics, as they are less sensitive to ambient noise.
Instruments and the Right Mics for Them
Each instrument has its characteristics, and different microphones suit different needs.
For acoustic guitars, try a condenser mic such as the AKG C451 B, which offers an airy sound that captures string nuances.
When recording drums, specialized mics like the AKG D112 MkII for kick drums are recommended.
Dynamic mics are good for guitar amps due to their ability to handle high sound pressure levels.
Podcasting and Streaming: Optimal Choices
For podcasting and streaming, clarity and ease of use are paramount. USB microphones like the Blue Yeti provide simplicity and great sound quality without needing additional equipment.
Dynamic mics are another solid choice, capturing clear voice tones while minimizing background noise.
Consider features like built-in pop filters and multidirectional pickup patterns for versatile recording options.
Gaming Microphones
In gaming, a good microphone can enhance communication and immersion. Headset microphones are convenient, but separate standalone mics typically offer superior quality.
Condenser mics ensure your voice is heard clearly by teammates.
Look for those with noise-canceling features to eliminate keyboard and mouse clicks.
USB mics like the Razer Seiren Mini are compact yet provide excellent sound quality for streaming game sessions.
Top Picks and Microphone Reviews
Choosing the right microphone can elevate your recording experience.
Whether you need industry-standard models, USB ease, high-end precision, or budget-friendly options, there are picks suited for varied needs.
Industry Standards: SM58 & SM57
When it comes to reliability and performance, the Shure SM58 and SM57 are iconic.
You’ll find these models in almost every studio and live performance setting due to their durability and quality sound.
The SM57 is renowned for its versatility, often used for instruments like guitars and drums.
In contrast, the SM58 is the go-to for vocals, boasting a robust build and clear sound reproduction.
Both are dynamic microphones that don’t require external power, making them a stable choice for on-the-go recording.
The Best USB Microphones for Accessibility
USB microphones offer a hassle-free setup that even beginners appreciate. Blue Yeti is a top choice with its multiple pickup patterns, allowing you flexibility in different recording situations.
Just plug it into your computer, and you’re ready to record.
Another great option is the Audio-Technica AT2020USB+, which delivers detailed sound quality ideal for podcasting and voiceovers.
These microphones are perfect if you’re looking to keep your setup simple without sacrificing sound quality.
Their convenience and affordable pricing make them attractive for both budding creators and seasoned pros.
High-End Picks: Neumann and AKG
For those seeking premium sound, the Neumann U87 and AKG C414 XLS are legendary in professional studios.
The U87 is revered for its warm, smooth tones, making it ideal for vocals and a wide range of instruments.
On the other hand, the AKG C414 XLS is celebrated for its versatility, with multiple polar patterns and a remarkable ability to capture intricate details.
These microphones might be an investment, but they offer unmatched sound quality and build, satisfying the most discerning audiophile.
Budget Microphones with Best Value
If you’re recording on a budget, there are excellent microphones that don’t compromise on quality.
The Audio-Technica AT2020 is a favorite, delivering crisp audio for less.
It’s perfect for home studios, offering good sound clarity without a hefty price tag.
The Behringer C-1 is another budget-friendly option, great for basic recording needs.
You don’t have to spend much to get decent recording quality, and these options prove that affordability doesn’t have to mean below-par performance.
These choices ensure you don’t break the bank while achieving solid recording results.
Recording Techniques for Professional Results
Capturing great sound isn’t just about having the best microphone—it’s about knowing how to use it effectively in your recording environment.
Considerations like microphone placement, using multiple pickup patterns, and layering can transform your recordings.
Mic Placement and Environment
The way you position your microphone can hugely impact the quality of your recordings.
Try placing the mic close to the sound source for a more direct capture, while a bit of distance can offer a more natural sound.
Consider the room’s acoustics, as they can subtly color your sound.
If possible, use acoustic treatment like foam panels or diffusers to manage reflections and echoes.
Experiment with different placements—near corners or against walls can provide unique tones.
Multiple Pickup Patterns for Versatility
Choosing a microphone with multiple pickup patterns can offer you versatility.
Cardioid patterns focus on sounds coming from the front, reducing unwanted noise from other directions, ideal for vocals and isolated instruments.
Omnidirectional mics capture sound from all directions, useful for live recordings where ambiance is key.
Meanwhile, Figure-8 patterns can be effective for recording duets or two instruments, as they record from the front and back.
Layering Vocals and Instruments
Layering is a technique to add depth and richness to your recordings.
When recording vocals, try double-tracking where you record the same vocal line twice for a fuller sound.
You can also record harmonies separately and layer them in your recording software for complexity.
Instruments benefit from layering too, like recording guitar rhythms separately from solos or accent pieces.
Mixing these layers in your software helps sculpt the sound, giving you control over volume, pan, and effects.
Microphone Maintenance and Upkeep
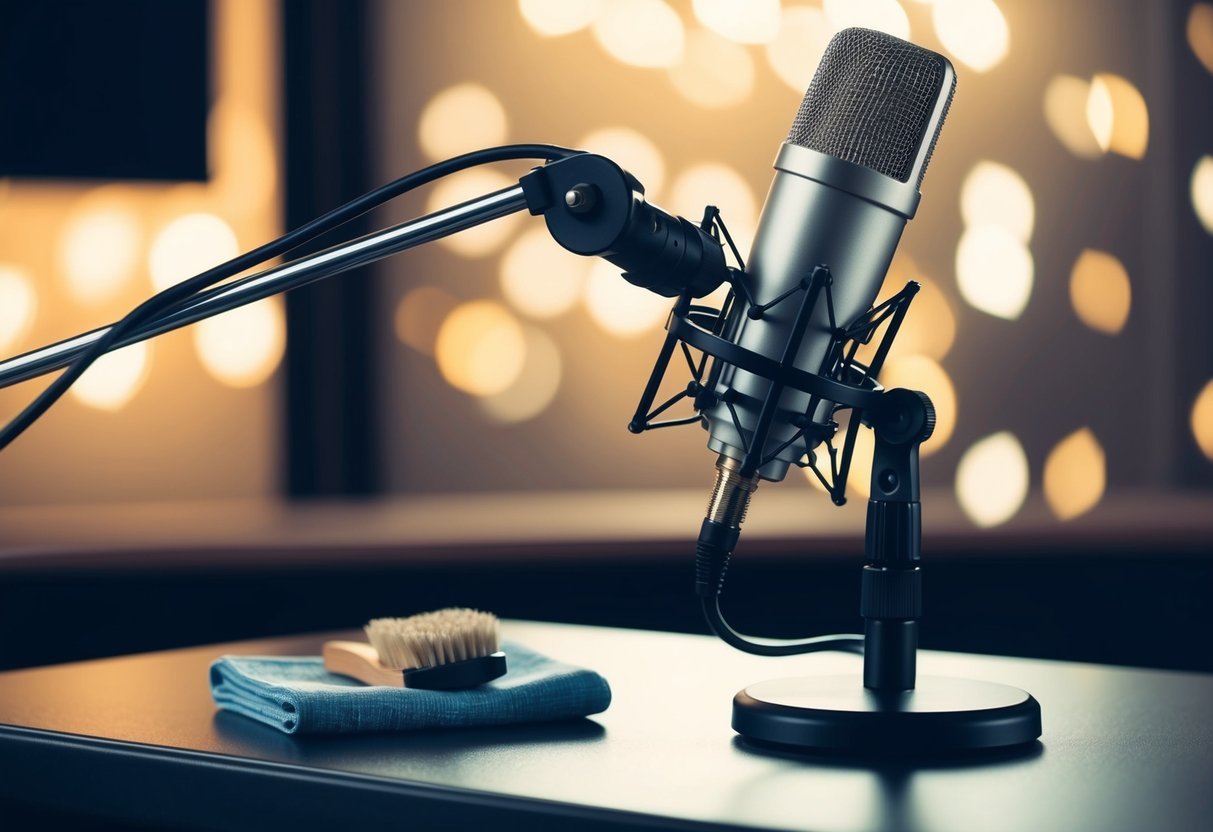
Taking good care of your microphones can significantly enhance their lifespan and maintain sound quality.
Proper cleaning, careful storage, and timely troubleshooting will help you keep your mics in top shape, ensuring they remain versatile tools for recording.
Cleaning and Storing Your Mics
Start by gently brushing off any loose dust with a soft, dry brush.
This prevents buildup on the microphone’s surface and grill.
Afterward, use a lint-free cloth slightly dampened with a mixture of 70% isopropyl alcohol and 30% water to clean external surfaces.
It’s crucial to avoid letting moisture enter any openings as this can damage internal components.
When storing, keep your microphones in a dry, dust-free environment.
Using a hard case or protective bag is recommended to avoid dust accumulation and accidental damage.
If your microphone comes with a pouch or box, use it.
Secure storage not only protects the mic but also maintains its versatility in various settings.
Troubleshooting Common Issues
Occasionally, microphones may face issues like unwanted noise or reduced sensitivity.
Checking your cables and connections is a good starting point, as loose plugs can cause static or interference.
Inspect these for signs of wear and replace anything damaged.
If sound quality deteriorates, consider whether recent settings or environmental changes might be responsible.
Ensure all settings align with standard usage and that any audio interfaces are properly configured.
In cases where the microphone doesn’t pick up sound, verify the power source and phantom power settings, if applicable.
Persistent problems might require professional servicing to diagnose and correct any internal faults.
Regular maintenance and awareness of these common issues will keep your microphones running smoothly.
Innovations in Microphone Technology
Get ready to explore some exciting developments in microphone technology.
Learn about the rapid evolution of USB and wireless mics, and discover the latest advancements in recording equipment that are transforming how you capture sound.
The Future of USB and Wireless Mics
USB microphones have become big game-changers, especially for podcasters and streamers. The Shure MV7 is a standout here, offering both USB and XLR outputs for flexible use.
It’s perfect if you’re looking to upgrade your podcasting game.
When it comes to wireless mics, there are significant improvements too.
Dual-channel wireless mics like the DJI Mic 2 can record from two sources simultaneously.
This makes it easier to capture interviews or performances without messing around with cables.
Wireless mics are now more reliable, with better range and battery life.
Advancements in Recording Hardware
Recording hardware hasn’t been sitting still either.
Large diaphragm condenser microphones, such as those from Aston Microphones Origin, are designed to capture more nuanced sounds.
These mics provide clearer and more detailed audio, ideal for studio recordings.
For those who need extra portability, podcasting microphones and compact recording devices are improving fast.
Enhanced plug-and-play gadgets ensure you can record pro-level audio straight to your computer.
Built-in preamps in devices, like some low-output models, eliminate the need for extra gear to get optimal sound.
The integration of modern features is making high-quality recording more accessible than ever before.
Exploring Brands and Their Flagship Microphones
When recording, microphone choice makes all the difference.
Different brands offer a wide range of microphones, each suited for specific needs, from robust dynamics to sensitive condensers.
Shure’s Versatile Lineup
Shure is a household name in the world of microphones.
Famous for its durability and reliable sound, the Shure SM58 is a staple for live vocals.
Its design helps reduce feedback, making it ideal for noisy environments.
If you’re looking for versatility, this dynamic microphone is a top pick.
In addition to live performance, Shure also offers studio options like the SM7B, perfect for broadcasting and studio recording due to its smooth, flat, wide-range frequency response.
You’ll find Shure mics in nearly every artist’s collection.
Audio-Technica’s Precision Engineering
Audio-Technica microphones are known for their precision and reliability.
The Audio-Technica AT2020 is a go-to large-diaphragm condenser microphone for many home studios.
Its affordability coupled with high-quality audio makes it a favorite for recording vocals and instruments.
This mic captures the nuances of your performance with impressive detail.
For someone seeking clarity and detail without breaking the bank, Audio-Technica provides a solid choice.
It’s a mic that works well across a variety of settings, from podcasts to music production.
The Blue Yeti Phenomenon
The Blue Yeti is often the first microphone many new content creators purchase.
It’s a USB microphone, making it an easy plug-and-play option for recording.
Versatility is a standout feature with its multiple pattern settings including cardioid, bidirectional, omnidirectional, and stereo.
Perfect for podcasts and voiceovers, the Blue Yeti ensures clear audio capture with minimal hassle.
If you’re starting out and need something straightforward yet effective, this is the microphone to consider.
It’s reputation in the digital content world speaks volumes about its usage and effectiveness.
Rode’s Studio Favorites
Rode is synonymous with studio-quality microphones.
The Rode NT1 is a large-diaphragm condenser microphone that delivers a warm and clear sound profile.
Musicians and producers favor it for capturing the subtleties of vocals and instruments with minimal self-noise.
Rode’s microphones like the NT1-A are celebrated for their high sensitivity and consistent performance across various recording applications.
They’re reliable and cost-effective, making them a staple in studios worldwide.
They offer great quality for both professional and home studio setups.
Frequently Asked Questions

If you’re diving into recording, picking the right microphone is essential.
Consider cost-effective options for beginners and professional-grade choices for seasoned users.
Don’t forget flexibility for mobile use and starting a YouTube channel.
What’s a solid yet affordable mic for getting into recording?
For those starting out, an easy-on-the-wallet option is the Audio-Technica ATR2100x-USB.
This mic offers USB connectivity, which is great for home recording.
Plus, it’s versatile enough for both vocals and instruments.
Which mics do the pros use when laying down studio tracks?
Many artists use the AKG C214 for its clear vocal performance.
With a 20dB pad and high sound quality, it’s preferred in studios for both vocals and as drum overheads.
What should I look for in a microphone if I’m recording vocals?
Look for a condenser mic with a neutral frequency response, like the Rode NT1-A. This gives you the flexibility needed when mixing.
A clear and true representation of vocals can make all the difference in your recordings.
Can I get a good recording mic that also works well with my phone?
For dual-use with a phone, consider USB mics like the Audio-Technica ATR2100x-USB.
These can connect through USB adapters, making them convenient for mobile content creation.
I’m starting a YouTube channel; what mic offers the best sound?
A good starting point for YouTube channels is the Logitech Blue Yeti Nano.
It’s USB-compatible and provides great sound quality without needing advanced audio setups, ideal for vlogs or podcasts.
I need a wireless mic for recording—any suggestions?
I suggest checking out the Rode Wireless GO II.
It provides impressive sound quality and is easily portable.
This makes it perfect for anyone in need of a wireless solution for recording on the move.