
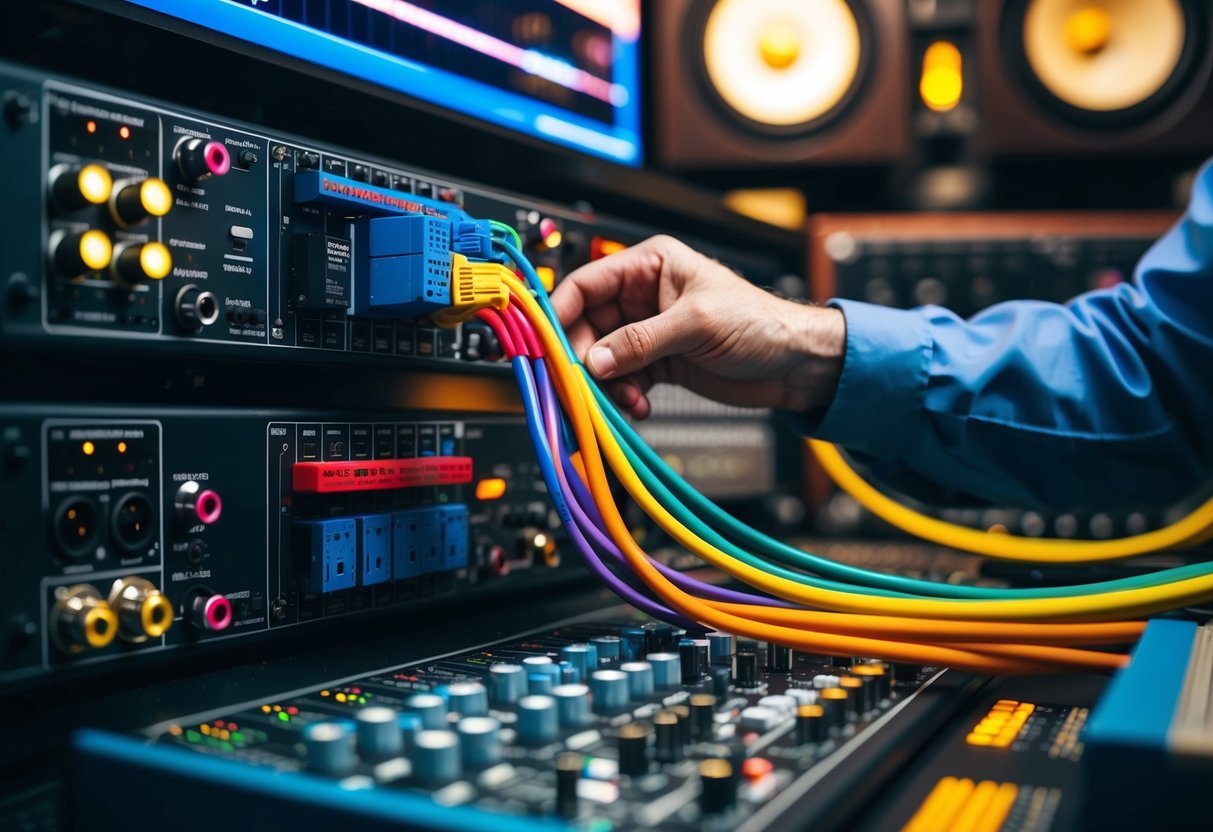
If you’ve ever tangled yourself in a mess of audio cables, you know how chaotic a studio can get without proper signal management.
Patch bays and signal routing are the unsung heroes of the music studio, turning that chaos into a symphony of organization. A patch bay acts as a central hub, allowing you to easily reroute audio signals without constantly swapping cables. This means more time focusing on making music and less time fiddling around with connections.
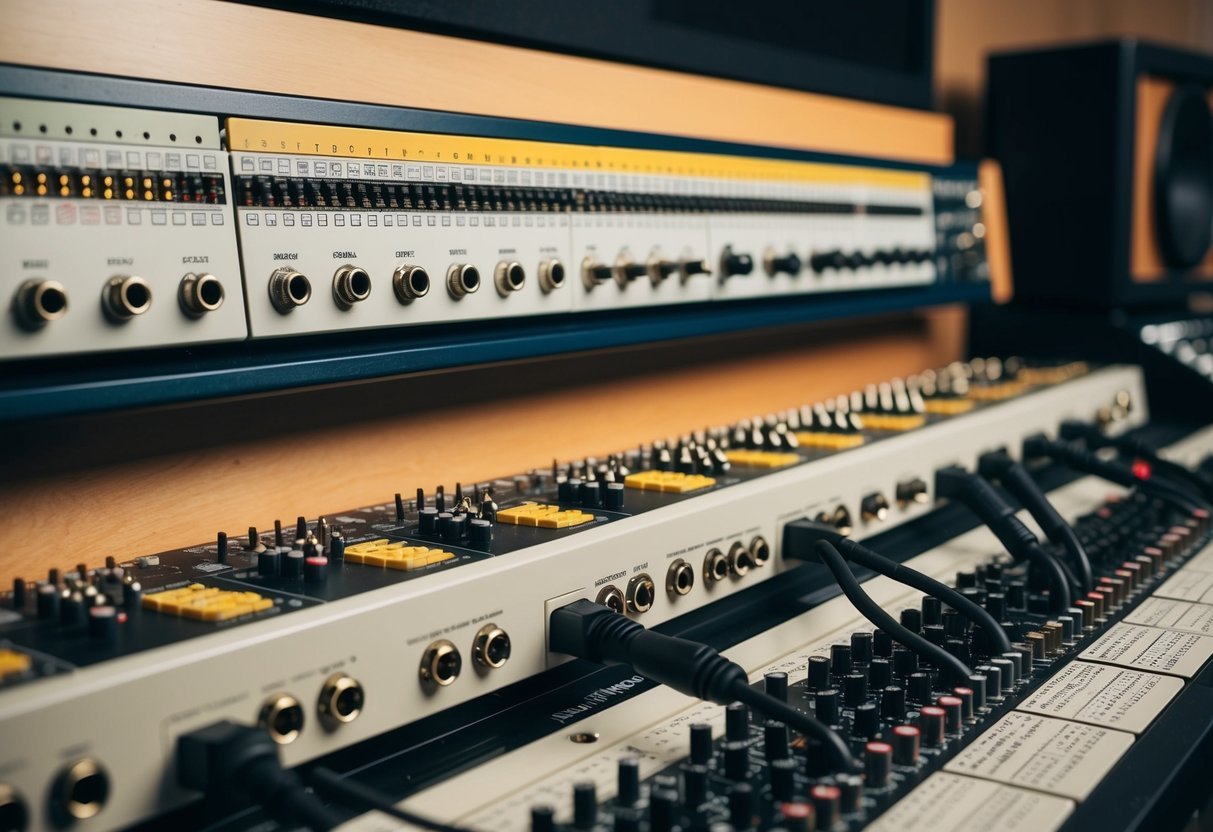
Getting to grips with patch bays is crucial if you want to make your studio sessions smoother and more efficient.
In a professional setting, patch bays often come with either tiny telephone (TT) or B-gauge connectors, which facilitate balanced analog audio connections.
Understanding and using these tools effectively can streamline your workflow and ensure that your creative process isn’t hampered by technical hitches.
By using patch bays in your music studio, you’re not just organizing equipment; you’re opening up a world of routing possibilities.
Whether you’re dealing with digital signal processors or mundane cable connections, the flexibility a patch bay offers can totally transform how you work.
Once you grasp their importance, you’ll see why professionals consider them an essential part of any studio setup.
Understanding Signal Flow in the Studio
In a music studio, navigating the path audio signals take is crucial.
You’ll discover how audio signals travel through various equipment and the role mixers and effects units play.
Essentials of Audio Signals
Audio signals move through a studio via a defined path, known as the signal flow.
This starts with audio inputs, like microphones or instruments, converting sound waves into electrical signals.
These signals enter the preamp, where they get boosted to a usable level.
The signal then travels through different devices in a set sequence.
Each device affects the signal, altering characteristics like amplitude or frequency response.
Understanding this process is key for getting the desired sound.
Organized connections ensure you can effectively manage your studio’s audio routing and troubleshoot issues.
Maintaining a clear signal path helps in obtaining clean and accurate sound.
Utilize tools like patch bays to re-route signals easily without endless cable swapping.
Control over signal flow allows for creativity without sacrificing audio quality.
The Role of Mixers and Effects Units
Mixers are central in controlling audio signals.
They blend multiple sources, allowing you to adjust levels, EQ, and pan settings before sending them to the output.
The mixer’s inputs and outputs are crucial for integrating other gear.
Effects units further shape your sound.
You can insert effects like reverb or delay into the signal path for creative enhancement.
Knowing where and how to insert these effects ensures that you preserve signal integrity.
With digital and analog options available, modern mixers often offer flexibility with routing capabilities, combining traditional patch bay concepts with digital interfaces.
Efficient use of mixers and effects can significantly enhance the quality and depth of your recordings.
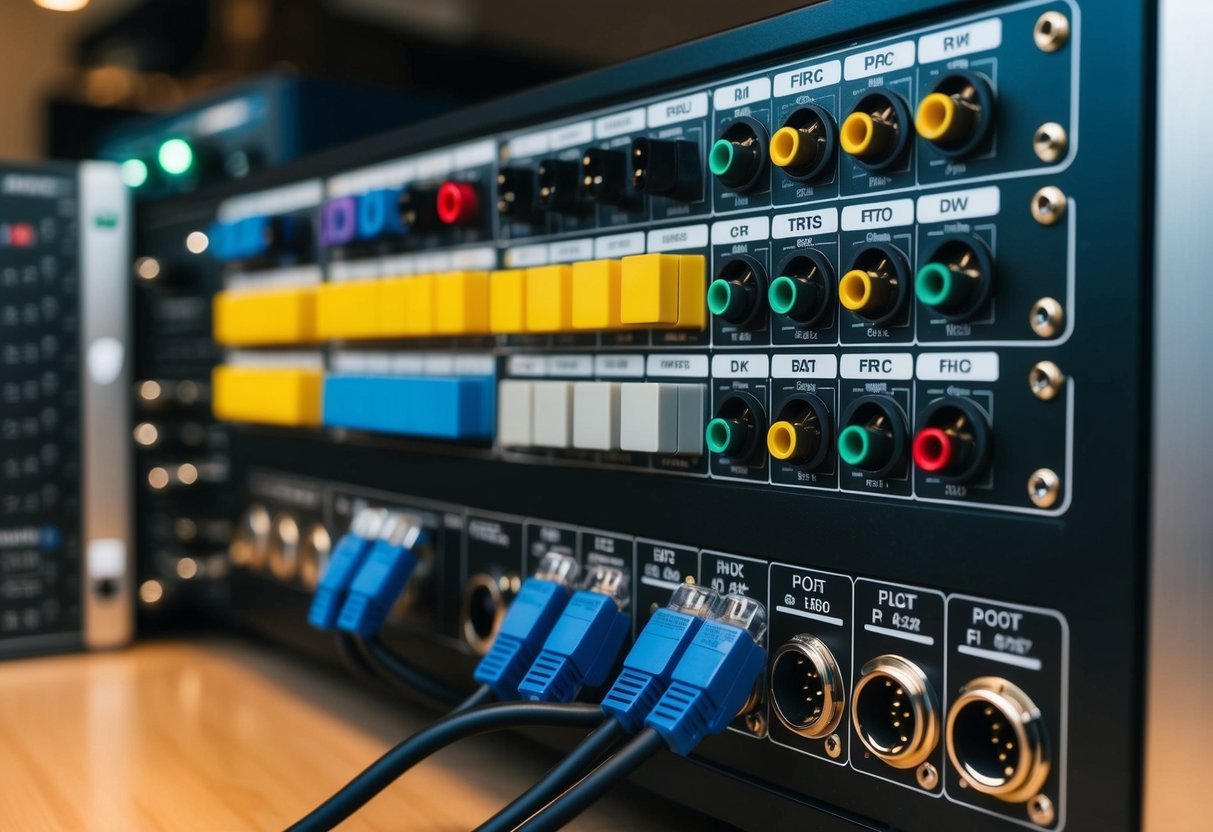
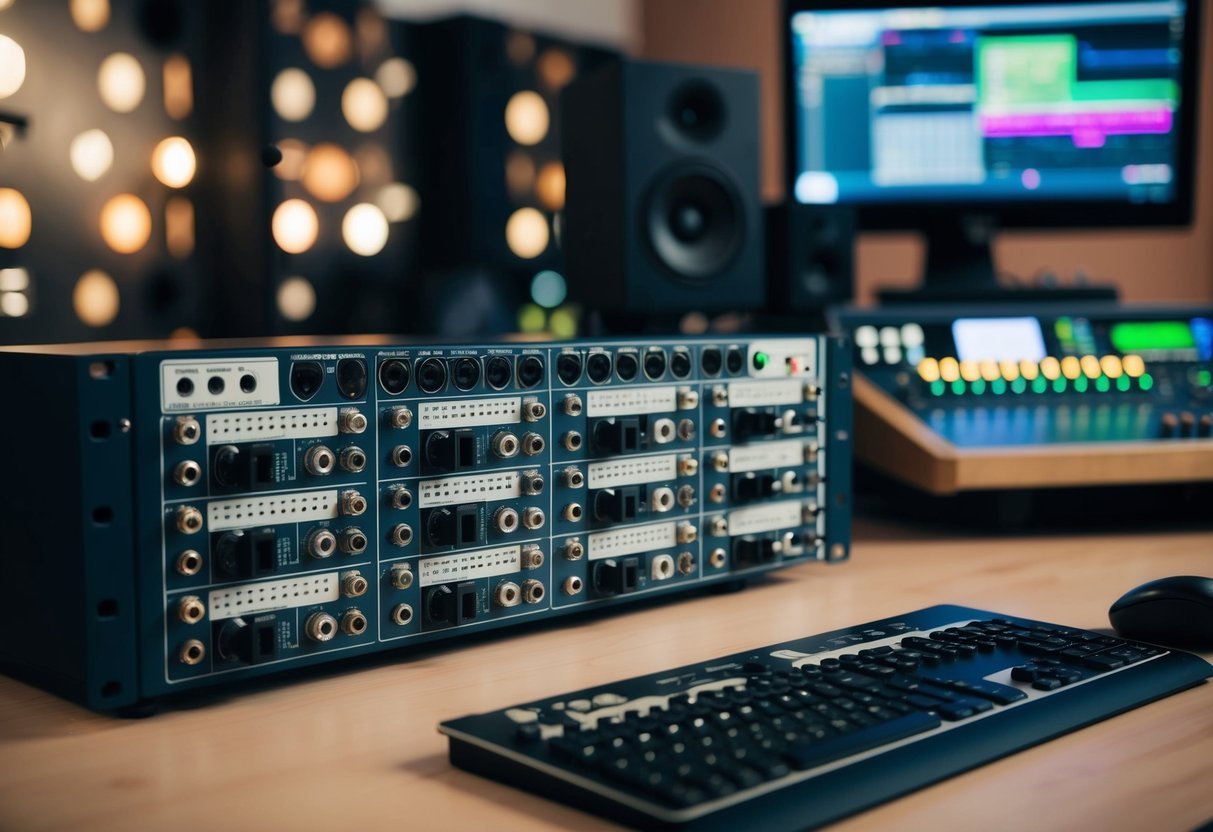
Types of Patch Bays
Patch bays are essential tools in audio studios, offering versatile options for organizing and routing signals.
Two fundamental considerations are the normalling configuration and whether the patch bay is balanced or unbalanced.
Understanding Normalling
Normalling refers to how patch bay connections are pre-configured. Half-normal patch bays enable signals to pass through an internal connection until a cable is inserted, allowing you to tap into the signal path without disrupting it. Full-normal setups break the internal connection when a cable is inserted, rerouting the signal.
This is handy when you want to completely redirect the signal flow. Non-normal patch bays, on the other hand, have no internal connection, meaning you have to manually connect everything.
Understanding these configurations helps you maintain signal flow flexibility and organization.
Balanced vs Unbalanced Patch Bays
In patch bays, balanced connections handle audio signals that are less susceptible to noise and interference.
They use three conductors: tip, ring, and sleeve.
This type is ideal for professional studio setups. Unbalanced patch bays, however, use only two conductors: tip and sleeve.
While easier to connect, they might introduce noise over long cable runs.
The choice between balanced and unbalanced often depends on your studio’s needs and existing equipment.
Using balanced patch bays can improve audio quality and reduce unwanted noise, especially important in larger setups.
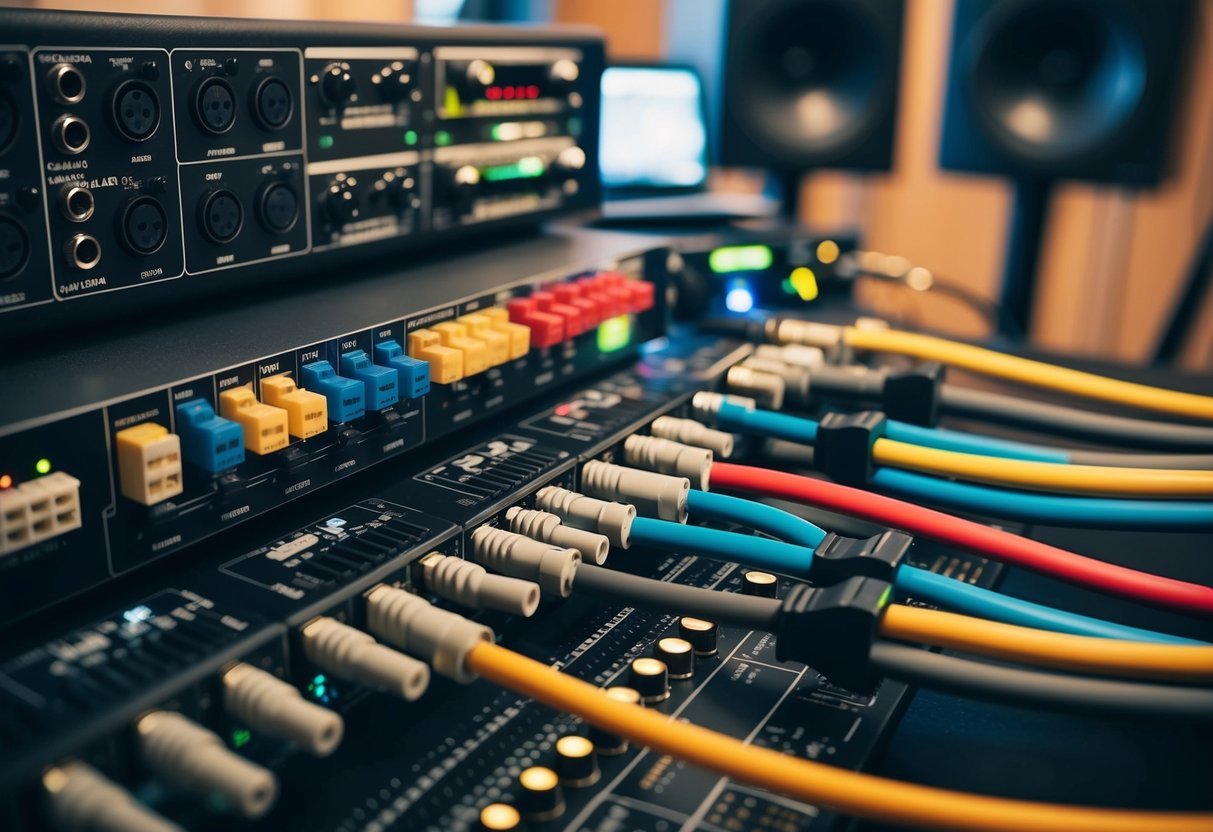
Cable Connections and Jack Types

In a music studio, understanding cable connections and jack types is crucial for optimizing signal clarity and minimizing noise.
This section covers differences between balanced and unbalanced cables and tips for effective cable management and troubleshooting.
Balanced vs Unbalanced Cables
Balanced and unbalanced cables are essential in establishing robust audio connections. Balanced cables, such as TRS (Tip-Ring-Sleeve) and XLR, transmit audio signals with minimal noise over long distances due to their three-conductor design.
This design includes two signal wires and a ground, which helps cancel out noise via phase inversion.
Unbalanced cables, like TS (Tip-Sleeve), have two conductors—a single signal wire and a ground.
These are more susceptible to noise, making them suitable for short runs.
Understanding these differences will help you select appropriate cables based on your studio’s needs and setup.
Cable Management and Troubleshooting
Effective cable management involves organizing patch cables and other connections to ensure clean signal flow and easy troubleshooting.
Use patch bays with clear labeling to simplify routing.
Keep cables untangled and consider using cable looms at the back and shorter patch cables at the front.
When troubleshooting, check connections at every jack point and use testing tools to identify faulty lines. Multi-pin connectors, while complex, streamline connections by combining several lines into one cable, helping reduce clutter.
If issues arise, systematic tracing can pinpoint problems without guesswork.
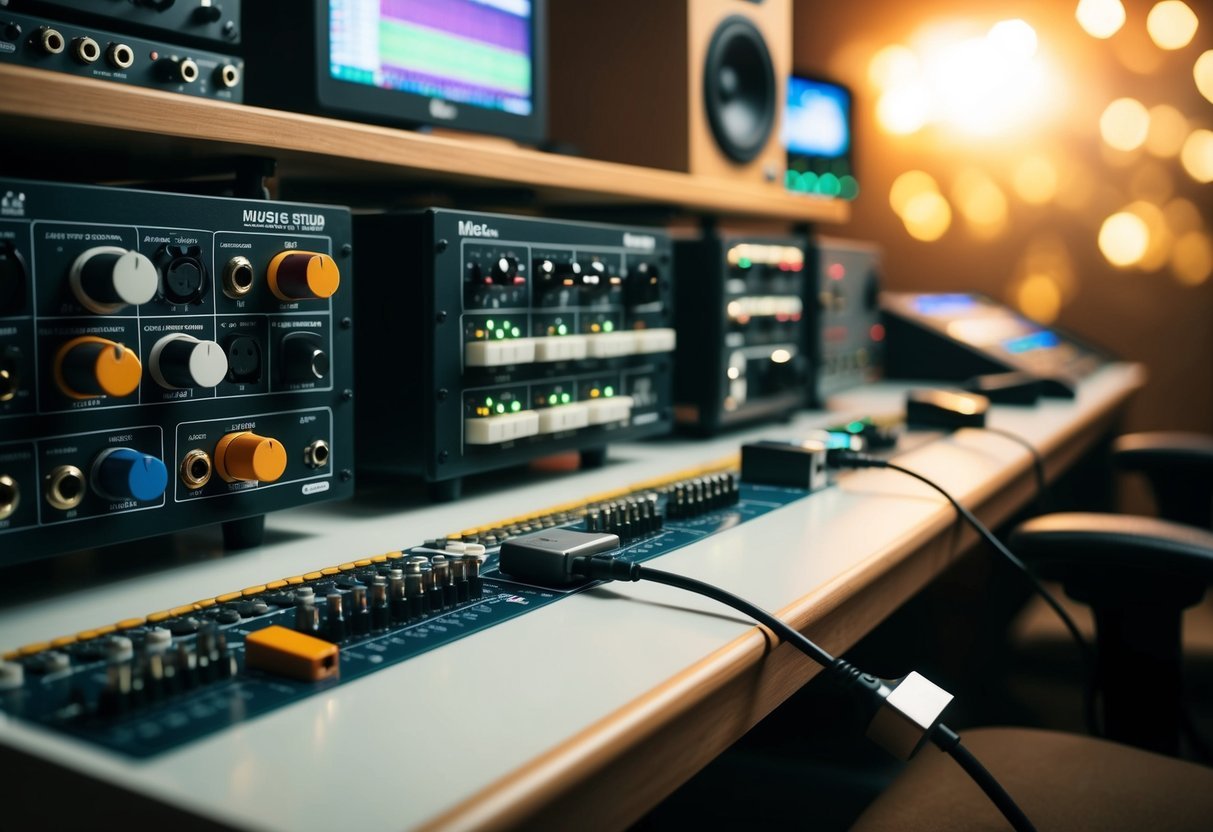
Integrating Patch Bays with Outboard Gear
When setting up a home or professional studio, integrating patch bays with outboard gear can greatly enhance your workflow.
This setup allows you to manage audio routing efficiently and flexibly, especially when it comes to connecting microphones, preamps, and effects units.
Connecting Microphones and Preamps
To connect microphones and preamps using a patch bay, you begin by routing the microphones through the patch bay to various preamps.
This means connecting your microphone inputs to the top patch points and then connecting the preamps to the corresponding bottom points.
Using normalled connections, audio signals pass seamlessly from the microphone to the preamp unless a patch cable is inserted.
This setup allows for quick changes without needing to rewire everything.
If you have multiple preamps or want to switch between them easily, setting up a patch matrix makes this process smooth.
With such integration, you can experiment with different preamps for varying tonal qualities, thus expanding your creative possibilities.
Using Effects Loops and Aux Sends
Integrating effects loops and aux sends using a patch bay involves routing signals from an audio interface or mixer to the effects units.
By connecting your aux sends through a patch bay, you can route them to any of your effects gear quickly.
Usually, you’ll use TRS or XLR connectors, depending on what your equipment supports.
Once in the patch bay, these connections allow you to send an audio signal to any effects unit—creating parallel processing paths.
This setup is particularly useful for effects like reverb or delay, which are often used in aux sends for mixing.
By doing this, you have the flexibility to add or change effects without unplugging any cables.
Configuring Patch Bays for Your Studio
Setting up patch bays in your studio involves several key considerations, including the differences between configurations suitable for home and professional environments.
Maintaining signal integrity is also crucial to ensure high-quality sound.
Differences Between Home and Professional Studios
In a home studio, space limitations often dictate a more compact and simplified patch bay setup.
You might opt for a one or two-panel unit, handling only essential gear connections.
The focus here is on maximizing flexibility and ensuring ease of use.
For professional studios, the approach shifts towards complexity and capacity.
You’ll likely install multiple patch bays to accommodate extensive equipment, ensuring all components are connected and accessible.
This setup offers more routing possibilities and integrates seamlessly into the studio’s workflow.
A project studio might fall between these two, needing enough routing options to accommodate expansion without overwhelming existing systems.
Consider your studio’s long-term plans when deciding on the size and complexity of your patch bay configuration.
Best Practices for Signal Integrity
Maintaining signal integrity is pivotal for both home and professional studios.
Implement high-quality cables like balanced TRS or bantam connectors to reduce interference.
Keep cable lengths as short as necessary to prevent unwanted noise and signal degradation.
Avoid running power cables alongside audio cables to minimize hum and interference. Labeling connections is essential for avoiding confusion and streamlining troubleshooting processes.
Always ensure secure connections to prevent accidental disconnections during recording or performance.
Regular maintenance, such as cleaning jacks and inspecting for damage, supports longevity and reliability.
Invest time in planning your patch bay layout to facilitate efficient routing, reducing the chance of signal loss or degradation during your sessions.
Working with Digital Audio Workstations (DAWs)
When you’re working with DAWs, understanding the differences between software and hardware routing is crucial.
Managing latency and CPU load can significantly impact your workflow and the quality of your music production.
Routing with Software vs Hardware
In DAWs, software routing allows you to control signal paths directly within your digital environment.
This method is incredibly flexible, letting you reroute audio without physical cable connections.
You can easily access and modify signal flow via the DAW’s interface, giving you more options and creative freedom.
On the other hand, hardware patch bays offer a tactile experience.
They are essential when dealing with various physical hardware such as synthesizers, microphones, and outboard gear.
A patch bay connects these devices, making it easier to change setups physically.
Despite being a more traditional approach, some producers prefer hardware routing for its hands-on control.
Managing Latency and CPU Load
Latency in DAWs refers to the delay between input and output during recording.
It mostly arises from using complex processes and effects that demand significant CPU resources.
To manage latency, you can adjust buffer sizes in your DAW, striking a balance between performance and processing power.
CPU load becomes a concern when your DAW uses excessive processing power, affecting real-time playback and recording.
Reducing active plugins or routing workflows, and using audio interfaces with zero-latency monitoring can help.
Some DAWs offer tools that optimize CPU usage, allowing smoother operation.
Balancing these factors is key to maintaining an efficient workflow while producing high-quality audio.
Advanced Patch Bay Techniques

Modern studios benefit significantly from intelligent patch bay techniques.
Using advanced signal routing, you can maximize flexibility and enhance audio quality.
Creating Complex Signal Routes
Creating complex signal routes in your studio offers greater flexibility in audio processing.
With a normal or half-normal patch bay, signals automatically flow in a predetermined path, making efficient use of connectivity.
This setup minimizes manual repatching and maintains a neat and organized workspace.
A routing matrix allows you to easily map out connections between multiple pieces of equipment, enabling diverse workflows without needing to disconnect and reconnect cables constantly.
This method supports simultaneous processing, such as sending one signal to both a compressor and an equalizer in parallel.
Experimentation with these configurations can open up new creative possibilities.
Try different sequences of effects or gear placement to discover novel sounds and patterns that fit your projects.
Passive Splits and Multi-Tracking
A passive split is a method to duplicate an audio signal without using power, preserving the original sound.
In multi-tracking, passive splits can efficiently send a single input to multiple outputs, crucial for recording separate tracks simultaneously.
Utilizing a mult or multi-box can split a signal into different paths, which is especially handy when you need to send the same signal into different processing units.
This enables the capture of separate processed sounds on different tracks.
While passive solutions maintain signal integrity, always consider potential signal loss.
Keep cable lengths short to maintain audio quality.
Maintaining Audio Quality
When working with patch bays and routing in a music studio, maintaining audio quality is crucial.
You’ll need to keep an eye on minimizing unwanted noise and ensuring that audio levels match throughout the signal path to preserve the integrity of your sound.
Reducing Noise and Interference
To keep your audio signals clean, pay attention to cable management.
Use shielded cables to prevent interference from nearby electronic devices or other cables, which can lead to crosstalk. Crosstalk can significantly degrade sound quality, creating a messy audio signal.
Make sure connections are secure.
Loose or corroded connectors can introduce crackling and signal loss.
Regularly check and maintain your patch bay connections to avoid these issues.
Utilizing grounding techniques will help too.
A properly grounded studio setup reduces electromagnetic interference.
If your studio uses phantom power, ensure it’s applied only where necessary to avoid unexpected noise.
Ensuring Consistent Audio Levels
Balancing audio levels is essential for maintaining clarity throughout your project’s workflow.
Check and adjust levels at each point of routing.
This consistency helps prevent distortion that can occur if a signal is too hot or comes in too low.
Regularly calibrate your equipment.
Whether it’s your mixing console or any digital devices, make sure the levels match across all signal paths. A well-calibrated system ensures that the input from a sound source remains consistent and clear.
Keep an eye on gain structure.
Proper gain staging across your equipment minimizes noise and preserves signal quality, helping you achieve the cleanest sound possible.
The Practicality of Patch Bays in Music Production
Patch bays revolutionize music production by streamlining the connection of numerous audio devices for efficient and creative signal routing.
Whether integrating synthesizers or pursuing flexible routing options, their impact is profound.
Incorporating Synthesizers and Drum Machines
Patch bays are a blessing when it comes to synthesizers and drum machines in your studio.
They let you seamlessly connect these instruments to other audio equipment and line inputs without constant unplugging.
Imagine being able to switch the connection of your drum machine from one mixer channel to another in seconds. This kind of quick adaptability means you can experiment more, creating complex sounds without intricate re-cabling.
By organizing connections, you also reduce clutter, making your workspace conducive to creativity.
Studio mic lines and synthesizers can be patched to different recording devices or effects processors quickly, offering a streamlined workflow.
With a well-setup patch bay, the frustration of tangled cables and mismatched connections becomes a thing of the past.
Flexibility in Signal Routing for Creativity
Patch bays offer immense routing flexibility, allowing you to re-route signals creatively during music production.
Switching microphones between preamps or sending signals through outboard gear becomes uncomplicated and swift.
For instance, trying out different signal paths without plugging and unplugging your studio mic lines lets you experiment with various audio textures.
This adaptability removes many roadblocks to creativity, helping you focus on the music rather than technicalities.
Rapidly connect your audio equipment, test new setups, and refine sounds without missing the creative flow.
With simplicity in routing, you spend less time fumbling with cables and more time crafting your music.
Labeling and Documentation for Efficiency
Setting up a reliable labeling system for your patch bays is crucial for seamless signal routing and smoother studio operations.
Proper documentation aids in troubleshooting and maintaining a clean studio environment, ensuring that everything runs efficiently.
Creating a Logical Labeling System
Designing a logical labeling system is where it all starts.
You need to keep it simple and intuitive.
Use clear labels for each connection, like TRS Input 1 or Mic Output A.
Choose a consistent labeling format and stick to it.
This helps avoid confusion, especially when cables and jacks get moved around.
Consider using color-coded labels or markers.
This makes it easy to spot what you need at a glance.
Create a key or legend to help anyone using the studio understand the color system.
You might use digital methods, like spreadsheets, to map out your setup digitally as well.
This approach can help make future changes much simpler to implement.
Maintenance and Updates to Patch Bay Documentation
Regular maintenance of your documentation is key.
As your studio evolves, so will your patch bay setup.
Make a habit of updating the documentation every time there’s a significant change.
This keeps everyone on the same page and prevents outdated information from derailing your sessions.
Effective maintenance involves routine checks.
Schedule a regular walk-through of your setup to ensure cables, labels, and documentation align accurately.
Document any troubleshooting tips encountered when resolving issues, so you or someone else can tackle similar problems efficiently in the future.
Keeping digital copies of your documentation can be handy.
Use software tools for cloud storage to allow access from anywhere.
This kind of organization streamlines troubleshooting and adjustments, helping you maintain a professional studio environment.
Expansion and Upgrading Patch Bay Systems
You can boost the functionality of your music studio by expanding connectivity and transitioning from analog to digital systems.
These steps can improve your workflow, accommodate more equipment, and enhance sound quality.
When to Add More Connectivity
Adding more connectivity to your audio patchbay can simplify complex setups.
If you’re frequently connecting and disconnecting cables or running short on available channels, it’s time to expand.
Reasons to Consider More Connectivity:
- Increased equipment: New gear like synths, effects units, or mixers need more inputs and outputs.
- Workflow efficiency: Minimize cable swaps and manage multiple devices smoothly.
- Future growth: Anticipate future needs by planning for more connections now.
Strategies:
Consider using a normalled connection setup for streamlined routing between commonly-used gear, like between group outs and your stereo mix output.
You can also organize by grouping similar connection types for easy access.
Upgrading from Analog to Digital Systems
Switching from analog patch bays to digital systems can revolutionize your studio.
Digital setups streamline complex signal routing, offer greater flexibility, and often include software for virtual patching.
Key Points:
- Audio interface channels: Digital systems often offer more channels, allowing more simultaneous connections.
- Simplified routing: Use software to reroute signals without physical cable changes.
- Improved sound quality: Digital can offer cleaner sound with less interference.
For those with expansive setups, consider hybrid systems that allow the use of both analog and digital components.
These can provide a flexible transition path and maximize your existing investments.
Frequently Asked Questions
Patch bays can streamline your studio workflow by managing connections and routing.
Here, you’ll find answers about setting up patch bays, understanding different types, and how they affect your sound quality.
What’s the best way to set up a patchbay in my studio?
Setting up depends on your studio needs.
Start by listing all your gear and deciding which connections need regular access.
Arrange inputs and outputs logically, grouping similar equipment together for easy access.
Can you show me some clear examples of patchbay setups?
Common setups include grouping all inputs and outputs for preamps or compressors.
You might also connect different instruments to one interface input, allowing for quick switching without reconnecting cables.
How do I hook up my audio interface to a patchbay?
Connect the outputs of your audio interface to the rear inputs of the patch bay.
Then, hook the front outputs of the patch bay to your speakers or monitors.
This setup lets you easily switch audio sources without digging behind equipment.
What are the differences between various patchbay types?
Types like B-gauge, TT/Bantam, and TRS differ in size and connection style.
Choose based on compatibility with your equipment.
B-gauge and TRS handle fewer connections, while TT/Bantam offers more compact setups.
Does using a patchbay change the quality of my sound?
Using a quality patchbay shouldn’t impair sound quality.
Be sure to use good cables and connections to prevent signal loss.
The goal is to facilitate flexible routing without degrading audio fidelity.
Why would I use signal routing in my recording setup?
Signal routing allows you to have more creative control.
It also lets you recreate complex setups easily and minimizes cable clutter.
Having a strategic patch bay setup can speed up your workflow and boost productivity significantly.