
Getting started with music production can feel like stepping into a whole new world filled with sounds, software, and endless possibilities.
Whether you’re dreaming of crafting beats that make people move or composing melodies that touch the soul, you’ll find that diving into music creation is both exciting and rewarding. At the heart of this journey is understanding the tools and techniques you need to bring your musical ideas to life.
You’ll need some basic equipment to start producing your own tracks, including a Digital Audio Workstation (DAW), audio interface, and possibly a MIDI keyboard.
These tools are your gateway to the sonic world, allowing you to record, edit, and mix your music.
The right skills and knowledge empower you to shape every note and sound exactly as you envision.
Music production is not just about technology; it’s about creativity and expression.
As you explore songwriting, sound design, and mastering, you’ll uncover new aspects of your musical identity.
Each track you create is a step forward on your creative journey, bringing you one beat closer to your unique sound.
Demystifying the Music Production Process
When stepping into music production, understanding the roles and stages involved can help clarify the path from an idea to a polished song.
This process involves both technical skills and creativity, requiring various steps from songwriting to mastering.
The Role of a Music Producer
A music producer wears many hats.
Think of them as the project manager for a song.
They’re involved in everything from nurturing an initial idea to setting the creative direction.
You might find yourself coordinating between artists, sound engineers, and other contributors.
A producer’s job is to shape the sound.
It’s up to you to ensure that the song’s arrangement and instrumentation support the artist’s vision.
You’ll be heavily involved in the recording sessions, guiding performances, and making crucial decisions about the sound and style.
Overview of the Music Production Stages
The music production process generally consists of several key stages. Songwriting and composition often come first, laying down the melody, lyrics, and chord progressions.
After that, you move into arrangement where you decide how to layer instruments and vocals.
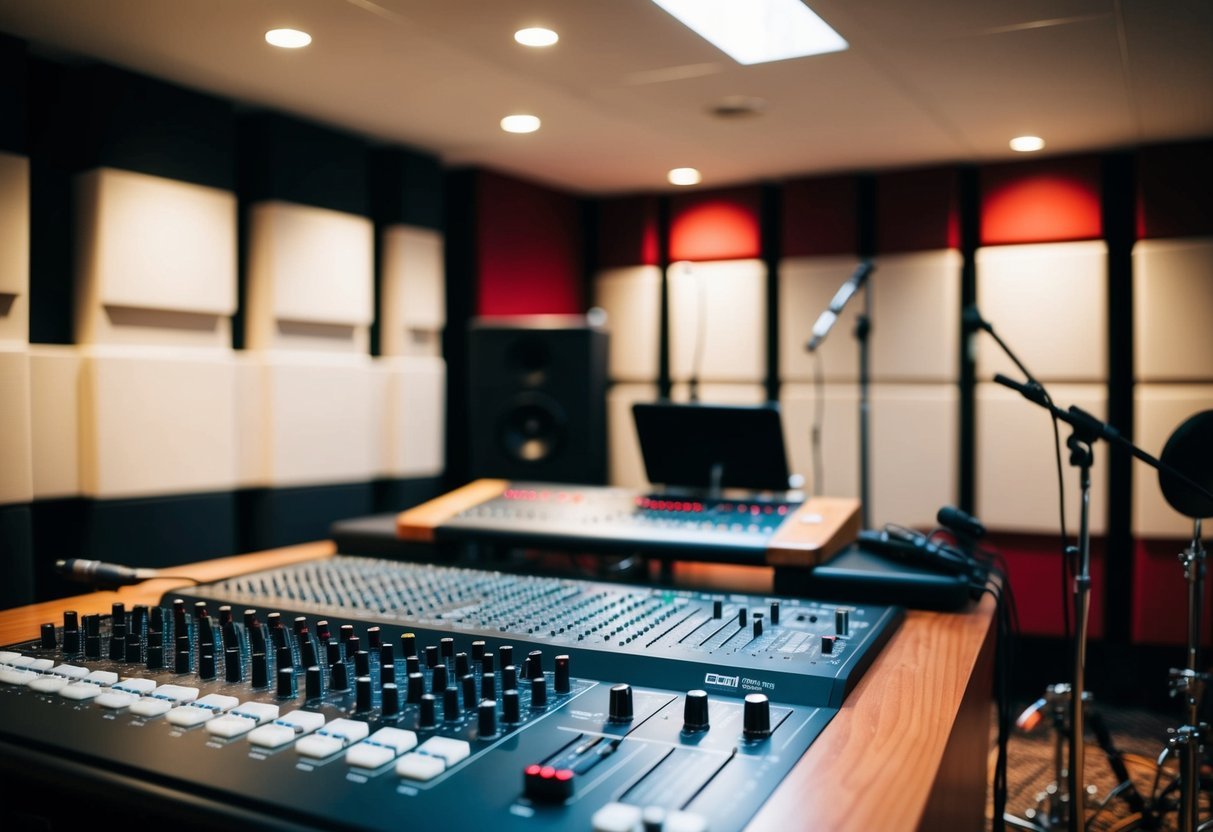
Recording involves capturing these elements, using microphones and software, typically in a studio setting.
Once all parts are recorded, mixing is next.
You blend the individual tracks together, adjusting levels, EQ, and effects to create a balanced sound.
After mixing, the track is handed over for mastering.
This stage ensures the final product is polished, with consistent sound quality across all playback systems.
Mastering adds the final touches and optimizes the track for distribution.
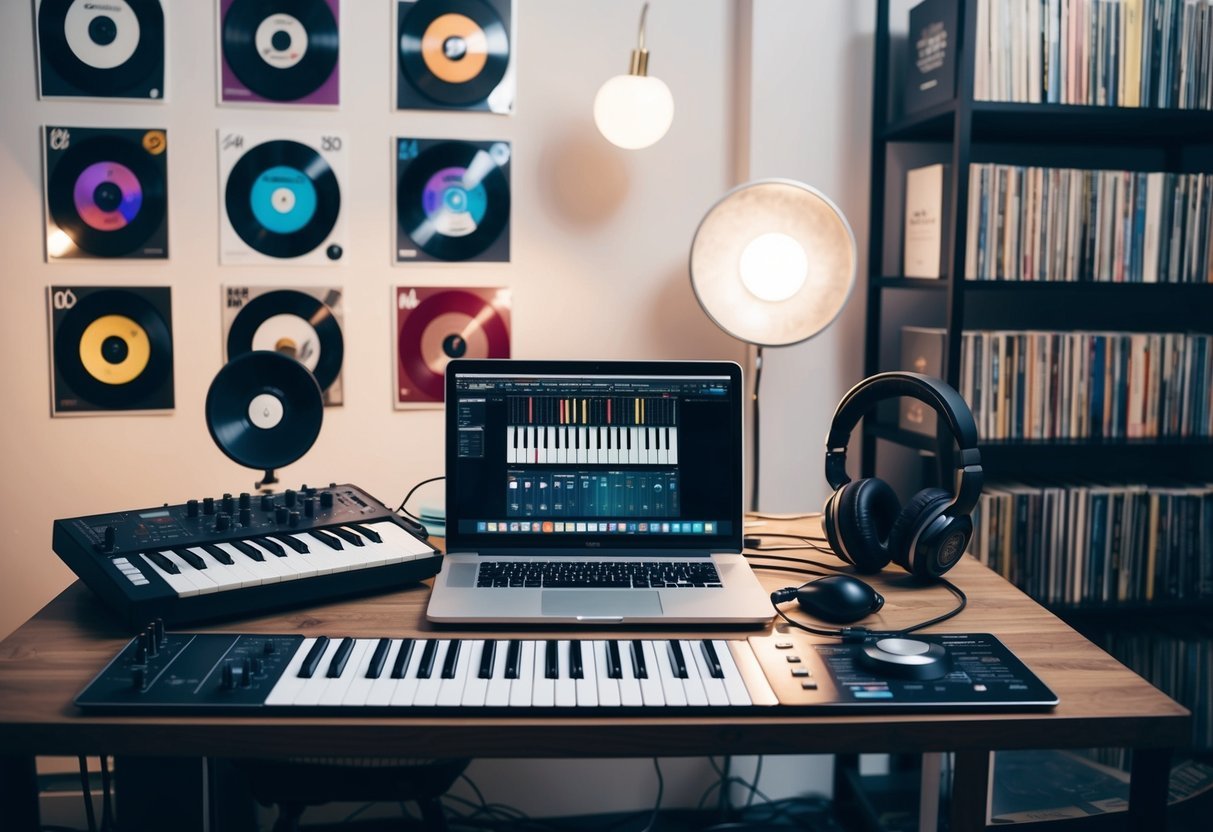
Setting Up Your Space
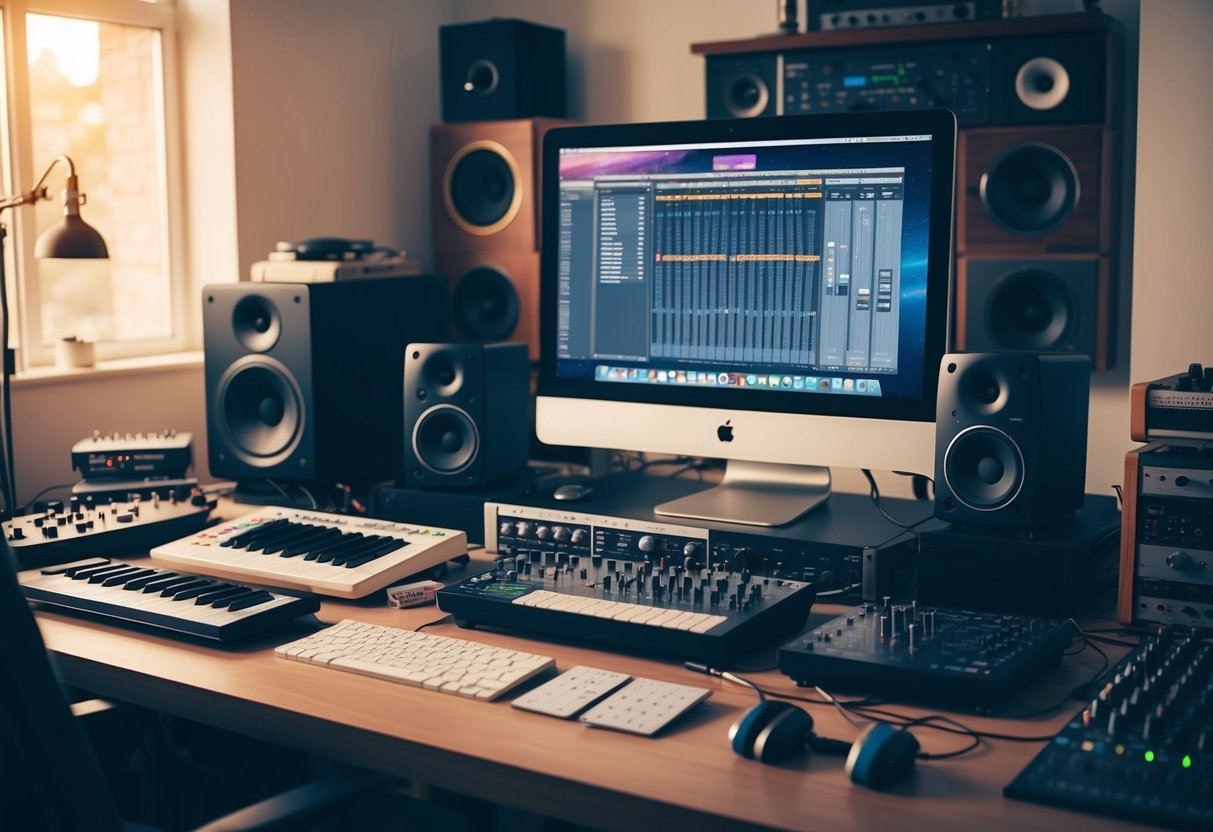
To create a home studio that supports your music production journey, you need to focus on selecting the right equipment and designing a functional space.
This involves organizing your gear and arranging your setup for optimal workflow.
Choosing the Right Equipment
When setting up your music production space, start by gathering essential equipment.
A Digital Audio Workstation (DAW) is crucial for recording and editing your music.
There are both free and paid options available, such as Ableton Live or GarageBand.
Invest in an audio interface to connect your instruments to your computer.
Choose one with enough inputs and outputs for your needs.
Quality studio monitors and headphones are vital for accurate sound reproduction.
They help ensure you’re mixing and mastering tracks with precision.
A MIDI keyboard adds great versatility, allowing you to play virtual instruments and control your DAW intuitively.
Consider a good microphone if you plan to record vocals or acoustic instruments.
Dynamic and condenser microphones each have their strengths, so choose based on your recording needs.
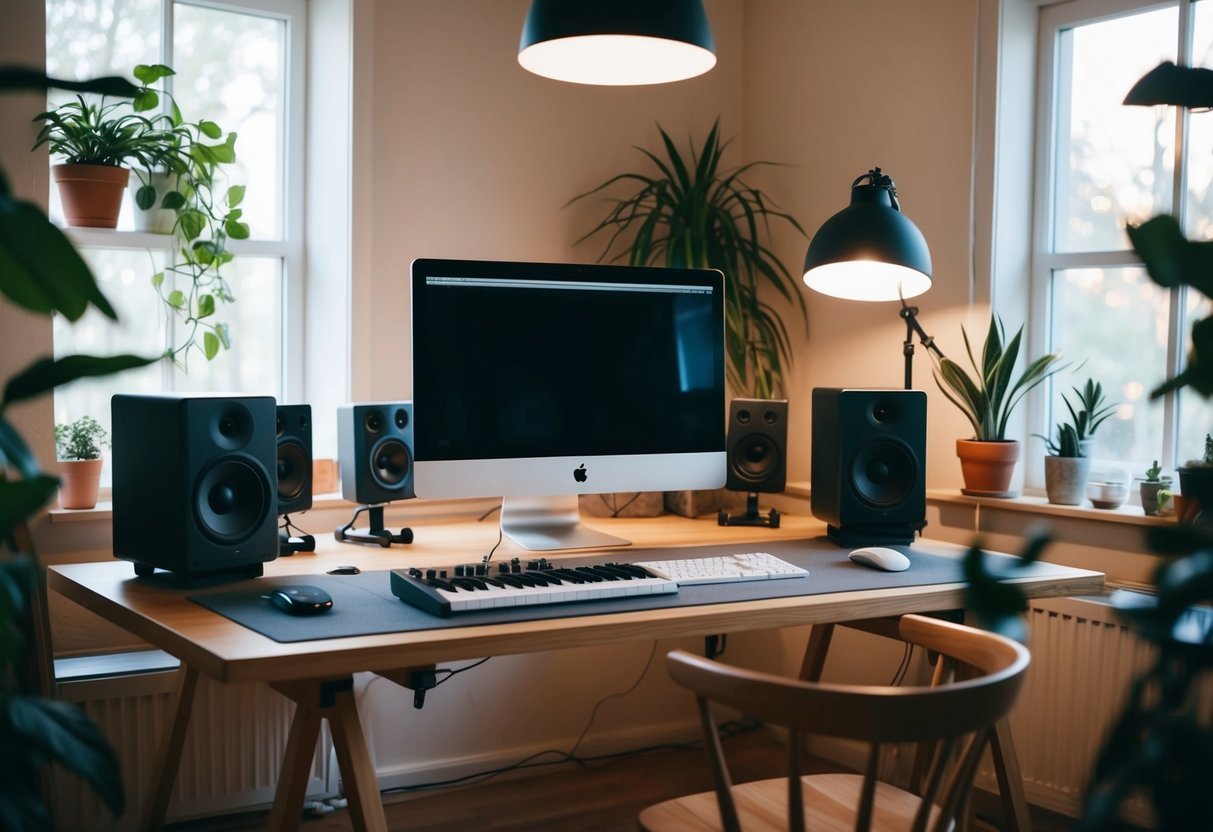
Designing Your Home Studio
Designing your home studio involves more than just plugging in equipment.
Finding a quiet and acoustically suitable room is the first step.
Ideally, avoid spaces with lots of hard surfaces that cause unwanted echoes.
Consider adding soundproofing materials like foam panels or heavy curtains to reduce noise and improve acoustics.
Arrange your setup with ergonomics in mind.
Place your studio monitors at ear level, forming an equilateral triangle with your listening position for the best sound imaging.
Keep your MIDI keyboard and other frequently used equipment within easy reach to streamline your workflow.
Lighting is another important aspect.
Ensure your workspace has adequate lighting to avoid strain during long sessions.
Personalize your studio environment with elements that inspire creativity, like posters or plants.
It’s all about creating a comfortable and motivating space for your music production endeavors.
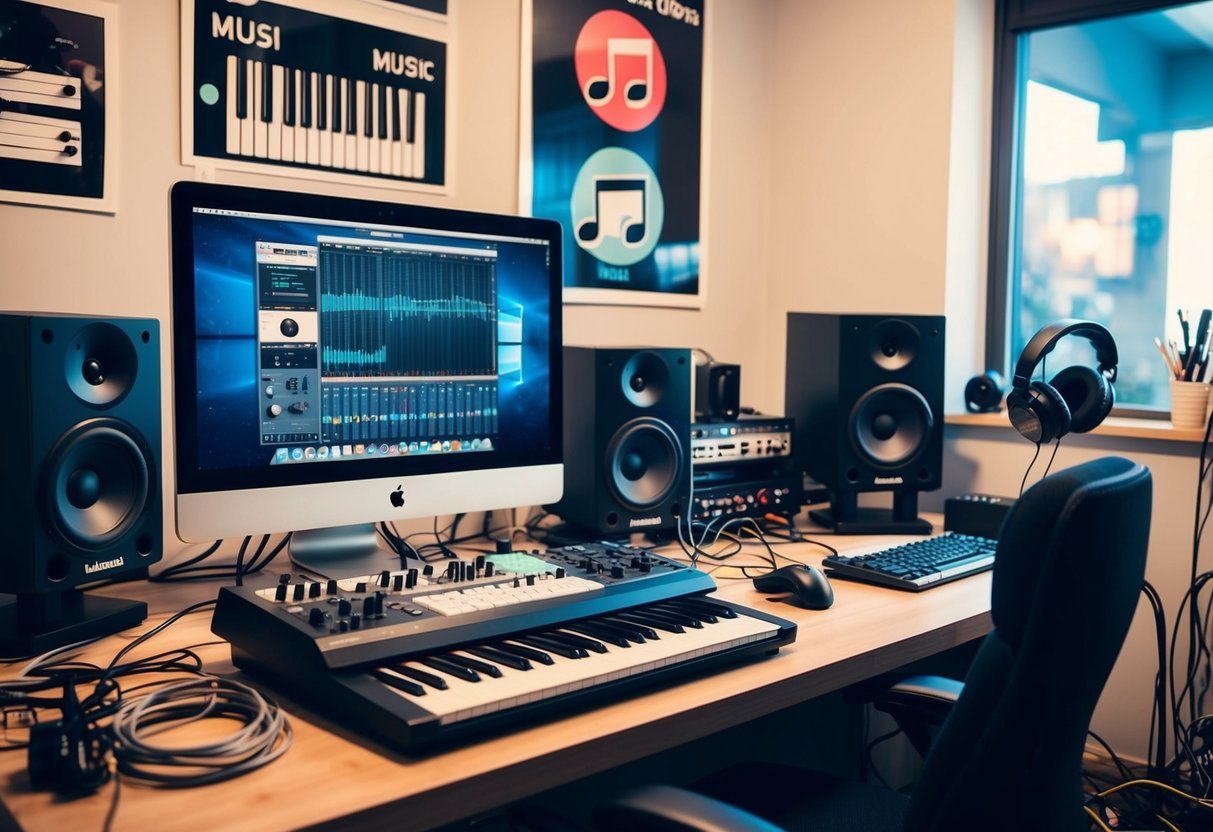
Understanding Digital Audio Workstations
Digital Audio Workstations (DAWs) revolutionize music production, allowing you to record, edit, and mix music on a computer.
Choosing the right DAW and mastering its interface can significantly enhance your music creation process.
Picking the Perfect DAW
When selecting a DAW, consider your production goals, budget, and technical preferences.
Popular options include FL Studio, Ableton Live, and Logic Pro.
FL Studio is known for its user-friendly interface, making it ideal for beginners.
Ableton Live excels in live performances and electronic music production, celebrated for its flexibility and powerful tools.
Logic Pro offers robust features that cater to both beginner and professional users, particularly in the Apple ecosystem.
Creating music in a DAW requires an understanding of its compatibility with your hardware.
Ensure your computer can support the software to avoid performance issues.
An audio interface is crucial for high-quality sound, allowing you to connect instruments and microphones directly into your DAW.
Navigating the Interface
Understanding a DAW’s interface is critical to efficient music production.
The layout generally includes a timeline, a mixer, and various virtual tools for manipulating sound.
For example, FL Studio features a step sequencer and piano roll that simplify beat-making.
Meanwhile, Ableton Live’s interface focuses on session and arrangement views, optimizing live performance workflows.
Lastly, Logic Pro presents a streamlined interface tailored towards audio recording and editing.
Familiarize yourself with shortcuts and tools to speed up your workflow.
DAWs come equipped with built-in effects and instruments, which can be employed for crafting unique sounds.
Exploring these features can spark creativity, helping you develop your unique style in music production.
Getting Started with Recording
When diving into recording, it’s crucial to have a grasp of the gear you’re working with and the basic techniques involved.
Not only do you need to understand how to capture high-quality audio, but you’ll also want to make smart choices with equipment like microphones.
The Basics of Recording Audio
Start with a solid setup.
Use a Digital Audio Workstation (DAW) to manage your recording process.
It’s the software that serves as the backbone of your recording session.
Choose between options like Ableton, Logic Pro, or FL Studio based on your project’s needs.
To ensure clean audio capture, check your audio interface settings.
It’s a piece of hardware that connects your microphone and your computer.
Adjust levels to avoid clipping, which can distort your tracks.
Once set up, create different tracks in your DAW for each instrument or sound source.
This makes it easier to manage and edit your audio.
Spend time getting the hang of your audio interface and DAW.
This will streamline future sessions.
Working with Microphones
Selecting the right microphone is vital.
There are various types, but for beginners, dynamic and condenser mics are most common. Dynamic microphones are robust and great for live settings, while condenser microphones are more sensitive and ideal for studio recording.
Position your mic properly; it can affect how your recording sounds.
For vocals, keep a distance of about 6 to 12 inches to capture a natural tone without background noise.
Consider using a pop filter to minimize plosive sounds.
Experiment with mic placement during a recording session.
Sometimes small adjustments can dramatically change the quality of your recording audio.
Investing time here can save you hours in post-production work later.
Exploring the World of MIDI and Synthesizers
In the heart of modern music production, MIDI and synthesizers play crucial roles.
From controlling virtual instruments to crafting unique sounds, these tools expand your creative possibilities.
MIDI Controllers and Keyboards
MIDI controllers and keyboards serve as the bridge between you and your digital music software.
These devices send MIDI signals to your computer, allowing you to play virtual instruments and manipulate synth sounds.
Controllers range from simple piano-style keyboards to advanced models with knobs, faders, and pads.
When choosing a MIDI controller, consider the number of keys you need and any additional features. Velocity-sensitive keys can add expression to your music by responding to how hard you play them. Programmable pads and knobs give you more control over your sound design.
For portable options, look for compact MIDI keyboards that fit easily in a backpack.
Some even connect wirelessly for more flexibility.
The right MIDI controller can unlock your creativity, making it easier to compose, record, and perform your music.
Synthesizer Basics and Sound Design
Synthesizers are electronic instruments that generate sound.
They come in analog and digital forms, each with distinct characteristics.
Analog synths create sound using electrical signals, offering rich and warm tones.
Digital synths use digital signal processing, providing precision and versatility.
With a synthesizer, you can shape sounds using oscillators, filters, and envelopes.
Oscillators generate basic waveforms like sine, square, and sawtooth, which you can mix to create complex sounds.
Filters alter the tones by removing certain frequencies, while envelopes control the sound’s attack, decay, sustain, and release.
Sound design involves tweaking these parameters to craft unique textures and timbres.
You can create anything from basslines and leads to pads and sound effects.
Exploring presets on your synth is a great starting point.
Modify them to develop your signature sounds, enhancing your tracks with depth and character.
Crafting Your Sound
Creating your own unique sound involves both technical knowledge and personal creativity.
You’ll need to understand music theory and experiment with different elements to develop a sound palette that reflects your individual style and genre.
Understanding Music Theory
Having a good grasp of music theory is crucial for crafting your sound.
It helps you understand the structure behind music, from scales and chords to melodies and harmonies.
Knowing how to build a melody and how different keys work can dramatically influence your composition.
Start by learning the basics: scales, chord progressions, and rhythm.
Use this foundation to experiment with different melodies and harmonies.
Dive into the style of the genre you’re interested in and study its typical sound patterns.
Combining theory with practice will open up endless possibilities in your music production journey.
Developing Your Unique Sound Palette
To craft a unique sound palette, you’ll need to experiment with various sound elements and styles.
Begin by exploring different samples, from drums to synths.
Play around with effects like reverb to add depth to your tracks.
Focus on creating a balance of bass lines, rhythmic elements, and melodic parts that resonate with your personal style.
Explore different genres to find what speaks to your creative vision.
Layer and manipulate sounds to develop a signature that listeners will recognize as uniquely yours.
The key is to keep experimenting and evolving as your skills improve.
This approach will help in building a distinctive musical identity.
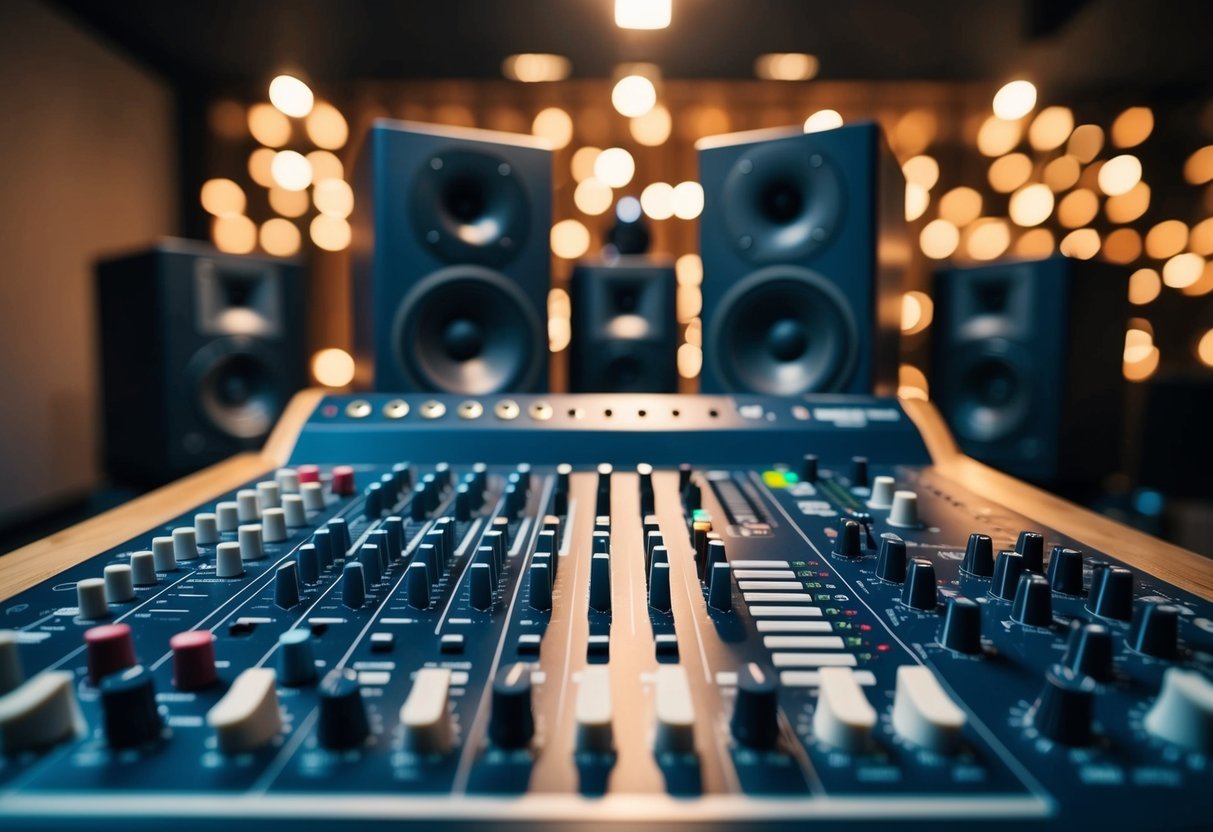
Mixing and Mastering Essentials
Mixing and mastering are crucial stages in music production that significantly affect the quality and coherence of a song.
Mixing is about balancing elements, while mastering gives it a polished finish.
Each process has unique challenges and benefits that can elevate your music.
The Art of Mixing
Mixing is where you blend all the recorded tracks into a cohesive whole.
You’ll adjust volume levels to ensure no element overshadows another.
Equalization (EQ) helps in isolating specific frequencies so instruments can coexist harmoniously.
Next, experiment with reverb to add depth, and compression to manage dynamics and sustain levels within the track.
Automation creates dynamic changes, making your track more engaging.
With careful panning, you widen the stereo image.
It often requires patience and numerous adjustments to get every element in its perfect place.
The Final Touch: Mastering
Mastering is the final stage that prepares your mix for distribution.
Here, you’ll bring cohesion and clarity across all tracks in your album or single.
You’ll apply compression to balance the dynamic range, ensuring a full and professional sound.
Focus on volume levels so your track sounds good on all platforms. Equalization in mastering helps in fine-tuning the overall tonal balance.
This stage can involve final touches like stereo enhancement and limiting, which boost the track without distortion.
A good master can make your song radio-ready and more impactful to listeners.
Adding Depth with Effects and Processing
Adding depth to your music involves using specific techniques to enhance the dimensions of your sound.
By managing dynamic range and applying effects like reverb and delay, you create a richer and more engaging listening experience.
Dynamic Range and Compression
Dynamic range refers to the difference between the quietest and loudest parts of your track.
Managing it is crucial for a balanced sound.
Compression is the tool you’ll use to control this range.
By setting a threshold, you can compress peaks that pass a certain level, smoothing out the sound.
The attack and release settings on a compressor help you determine how quickly it responds.
A fast attack catches sharp transients, while a slow release enhances sustain.
Experimenting with these settings can provide more clarity, allowing instruments or vocals to sit well in the mix without fighting for attention.
Applying Reverb, Delay, and Other Effects
Reverb adds a sense of space to your music, simulating different environments.
From small rooms to large halls, you can adjust settings like decay time and pre-delay to craft your atmosphere.
Longer decay can make your track feel expansive, while shorter settings keep it tight and focused.
Delay offers an echo effect that repeats the sound at intervals.
Whether you go for a subtle slapback or a rhythmic repeat, delay adds layering and interest.
Consider other effects such as chorus for depth or distortion for edge.
By applying these effects judiciously, you can draw listeners in with a captivating and dynamic mix.
Song Structure and Arrangement
Getting song structure and arrangement right is essential for guiding the listener through the musical journey.
By understanding how different parts fit together—from verses to choruses and bridges—you create engaging compositions.
Building Blocks of a Song
Think of a song as a puzzle with key pieces like verses, choruses, and bridges.
The verse is where most of your story unfolds.
It’s like setting the scene with your lyrics and establishing the mood.
Then comes the chorus—the main event.
It’s catchy and repeats itself, making your song memorable.
The bridge adds contrast, providing a different angle or emotion before returning to the familiar chorus.
Structuring these elements well can turn a simple tune into a captivating piece.
Use dynamic changes, such as altering melodies or chord progressions, to keep it interesting.
Crafting Engaging Arrangements
Now that you have your song structure, it’s time to arrange your instruments and sounds.
Arrangement decides which instruments play when and how they contribute to the song.
Focus on melodies and chord progressions that support the emotion you’re conveying.
Balance is key—you want your verses and choruses to stand out without overshadowing another.
Think about when to introduce or drop certain elements like a beat or harmony to enhance certain sections.
Effects like reverb or delay can add depth.
With attention to these details, your song can flow smoothly and maintain the listener’s interest.
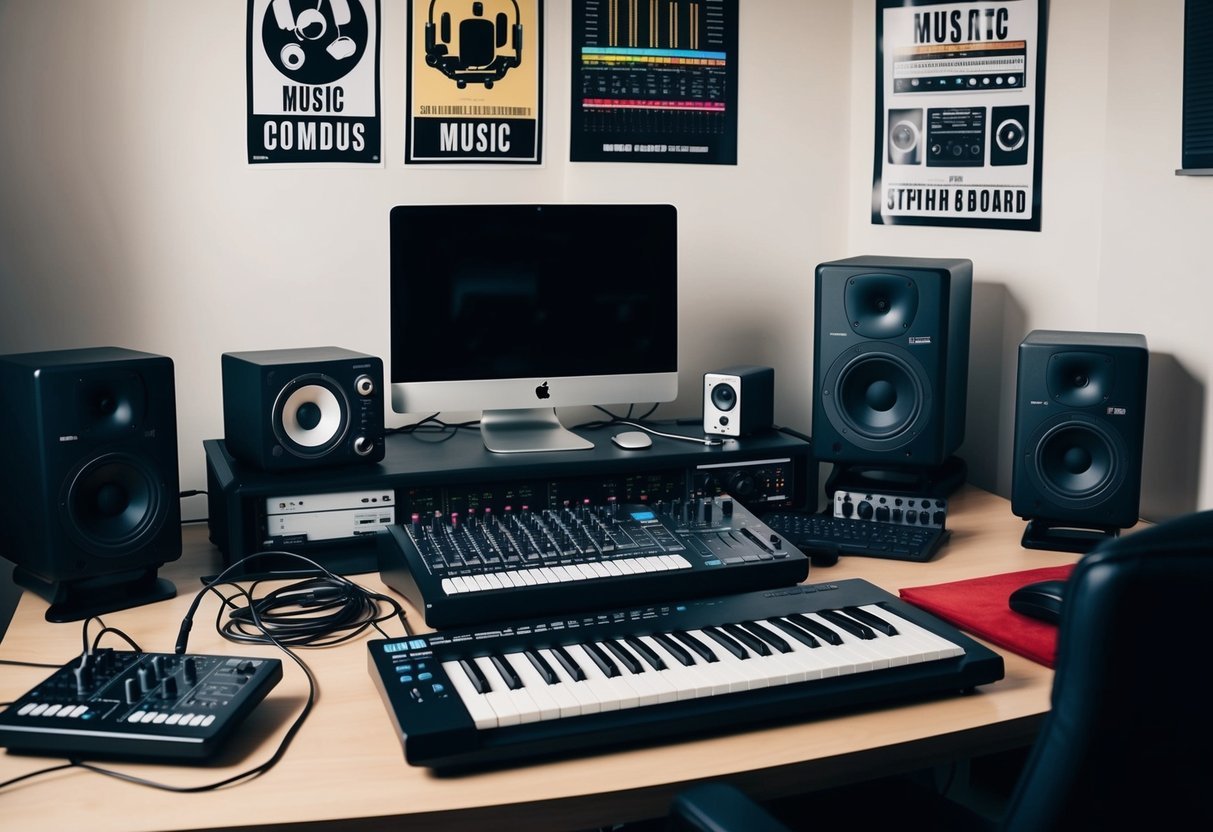
The Recording Artist’s Toolkit
Getting the right tools is key to successful music production.
This section breaks down the essential gear and equipment you need to create music, whether you’re recording at home or in a studio.
Essential Gear for Musicians
As a recording artist, your music making gear is crucial.
Start with a digital audio workstation (DAW), the core software for audio editing and mixing.
If you’re into instruments, an electric guitar might become your best friend.
Don’t forget essential accessories like cables and guitar picks.
For those interested in electronic sounds, drum machines and samplers add a unique dimension. Grooveboxes are excellent for creating beats and melodies without needing a computer, offering you flexibility and creativity.
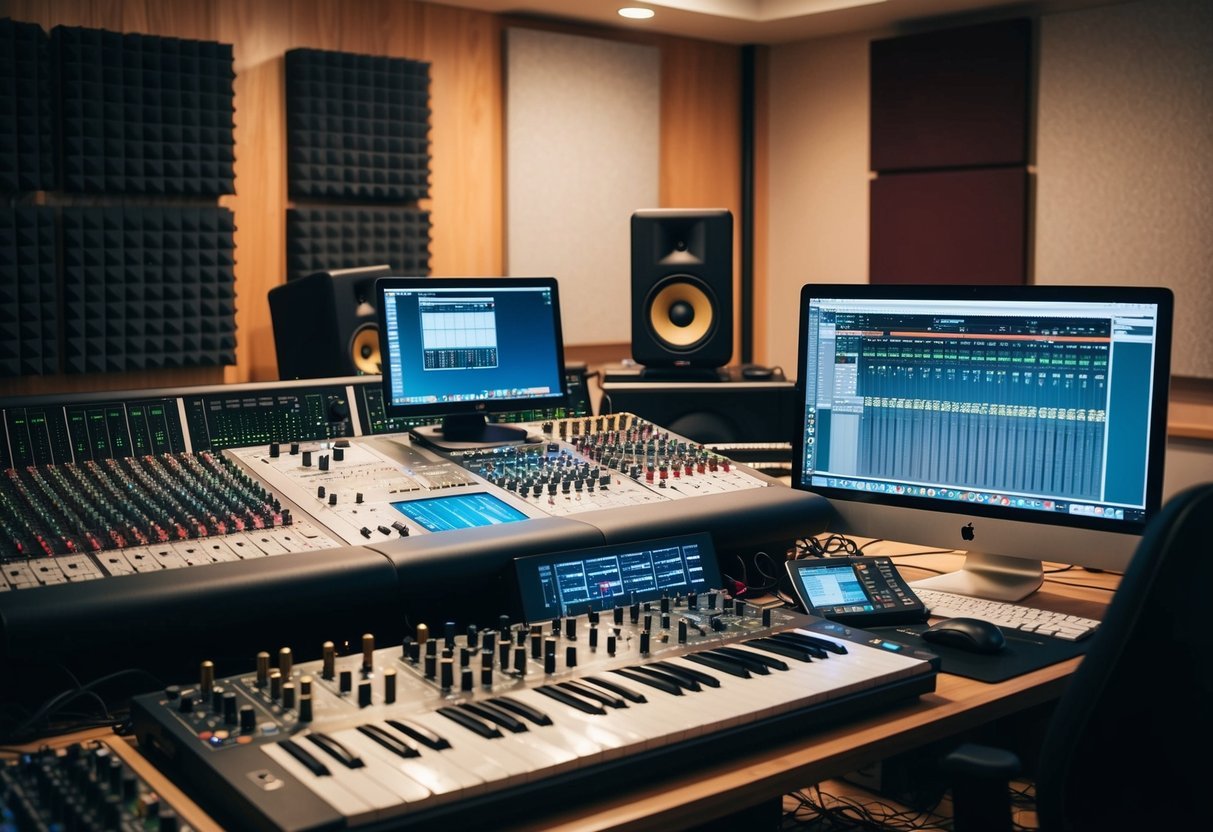
In-Depth Look at Modern Production Equipment
Modern production equipment has come a long way. MIDI controllers are invaluable for synthesizers and can be used with various software instruments.
These controllers translate your musical performances into digital signals, integrating seamlessly with your setup.
You’ll also need a quality audio interface to connect your instruments to your computer.
This ensures you capture the best sound quality.
Studio monitors are essential for accurate sound playback during mixing.
They help you hear your music clearly, unlike typical speakers.
Consider getting a good pair of headphones for detailed listening.
Incorporating these elements into your music production process can help you build a professional studio setup that meets your needs.
Launching Your Music Production Journey
Starting in music production means stepping into a world where creativity meets technology.
You need to know about essential tools, such as Digital Audio Workstations (DAWs) and other recording equipment, and be ready to adapt and learn continuously.
Let’s break down what you need to kick off your own music production path.
Beginning with the Basics
Beginning your journey involves understanding fundamental tools and equipment. Digital Audio Workstations (DAWs) are crucial, acting as the central hub for creating and editing your music.
Popular DAWs like Ableton Live, FL Studio, or Logic Pro are a good start.
Choose one that fits your style and budget.
You’ll also need basic recording equipment.
This includes a quality microphone, headphones, and an audio interface.
A MIDI controller is a great addition for generating diverse sounds and experimenting with new ideas.
Look for beginner-friendly gear that doesn’t break the bank but provides decent quality output.
Familiarize yourself with music production workflow.
Learn how to set up your workspace effectively, focusing on the flow from writing and recording to editing and mixing.
This will save you time and enhance your productivity.
Continuing Your Learning Curve
Music production is dynamic and requires constant education and adaptation.
Explore online courses and tutorials, which cover various aspects from songwriting to mastering tracks.
Websites like Coursera and YouTube offer abundant resources for all levels of expertise.
Networking with other enthusiasts can further your education in practical ways.
Join forums and social media groups to exchange ideas, learn new techniques, and receive feedback on your work.
Collaboration with others can expand your skills and introduce you to different styles and genres.
Lastly, experiment with different sounds and genres.
This will not only improve your expertise but also help you discover your unique style.
Push your boundaries by trying out new software plugins or incorporating live instruments into your productions.
Exploration will keep your journey exciting and fulfilling.
Frequently Asked Questions
Starting your music production journey involves understanding the essential equipment you’ll need, choosing the right software, and learning effective methods to build your skills.
Here are common questions and answers to guide you as you start producing music.
What basic equipment do I need to start producing music at home?
You’ll need a computer or laptop, headphones, and a Digital Audio Workstation (DAW) to start.
Additional equipment like MIDI controllers, audio interfaces, and studio monitors can enhance your setup.
Which music production software is best for beginners?
For beginners, starting with a DAW like Ableton Live, FL Studio, or GarageBand is a good option.
These platforms are user-friendly and have plenty of online tutorials to help you get comfortable.
As a newbie, what are the key steps in learning music production?
Begin by understanding the basics of your chosen DAW, learning to record and edit audio, and experimenting with sound design.
Practice by working on small projects and gradually tackling more complex tasks.
What are some effective self-teaching methods for music production?
Online courses, video tutorials, and participating in music production communities can be very effective.
Experiment regularly, seek feedback, and learn from the works of your favorite producers.
How can I start creating music if I have no prior experience?
Start by exploring free or beginner-friendly software to experiment with beats and loops.
Learn the basics of music theory and listen to a variety of music genres to understand different styles and techniques.
Are there any free resources for beginners to learn music production?
Yes, many free resources are available.
These include YouTube tutorials, online forums, and free courses from platforms like Coursera or edX.
They can provide valuable information and guidance without any cost.