Diving into sound recording for the first time can feel a bit overwhelming, but it doesn’t have to be.
You’re about to embark on a journey that blends creativity with technology. Whether you’re gearing up to record music, a podcast, or any audio content, mastering this skill can truly make your work stand out.
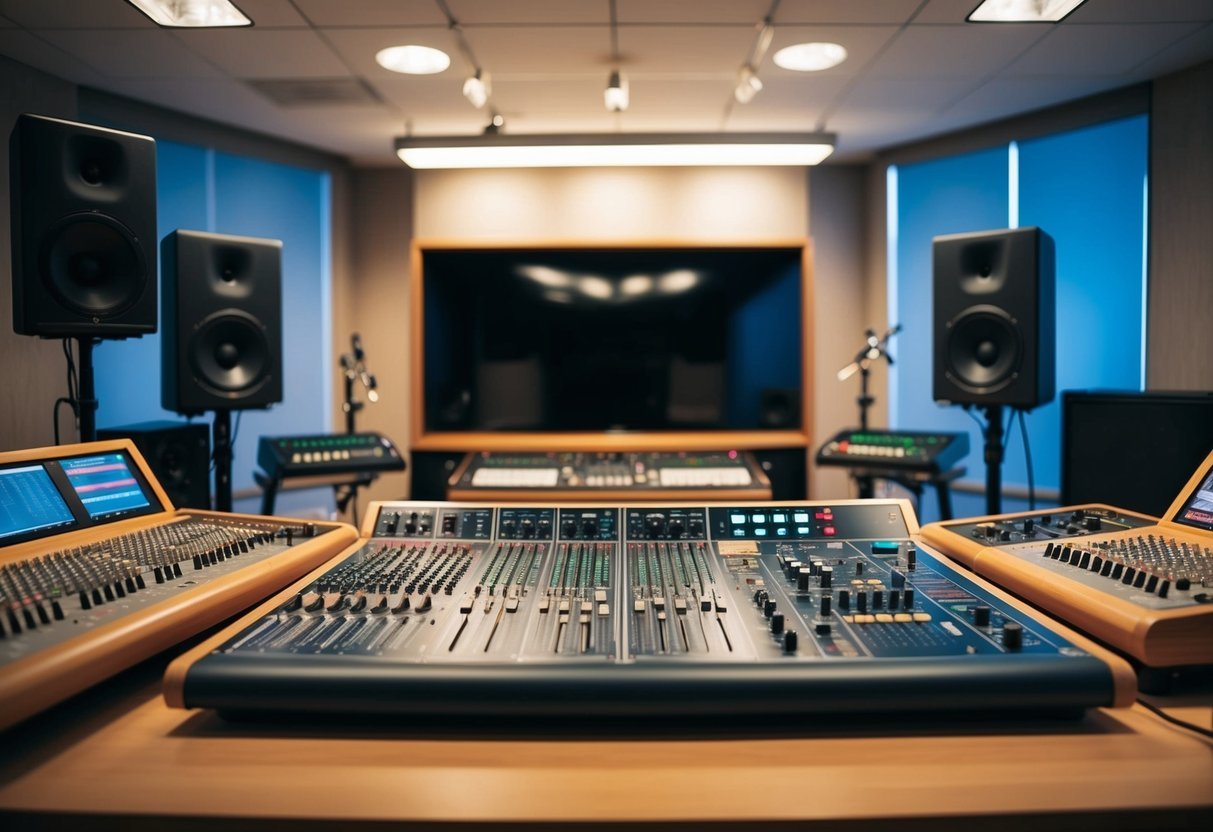
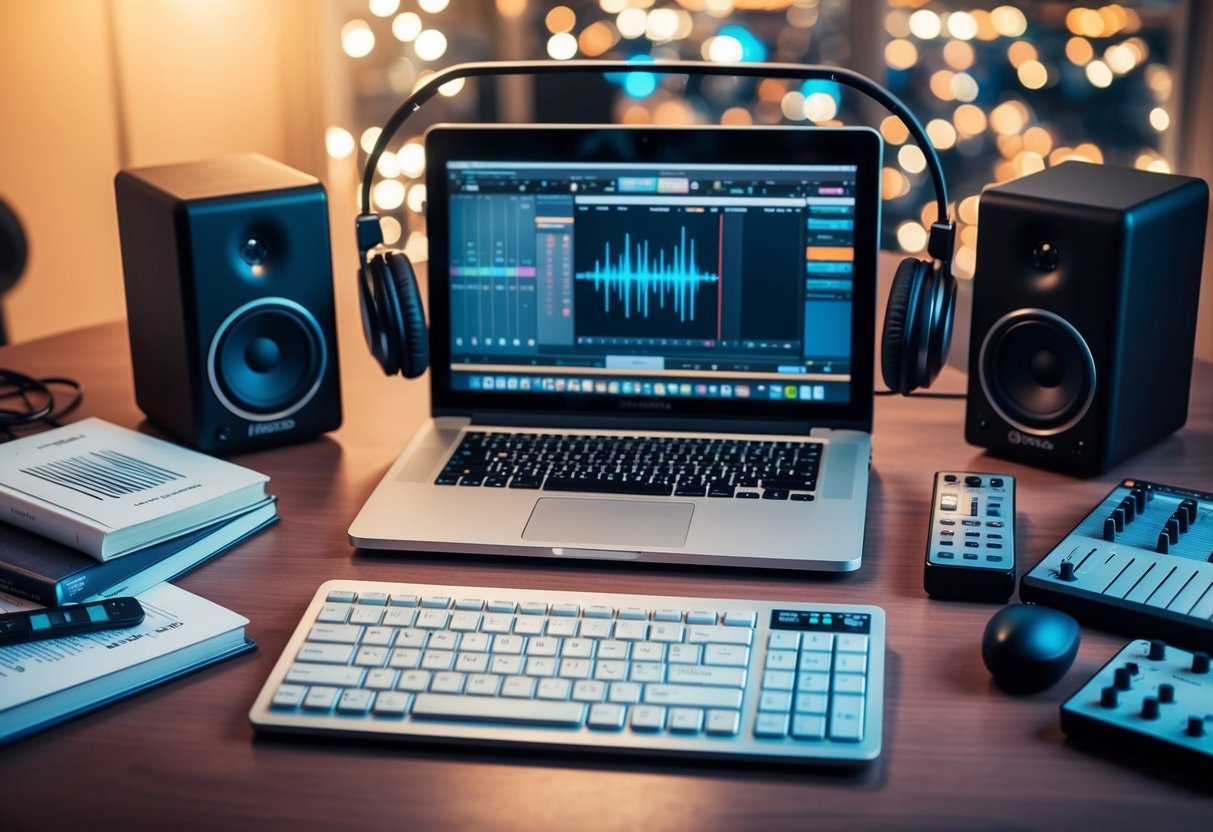
Digital Audio Workstations (DAWs) play a crucial role in this process.
With a DAW, you can record, edit, and mix your sound all in one place, making it the heartbeat of your audio projects. Getting the hang of using a DAW opens up endless possibilities for crafting high-quality recordings.
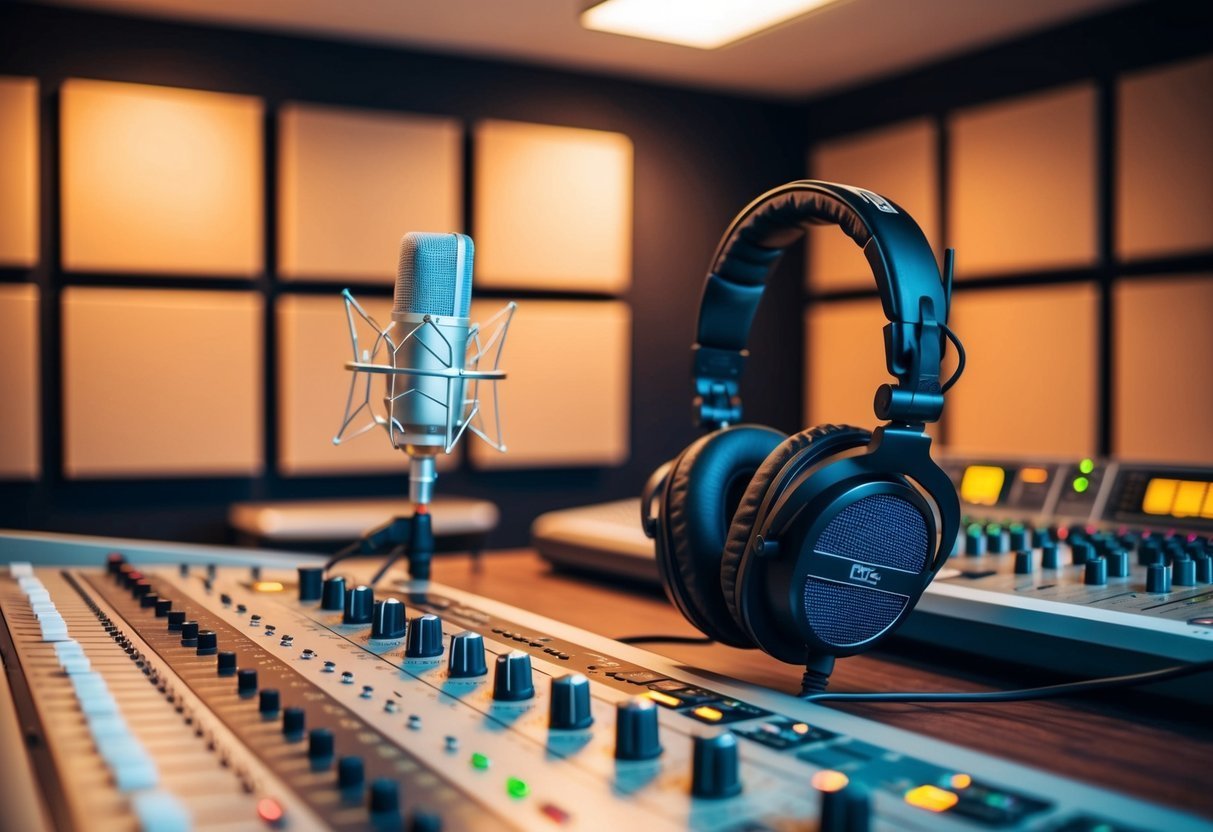
Starting with the right equipment and setup is key.
You’ll be selecting microphones, understanding interfaces, and learning about other gear that shapes your sound.
Your choices here will directly impact the clarity and precision of your recordings.
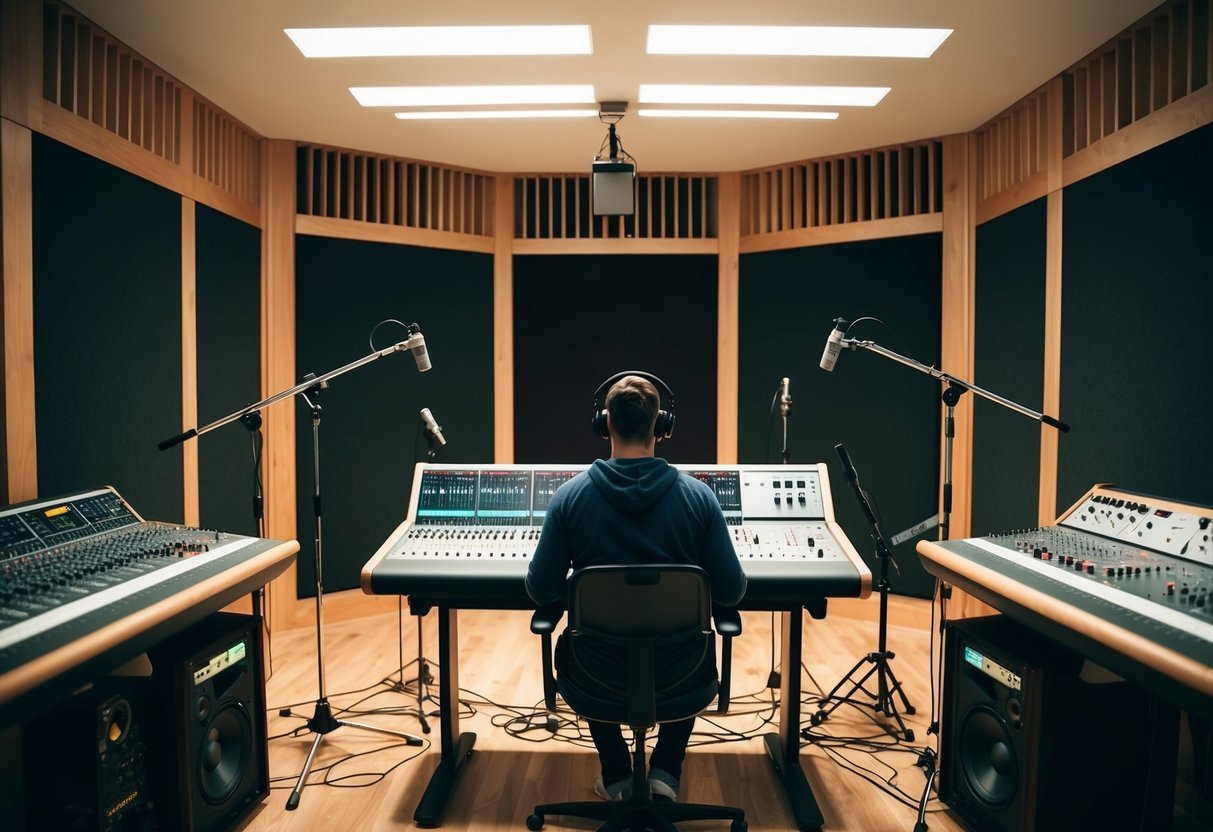
Essentials of a Home Studio
Creating a home studio is an exciting journey.
Producing great music starts with the right setup, and understanding the essentials will set you on the right path.
Digital Audio Workstation (DAW): Think of this as the heart of your studio.
Popular choices include FL Studio, Logic Pro, and Ableton Live.
This software lets you record, edit, and mix your tracks.
Audio Interface: This piece of equipment connects your microphones and instruments to your computer.
It’s crucial for converting analog sounds to digital.
Look for options with enough inputs and outputs to suit your needs.
Microphones: A quality microphone captures your sound accurately.
Condenser mics are usually preferred for vocals and acoustic instruments.
Studio Monitors: Unlike regular speakers, studio monitors provide a flat frequency response.
They allow you to hear your music accurately without any boosts or cuts in frequencies.
Headphones: Invest in a good pair of headphones for those late-night sessions when you can’t blast your monitors.
Cables: You’ll need a few XLR cables for microphones and patch cables to connect everything together.
These cables ensure clean signal transmission.
Acoustic Treatment: Improving the sound in your room can make a big difference.
Add foam panels or bass traps to minimize reflections and echoes.
Mic Stand & Pop Filter: A good mic stand keeps your microphone steady.
A pop filter reduces vocal plosive sounds, improving recording quality.
Feel free to customize based on your needs, but these essentials are a great start.
Understanding Digital Audio Workstations
Digital Audio Workstations (DAWs) are essential tools for music production.
They allow you to record, edit, and produce audio tracks efficiently.
Various DAWs offer different features and user interfaces designed to enhance your music-making process.
Selecting the Right DAW
Choosing the perfect DAW is crucial for your workflow. FL Studio, Ableton Live, Logic Pro X, and Pro Tools are popular options, each suiting different needs.
Ableton Live is famous for live performances with its unique session view, while FL Studio is well-loved for its loop-based creation.
If you’re using a Mac, Logic Pro X could be a great fit with its wide range of built-in virtual instruments.
Alternatively, Pro Tools is an industry standard for professional audio editing and mixing.
Consider your computer’s operating system and how the DAW aligns with your music style before making a decision.
Exploring Key Features of DAWs
DAWs typically offer a suite of tools for recording, editing, and mixing music.
You’ll find capabilities like MIDI support, which is vital for digital instrument interaction, and audio effects that let you shape the sound precisely.
Advanced DAWs even include virtual instruments and royalty-free sound libraries.
Look for features such as multitrack editing, built-in synthesizers, and automation controls.
These features allow you to fine-tune your tracks and create professional-quality sound.
Some DAWs may have a steeper learning curve, but they offer extensive online tutorials and communities to help you get started.
Tips for DAW Efficiency
Maximizing efficiency in a DAW involves mastering keyboard shortcuts and customizing the interface to suit your workflow.
Grouping similar tracks and using templates can save valuable time during production.
Familiarize yourself with your DAW’s specific tools and settings.
Set up a logical session organization and save presets for your most-used sounds and effects.
Experiment with macros and scripting if your DAW supports them, allowing complex processes to be simplified.
Regularly back up your projects to avoid losing progress.
Efficient DAW use helps you focus more on creativity and less on the technical aspects.
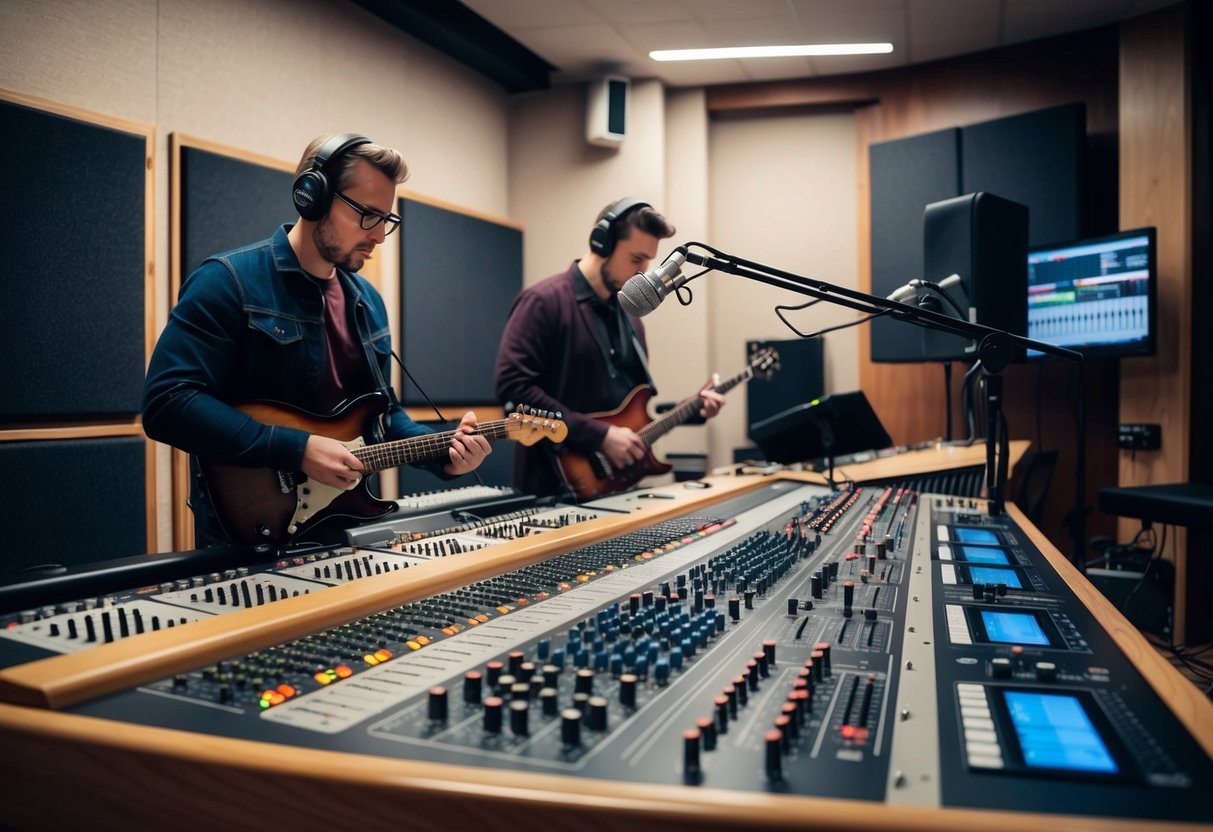
The Recording Process
Capturing high-quality audio involves a proper setup, using the right techniques, and skillful recording of both vocals and instruments.
This section will guide you through these essential aspects to ensure a successful recording session.
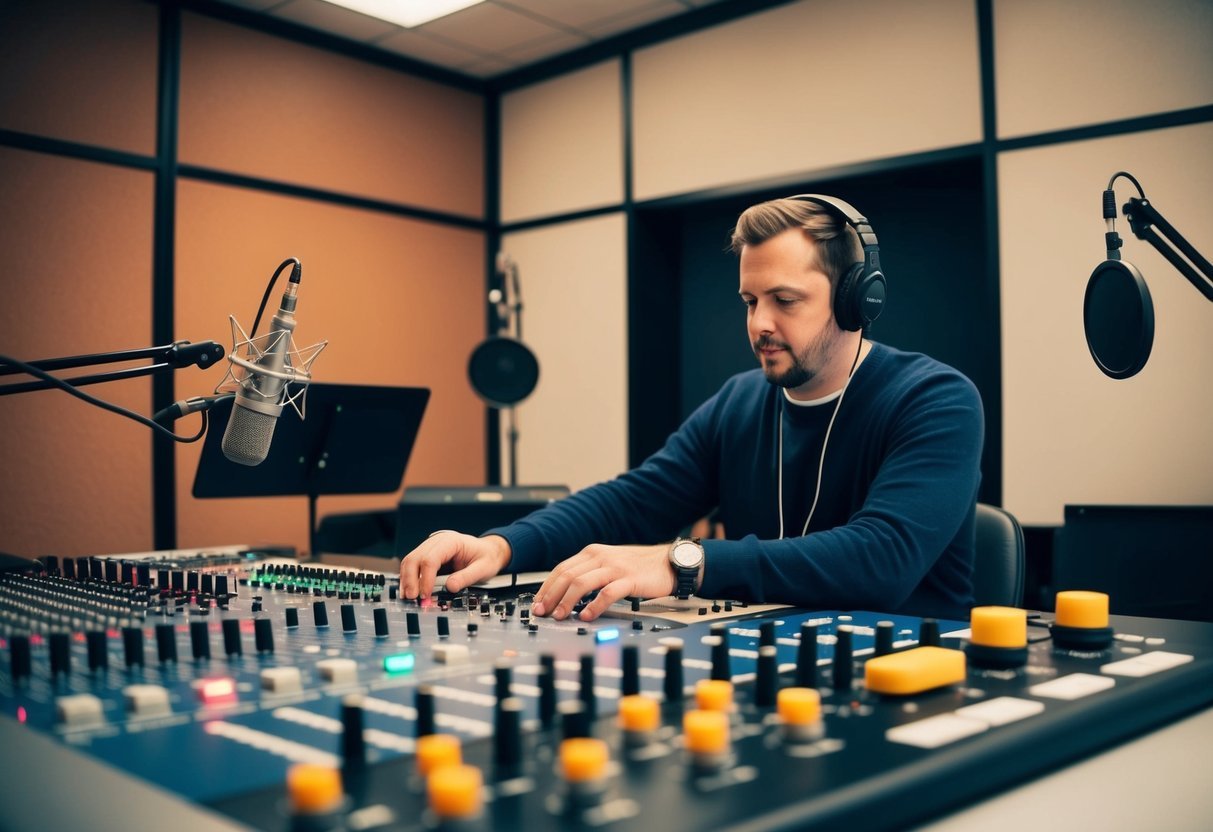
Setting up for Recording
Before you hit record, ensure your recording environment is well-prepared.
Start by selecting a suitable room with minimal background noise.
Use soundproofing materials like foam panels or heavy curtains to dampen echoes and reduce unwanted sounds.
Choose the right microphones for the job.
For vocals, a condenser microphone is ideal, while dynamic microphones suit louder sound sources like drums.
Ensure your microphones are correctly placed and connected to your audio interface or mixing console.
Additionally, configure your Digital Audio Workstation (DAW) to your preferences.
Set your sample rate and bit depth according to your project needs, with 24-bit/48kHz being a common choice for high-quality audio.
This setup forms the foundation for the recording process.
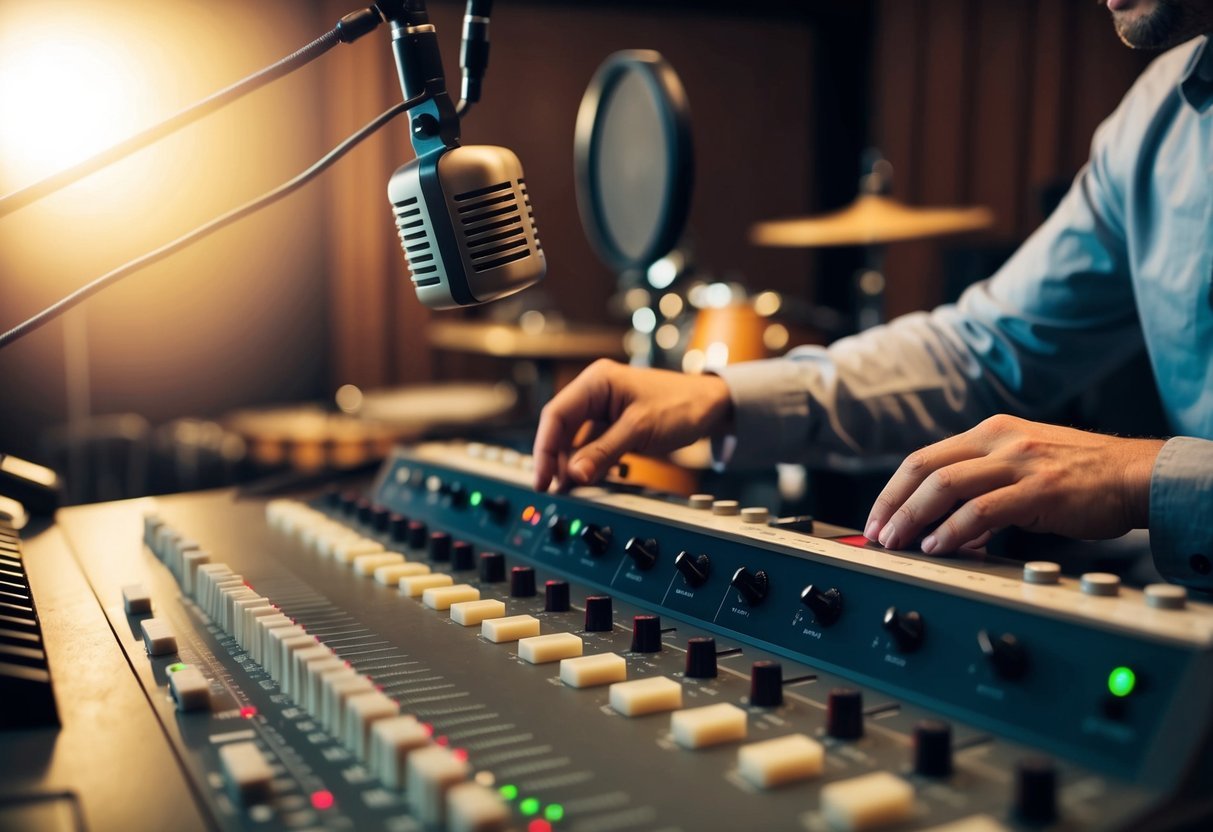
Techniques for High-Quality Audio
To achieve stellar recordings, focus on microphone placement and gain settings.
Position microphones to capture the full tone of the instrument or voice without distortion.
Adjust the gain so that levels are neither too low nor clipping.
This ensures clarity and prevents unwanted noise in the recording.
Experiment with different placements and angles.
For a guitar, a mic near the sound hole captures richer tones, whereas a slightly angled placement might produce a brighter sound.
Incorporating pop filters or windshields can also help reduce plosive sounds and wind noise for vocal recordings.
Monitor the recording through headphones to catch any issues in real-time and make necessary adjustments.
Recording Vocals and Instruments
When recording vocals, consider the proximity effect—where closeness to the microphone amplifies lower frequencies.
You want to maintain consistency in distance to avoid tonal variations.
A pop filter is a must for clear vocal captures, reducing harsh consonant sounds.
Recording instruments requires understanding their sound profile.
For drums, multiple microphones positioned over different drum parts capture the depth and detail.
Acoustic guitars benefit from a combination of a condenser and dynamic microphone for a balanced sound.
Keep the recording session relaxed.
Encourage performers to warm up and feel at ease, as comfort translates into better performances.
Take breaks to keep the energy up, resulting in more dynamic and authentic recordings.
Sound Design and Synthesis
Sound design and synthesis are fundamental skills for music producers looking to craft innovative and engaging tracks.
Through manipulation of digital and analog tools, you can create unique soundscapes that stand out.
This section explores key aspects, from developing new sounds to effectively using synthesizers and sample packs.
Crafting Unique Sounds
Creating unique sounds often starts with manipulating parameters on digital and analog devices.
By tweaking settings like oscillators, filters, and envelopes, you can produce sounds that are truly your own.
Play around with different waveforms and modulation techniques to discover unexpected timbres.
Experimentation is essential.
Use your imagination when combining different elements.
Layer multiple sounds to add depth or variety.
This can give your track a fresh and original feel.
You might also try reversing or stretching sounds in a DAW to further alter audio characteristics.
Through practice and exploration, you’ll find a sound design style that resonates with your artistic vision. Sample packs and presets can be a great starting point for ideas, but always aim to personalize them with your unique touches.
Utilizing Synthesizers
Synthesizers are valuable assets in sound design.
They come broadly in two types: analog and digital. Analog synths provide a more organic and vintage sound, while digital synths often offer a wider range of features and flexibility.
Understanding the basics of subtractive synthesis can be a good starting point.
Familiarize yourself with oscillators, filter types, and envelopes.
This forms a building block for creating elaborate soundscapes.
Native Instruments and other software brands provide powerful digital synths with vast libraries.
Spend time exploring their presets and modify their parameters for customized sounds.
You might find inspiration in altering pitch, modifying modulation, or changing waveforms.
Working with Sample Packs
Sample packs are essential for diversifying your sound design palette.
These packs contain pre-recorded sounds that you can integrate into your tracks.
They range from drum kits to melodic loops, stabs, and ambient effects.
When choosing sample packs, focus on quality.
Seek out those with high-resolution files for better sound reproduction.
Native Instruments often release high-grade packs covering various genres.
Don’t be afraid to layer samples or blend them with synthesized sounds for a hybrid approach.
Editing samples within a DAW allows you to twist existing sounds into new creations.
Tools like EQ and reverb can significantly alter and embed samples seamlessly into your project.
Creating the Beat
Transforming musical ideas into a cohesive beat involves a creative blend of programming drums and building a bassline.
These elements form the backbone of your track, setting the mood and energy level for your production.
Programming Drums
Start by selecting the right samples. Drum machines and samplers offer a wide variety of sounds.
Choose the ones that complement your style and the overall vibe you’re aiming for.
Layering your drums can add depth.
You might want to layer a snare with a clap to give it more texture. EQ and compression can help to balance the levels and make different parts of the drum kit sit well together.
Don’t forget about percussion.
Add hi-hats, shakers, or congas to add interest and groove.
Experimenting with timing and velocity can give your drums a more human feel.
Your drum pattern should drive the track and make it engaging.
Building the Bassline
A solid bassline ties the track together.
Start by choosing an instrument or a sound that complements your drums. 808s are popular for their deep, resonant tone, while a plucky bass might add more rhythm.
Once you’ve got a sound, focus on how the bassline interacts with the drums.
Ensure it complements the kick drum and doesn’t compete with it.
This creates a groove that listeners can feel.
Use ghost notes or slides to add character and dynamics.
Adjust the velocity for each note to avoid a robotic feel and bring life to your track.
This is your chance to infuse emotion and energy into the music through your bassline.
Song Structure and Arrangement
Diving into song structure and arrangement is key to producing captivating music.
You’ll need to understand how different song components like verses, choruses, and bridges fit together.
You should also use automation to enhance dynamic changes.
Mapping Out the Track
When you start arranging a track, break it down into basic song components.
Typically, songs include sections like the verse, chorus, and bridge.
The verse usually tells the story, while the chorus delivers the main hook of the song.
Meanwhile, bridges add variety and lead the listener back to familiar sections.
Arranging these parts into a cohesive flow is essential.
You might want a structure like verse-chorus-verse-chorus-bridge-chorus.
This common pattern helps maintain interest and delivers a sense of familiarity.
Consider how you can introduce variations in each section, perhaps by adding different instruments or altering the melody slightly to keep listeners engaged.
Dynamic Changes and Automation
Dynamic changes within a track add excitement and emotion.
Using automation allows you to alter volume, pan, and effects settings over time, giving your track a lively feel.
For instance, gradually raising the volume during a chorus can make it feel more powerful compared to a quieter verse.
Automation is not just limited to volume.
You can automate effects like reverb or delay to emphasize certain sections of your song.
For example, increasing reverb in a bridge might give it an ethereal quality, setting it apart from the rest of the track.
Efficient use of automation can transform a static song into a dynamic experience.
Mixing Techniques
When getting into mixing, you’ll work with equalization, compression, and stereo imaging to shape your sound.
These techniques help in creating a balanced, professional track with clarity and depth.
Equalization and Frequency Balance
Equalization (EQ) helps you adjust the balance between different frequency components.
It’s about enhancing or cutting specific frequencies to ensure your track sounds clear and balanced.
Start by identifying the frequency ranges for each instrument.
Boost the lows for bass instruments and the mids for vocals.
Use a parametric EQ for precise adjustments and a graphic EQ for broader changes.
Be mindful of “frequency masking,” where similar frequencies from different instruments clash.
This can muddy your mix.
Use EQ to carve out specific frequency spaces for each sound.
Subtle changes can have a big impact.
Cutting rather than boosting is often more effective for improving clarity.
Applying Compression and Effects
Compression helps manage dynamic range by controlling volume levels.
It makes quiet sounds louder and loud sounds quieter, ensuring a consistent volume output.
Set the threshold to determine which parts of the audio signal should be compressed.
Then, adjust the ratio to control the degree of compression applied.
Meanwhile, attack and release settings dictate how quickly the compressor responds to and recovers from a signal.
Audio effects like reverb and delay add ambiance and depth.
Use them sparingly to enhance the mix.
Too much can overwhelm your track.
Apply reverbs on vocals for space, and small delays can create depth without cluttering the mix.
Stereo Imaging and Panning
Stereo imaging creates a sense of space and width in your mix.
Panning involves placing sounds in the left, right, or center of the stereo field.
For a well-balanced mix, imagine the stereo field as a stage.
Panning allows you to place instruments as if they were on this stage.
Place centered elements like kick drums and bass guitars upfront to anchor the mix.
Then, spread other instruments across the stereo field for a fuller sound.
Experiment with automation to dynamically change panning positions throughout the track.
Consider the listener’s perspective as you pan.
For example, keep the drum set positioned as it would be viewed from an audience or a drummer’s point of view.
Mastering Fundamentals
Mastering is the final stage of production that enhances and refines your track, preparing it for release.
It involves balancing dynamics and achieving optimal loudness, making sure your music translates well across various playback systems.
The Final Polish
Mastering is all about adding the final polish to your mix.
It involves adjusting the dynamics, EQ, and stereo imaging to ensure everything sounds as good as possible.
You want your tracks to have a cohesive sound across the board.
This stage can fix small mix issues, so it helps to have a well-balanced mix to start with.
Using the right tools, such as EQ and compressors, will give your track the shine it needs.
The goal is to enhance the track without altering the artistic intent.
Using high-quality audio files, like a 24-bit WAV, ensures the best outcome.
Understanding Limiters and Loudness
Limiters are essential in mastering for controlling the dynamic range and preventing distortion.
They ensure your track reaches an optimal loudness level while keeping peaks in check.
Set properly, limiters can make your track loud and punchy without losing detail.
Loudness isn’t about maxing out levels; it’s about ensuring your track can compete with others in the same genre.
Terms like RMS and LUFS often come up, which measure loudness in different ways.
Using a limiter helps you hit the sweet spot where your track is loud enough but remains clear and dynamic.
Music Theory for Producers
Music theory serves as a foundation for creating compelling melodies and intricate chord progressions in your music.
Mastering these elements can significantly elevate your production skills and enable you to communicate more effectively with fellow musicians.
Developing Melodies and Chords
A strong melody is key to making your track memorable.
Start by experimenting with the 12 notes of the chromatic scale.
You can create distinct melodies by arranging these notes to form scales and modes.
Once you have a basic melody, consider supporting it with chords.
Chords add depth and texture to your music.
Begin by learning basic triads (three-note chords) and then experiment with more complex formations, like seventh chords.
As you practice, you can create a richer sound by using both major and minor chords, which shift the mood of your pieces.
Harmony and Progressions
Harmony involves combining different notes to support your melody.
It can be as simple as combining two notes or as complex as layering multiple voices.
To start, try harmonizing using intervals like thirds and fifths, which are popular for creating pleasing sounds.
Chord progressions are sequences that provide a framework for your track.
Understanding which chords naturally follow each other is crucial.
The I-IV-V progression is common in many genres and is an excellent place to start.
Play around with different progressions to see how they change the mood of your music.
As you become more comfortable, incorporate tension and release to make your tracks more engaging.
Music Production as a Career
Venturing into music production offers a dynamic career path that combines creativity with technical skill.
As a music producer, you will navigate the intricate music industry, from breaking into the scene to building relationships with artists and engineers.
Success in this field requires not just talent but also a knack for collaboration and networking.
Breaking into the Music Industry
Starting a career as a music producer involves more than just passion for sound.
To get a foothold in the industry, you often begin by honing your skills through courses or real-world experience.
Consider enrolling in online classes or attending workshops to enhance your knowledge about music theory, sound design, and editing.
Internships at recording studios can also offer valuable insights and hands-on practice.
A key step is building a portfolio showcasing your work.
This can include a range of projects you’ve produced, even if they’re personal or experimental tracks.
Sharing your work through platforms like SoundCloud or YouTube helps you reach potential clients and collaborators.
Keep pushing your comfort zone artistically, as versatility is highly valued in this field.
Collaboration and Networking
Connecting with artists, engineers, and other producers is essential.
Networking begins at local events or through online communities where like-minded individuals gather to share their work and experiences.
Engage in open discussions to learn from others and offer your own insights.
Social media platforms such as Instagram or Facebook can also be effective spaces to meet collaborators.
Successful music production often involves teamwork.
You might work with artists to bring their vision to life or rely on engineers to polish your sound.
Building a reputation for being reliable and easy to work with can lead to more opportunities.
Consider collaborating on small non-commercial projects to build rapport and credibility in the community.
Frequently Asked Questions
Starting your journey as a music producer involves understanding the essential equipment, software options, and effective approaches to developing your sound.
This section addresses common questions you might have as you step into the world of music production.
What equipment do I need to start producing music at home?
You’ll need a computer or laptop with sufficient processing power to run Digital Audio Workstations (DAWs), an audio interface, and a decent pair of headphones or studio monitors.
A MIDI controller can also be helpful but is not essential when starting out.
Can I start making music for free, and if so, what software should I use?
Yes, you can begin creating music without spending a dime.
Several DAWs offer free versions, such as GarageBand for Mac users or Audacity, which is available for both Mac and PC.
These programs provide basic features to get you started on your production journey.
For a total beginner, what are the first steps in learning music production?
Begin with experimenting using your chosen DAW.
Play around with different sounds, instruments, and effects.
Watching tutorial videos online is a great way to learn tips and tricks.
Gradually, work on creating simple tracks to build your skills and confidence.
What are some effective ways to develop a unique sound as a new music producer?
Focus on staying true to what you enjoy and experiment with various genres to find what resonates with you.
Analyzing and understanding the music you love can also help inform your unique sound.
Trust your instincts and be willing to experiment; uniqueness often comes from unexpected combinations.
How can I teach myself the basics of sound recording and production?
There are numerous online resources, including video tutorials and free courses, that can guide you.
Practice is crucial, so regularly dedicate time to experiment with your DAW.
Joining online communities can also be beneficial for tips, feedback, and collaboration opportunities.
What are some common pitfalls newbie producers should avoid?
Newbie producers should avoid focusing too much on gear.
It’s easy to believe that better equipment will make you a better producer, but skills matter more.
Also, try not to rush through projects.
Taking time to craft and polish your tracks will make a significant difference in your growth and output quality.