Embarking on the journey of music production can be an exciting endeavor, full of creativity and endless possibilities.
When you dive into the world of producing music, you’ll encounter a Digital Audio Workstation (DAW). A DAW is essential because it acts as the main hub for recording, arranging, editing, and mixing your music.
With options ranging from industry-standard software like Ableton Live and Logic Pro to free applications like GarageBand, there’s something available no matter your budget or experience level.
Creating music in a DAW allows you to manifest your ideas into tangible audio tracks.
You can break down a song into parts such as the intro, verses, and chorus, and then lay them down as separate tracks, giving you complete control over your own sound.
This digital platform not only transforms your computer into a powerful recording studio but also fuels your creativity by offering a wide array of virtual instruments and effects.
As you start producing music, you’ll quickly realize that being a music producer involves both technical skills and artistic vision.
You don’t need a massive studio to bring your musical ideas to life; all you need is the right DAW and the passion to explore your creativity.
Whether you’re recording your first track or refining your sound, learning to navigate your DAW efficiently will be a key part of your journey.
Choosing the Right DAW
When selecting a digital audio workstation (DAW), it’s crucial to consider both the features offered and whether you want a free or paid version.
Each DAW has unique strengths, which can significantly influence your music production process.
Understanding Different DAWs Features
DAWs like FL Studio, Ableton Live, and Pro Tools offer various features that cater to different production styles.
Ableton Live is renowned for its live performance capabilities and intuitive interface, making it a favorite among electronic music producers.
Meanwhile, FL Studio stands out for its easy-to-use interface and is especially popular for beat-making.
Pro Tools is often the go-to choice for professional studios due to its advanced recording and editing features.
When choosing a DAW, think about what features you need most.
Are you interested in a seamless workflow or perhaps powerful plugins? Make a list of what you want your DAW to accomplish.
This approach will help you match your production priorities to the right tool.
Free vs Paid Solutions
Free DAWs can be a fantastic starting point for beginners, offering basic functionalities that let you start making music without investing money upfront.
Options like GarageBand for macOS users provide a user-friendly experience perfect for those just starting out.
Paid DAWs, like the full version of FL Studio or Ableton Live, offer more comprehensive features, such as advanced automation, unlimited tracks, and professional audio effects.
While these can be pricey, they provide value through their expanded capabilities, flexibility, and support.
Consider your budget and how deeply you intend to explore music production before making a purchase decision.
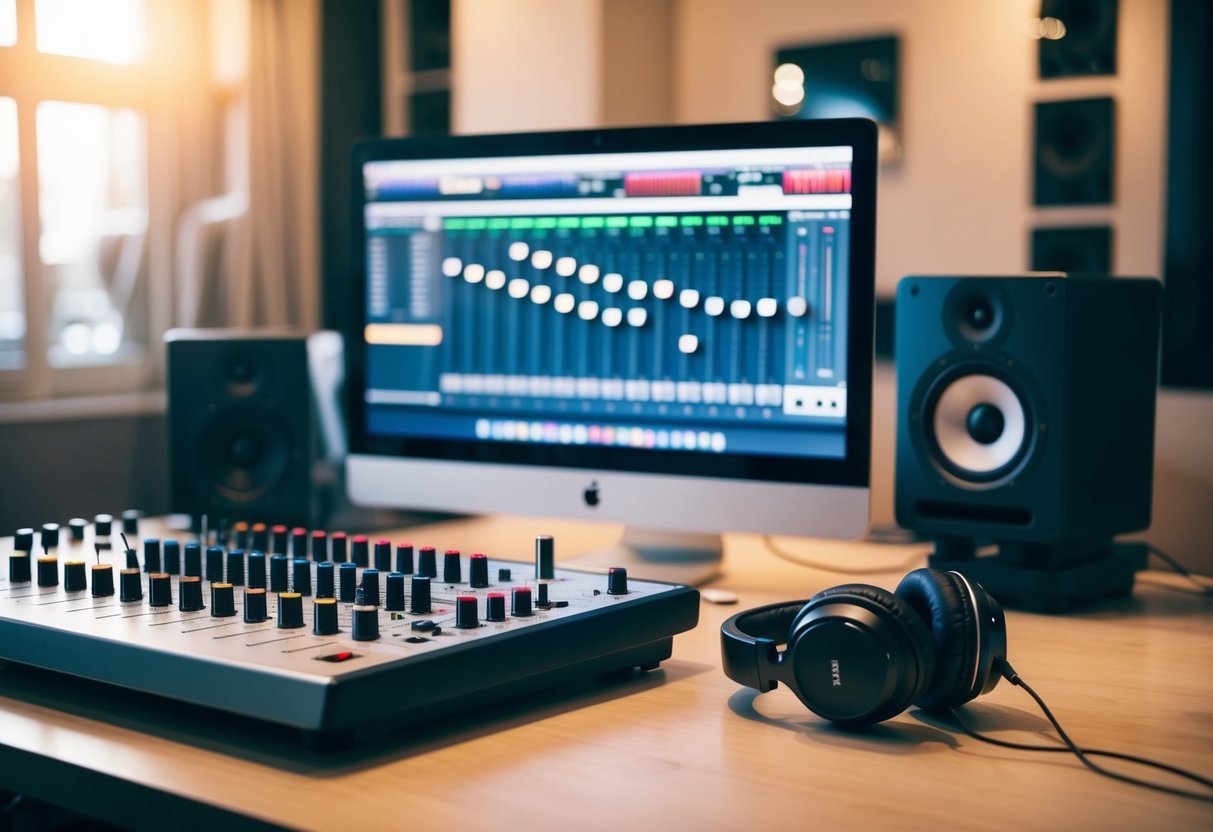
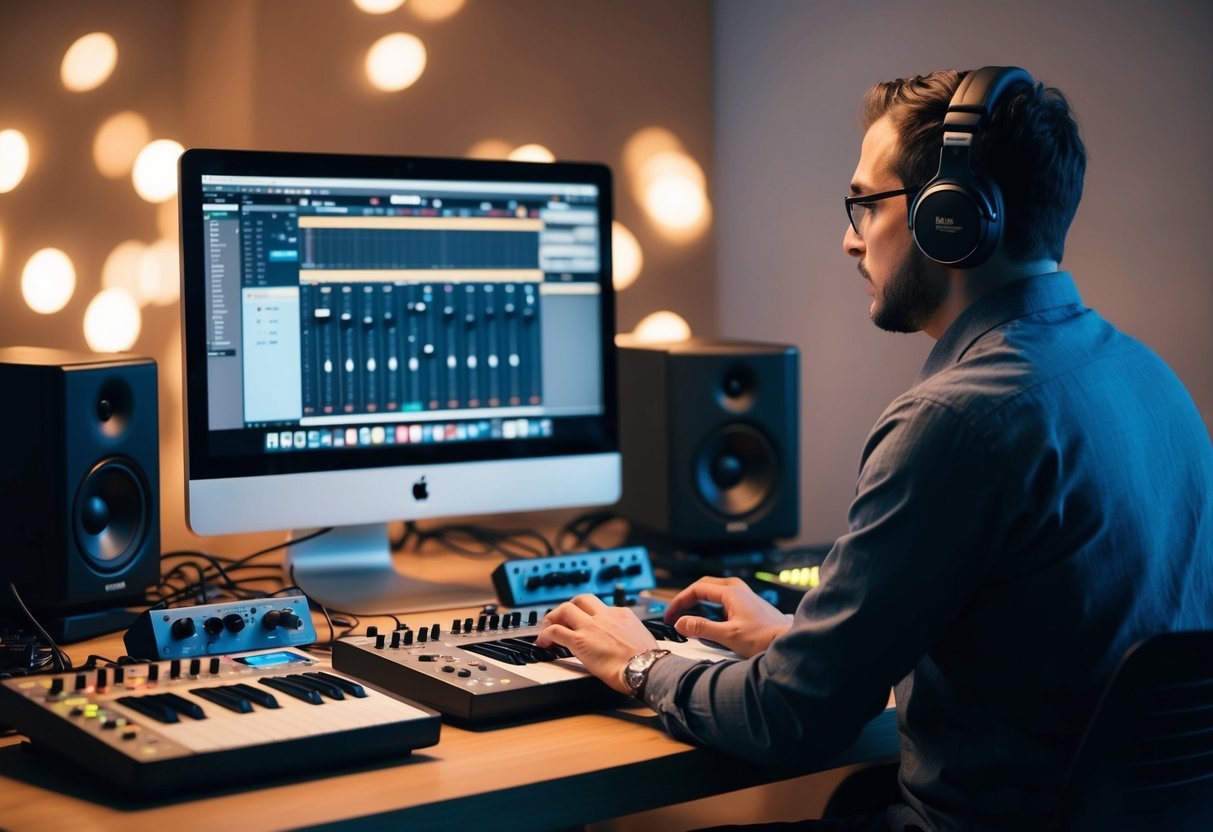
Setting Up Your Home Studio
Creating a home studio involves gathering the right gear and tailoring the space to enhance sound quality.
Ensuring you have the essential equipment and optimizing your room can significantly impact your production journey.
Acquiring the Essential Equipment
To kick-start your home studio, the computer is pivotal.
This will run your Digital Audio Workstation (DAW) software, which is the heart of music production.
You’ll need an audio interface to connect microphones and other instruments.
This device converts analog signals to digital ones.
Select an interface that supports multiple inputs if you plan to record multiple instruments simultaneously.
Microphones are another key component.
A good quality condenser microphone is often recommended for its sensitivity and clarity.
Headphones are crucial for monitoring details during mixing.
Look for closed-back models to prevent sound leakage.
Consider investing in studio monitors as well, since they offer a more accurate representation of sound compared to regular speakers.
Additionally, a MIDI controller can enhance your creative process by allowing you to play virtual instruments directly in your DAW.
Finally, don’t forget various cables, including USB cables, to connect all your gear.
Optimizing Your Space
The room you choose matters as it affects how sound travels.
Select a space free from echo and background noise.
Consider soundproofing materials like foam panels or thick curtains.
These can minimize unwanted reverberations and improve acoustics.
Setting up your gear so that your monitors form an equilateral triangle with your head at its point ensures optimal sound distribution.
Make sure your desk has enough space for your computer, interface, and other essential recording equipment.
Good cable management helps keep your space tidy and minimizes interference.
Lastly, personalizing your environment with inspirational decor or mood lighting can help foster creativity.
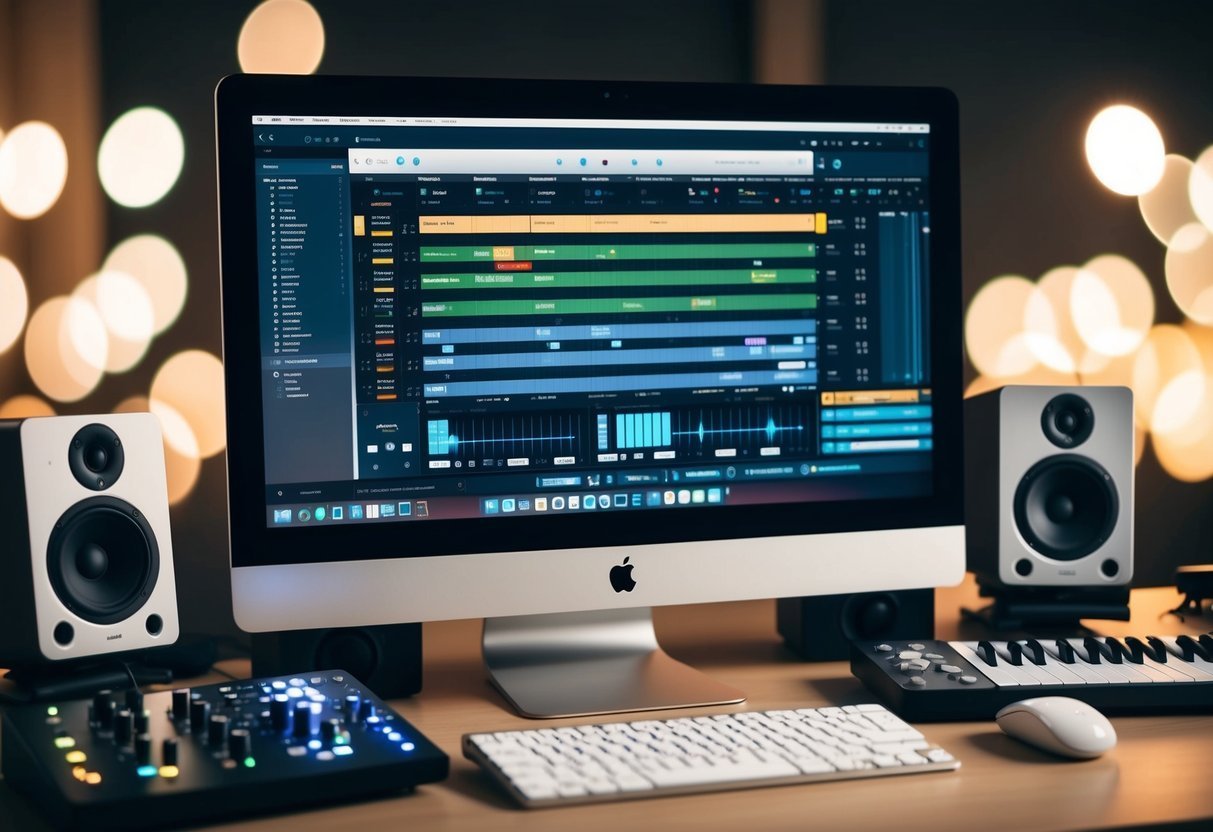
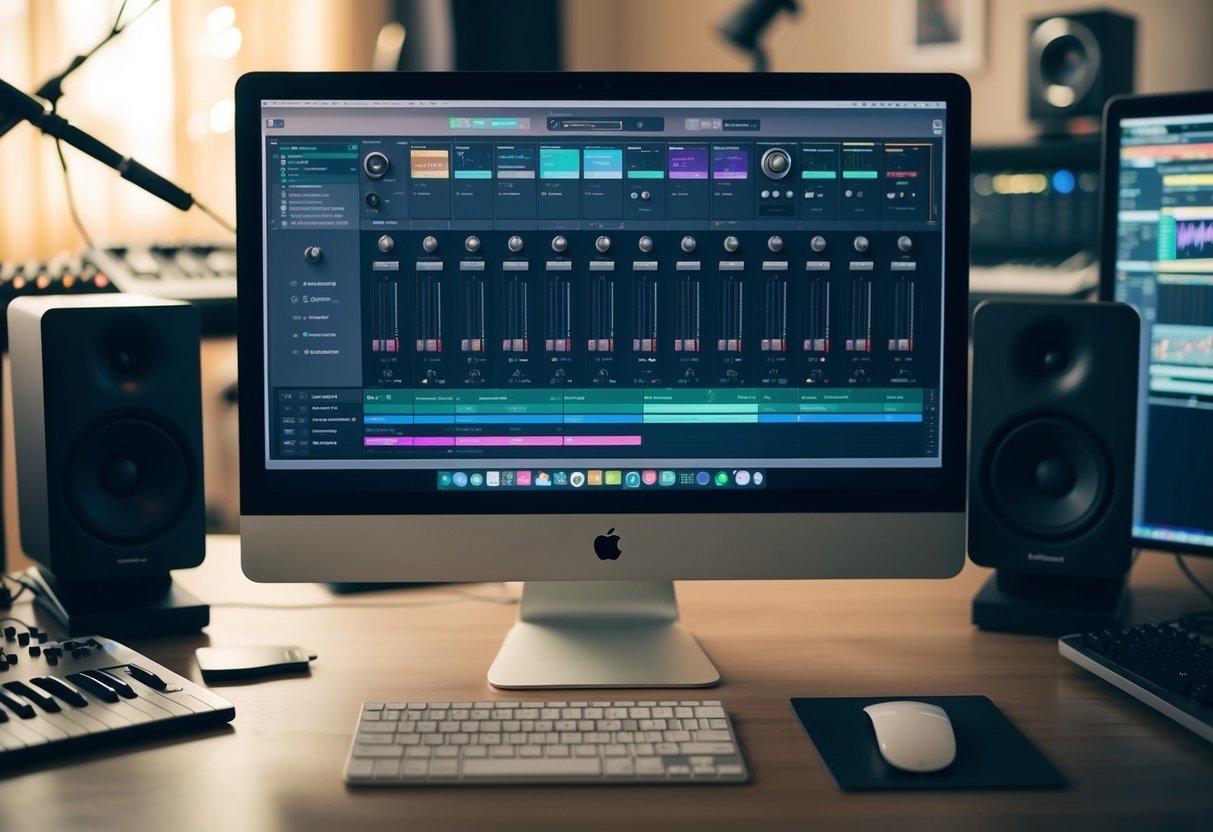
Navigating the Interface
Navigating a digital audio workstation (DAW) is life-saving for any budding music producer.
You’ll encounter different layouts and can customize your workspace to fit your workflow, whether you’re working with software instruments or arranging audio tracks.
Common DAW Layouts
DAWs typically feature an arrangement view and a mixer view.
In the arrangement view, you’ll organize audio tracks, loops, and samples.
This area often supports MIDI editing, where you can manipulate notes and control various software instruments.
The mixer view mimics a physical mixing board and allows you to control levels, add plugins, and manage the pan of each track.
It’s where you refine your sound and often provide options for embedding effects or adjusting dynamic levels.
Different DAWs, such as Ableton Live, Logic Pro, and FL Studio, have unique interfaces, but the fundamental elements remain consistent.
Familiarize yourself with these areas, and always check out shortcuts to navigate more efficiently.
Customization Tips for Workflow
Tailoring your DAW interface can significantly enhance your productivity.
Start by organizing your tracks into labeled folders.
This makes it easier to manage complex projects.
Consider color-coding your tracks to quickly differentiate audio, MIDI, and software instruments.
Create custom templates for frequently used plugins and track settings.
This saves time by reducing repetitive tasks.
Configure shortcut keys for your most common actions, like recording or exporting.
If you like using loops or samples, build playlists or collections to streamline your access.
A well-organized interface minimizes distractions, letting you focus on creativity.
Remember, it’s about making the digital workspace as intuitive as possible.
Trial and error will help you find the setup that best suits your personal workflow.
Recording Basics
Getting started with recording in a DAW involves setting up your equipment for audio capture and utilizing MIDI to enhance your production.
These steps are essential for any music project, enabling you to create and manipulate both live audio and virtual instrument tracks effectively.
Setting Up for Recording Audio
To capture high-quality audio in a DAW, start by selecting the right microphone. Condenser microphones are ideal for vocals and acoustic instruments due to their sensitivity and range.
On the other hand, dynamic microphones are better suited for louder sound sources such as guitars or drums.
Position your microphone correctly to ensure clear sound.
Use a pop filter to reduce plosives and consider acoustic treatment to minimize unwanted noise.
When setting up your recording interface, ensure it’s compatible with your DAW.
Connect your microphone to the interface and adjust levels to avoid clipping.
Always monitor your recordings through headphones to catch any issues early on.
Utilize the tracking feature in your DAW to organize different takes.
Refer to audio editing tools within the DAW to trim and compile the best takes seamlessly.
Experimenting with different microphone placements and small adjustments can make a big difference in the final product.
MIDI Recording and Editing
MIDI opens up a world of possibilities in music production.
To begin, connect a MIDI controller to your DAW.
This could be a keyboard, pad controller, or even a wind controller, depending on your preference and need.
Choose a virtual instrument from your DAW’s library.
These instruments allow you to explore sounds ranging from classic pianos to futuristic synths.
Once connected, start playing your MIDI controller to record notes directly to a track.
Editing MIDI data is straightforward and flexible.
Adjust note lengths, modify velocities, and fix timing using the DAW’s piano roll or editor.
You can also experiment with different MIDI effects, such as arpeggiators or humanizers, to enhance your composition.
Practice combining MIDI tracks with recorded audio for a richer sound.
With MIDI, the possibilities are as broad as your imagination, making it a staple tool in digital music production.
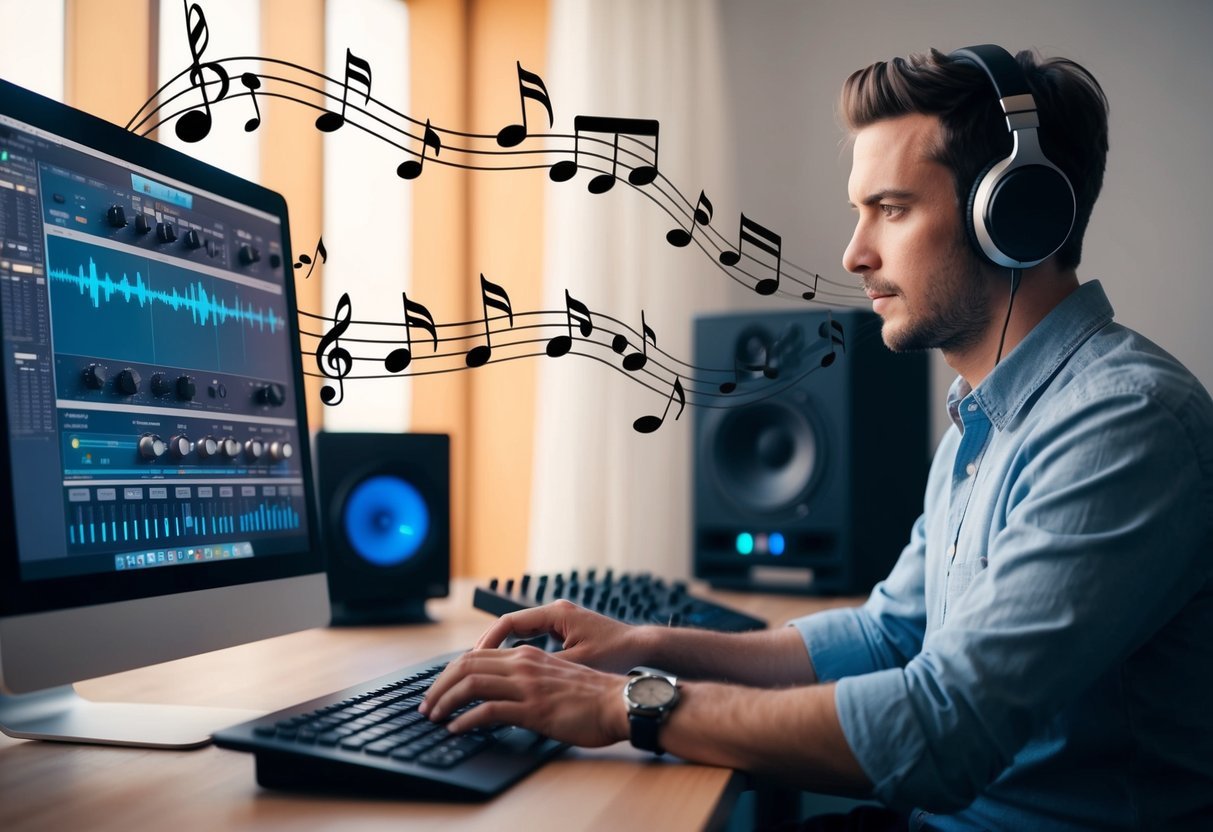
Producing Tracks
Creating music in a DAW involves many steps, each crucial for translating your ideas into finished tracks.
You’ll start by crafting a musical idea, which often serves as the foundation of your song before moving on to arranging your composition.
Crafting a Musical Idea
Your musical journey begins with developing a central idea.
This could be a melody or chord progression that captures the essence of your track.
Start by experimenting with different sounds and instruments in your DAW.
Try layering melodies using soft synths or creating intricate chord progressions that evoke emotion.
This early phase of music production is where inspiration meets experimentation, allowing you to shape the core of your track.
Collaborating with others can bring fresh insights into your musical ideas.
Consider sharing your progress with friends or fellow musicians to gain feedback and new perspectives.
Bringing in a co-producer can add layers and dimensions you might have missed.
Arranging Your Composition
Once you nail down the musical idea, arrange it into a comprehensive composition.
Organization is key here.
Break down your track into sections like verses, choruses, bridges, and more.
This helps provide your song with structure and flow.
Use the DAW’s timeline to track your progress and to play around with different arrangements.
This tool allows for moving, adding, or deleting parts as you fine-tune your composition.
Always keep your audience in mind and ensure that the arrangement guides the listener through your musical story.
As you progress, make sure to add elements that enhance the track’s emotional impact, whether that’s through dynamic changes, layering, or special sound effects.
Creativity and attention to detail will heighten the appeal of your music.
The Art of Mixing
In mixing music, you blend individual audio tracks into a cohesive, polished piece.
Focuses include balancing levels, precise panning, and using EQ plus dynamic processing for clarity.
Balancing Levels and Panning
Balancing levels is crucial for making each element in your track audible and clear.
Use your DAW’s level meters to ensure no track overwhelms others.
Fine-tune levels by ear, considering how each element contributes to the mix.
Panning helps distribute audio across the stereo field, creating a sense of space.
Kick drums and bass are typically centered, while guitars and synths often sit to the sides.
Properly balanced levels and panning result in a more immersive audio experience, giving depth to your mix.
Using EQ and Dynamic Processing
EQ allows you to enhance or cut specific frequencies, making room for each instrument.
This prevents muddiness and ensures clarity.
Low-cut filters are great for removing unnecessary bass from non-bass instruments.
Meanwhile, compression helps control the dynamic range, maintaining consistent volume levels.
It smoothens the sound and prevents instruments from peaking.
Reverb and delay add space and depth, but use them sparingly to maintain clarity.
Automation can be used for dynamic changes across your track, made easier in your DAW’s timeline.
Proper EQ and dynamic processing ensure that each track plays well with others, enhancing the overall sound design.
Mastering Your Track
Mastering is the art of polishing your final mix to ensure it translates well across all playback systems.
It involves applying techniques like limiting and adjusting the overall sound.
Proper mastering can make or break your audio production.
Understanding Mastering Fundamentals
Mastering transforms your mix into a cohesive final product.
It optimizes audio levels and ensures consistency across the project.
Limiting is key in mastering; it prevents distortion and peaks, making your track sound polished.
You’ll want to balance the frequency spectrum, ensuring that highs, mids, and lows are in harmony.
Use EQ to enhance or correct specific frequency ranges without affecting the integrity of your mix.
A good reference track helps maintain perspective.
Compare your work to a professionally mastered song in a similar genre.
This highlights differences and guides your adjustments to achieve industry standards.
Finalizing Audio for Distribution
Prepare your mix for distribution by normalizing volumes and applying gentle compression.
This ensures uniformity and prevents any awkward loudness discrepancies.
Confirm your tracks are in the correct file format for the intended platform.
For most, high-quality formats like WAV or AIFF are preferred.
Yet, streaming services may require specific encoding settings like MP3 or AAC.
Consistency is crucial, so keep an ear out for any unwanted noises that could detract from the experience.
Listening on different systems and environments pinpoints issues you might’ve missed.
Take your time to perfect this stage—your song’s success heavily depends on it.
Exploring Advanced Production Techniques
In the realm of sophisticated music production, exploring sound layering and creative audio effects allows you to enhance your project’s depth and character.
These techniques push the boundaries of traditional music making, encouraging you to experiment with synthesizers, virtual instruments, and plugins to craft a unique sonic experience.
Sound Layering Strategies
Sound layering is all about creating a rich texture in your tracks by stacking multiple sounds.
You can use synthesizers and virtual instruments to layer different tones, building a comprehensive sound palette that adds depth and complexity to your music.
Each layer should contribute uniquely, such as augmenting the bassline with sub-bass for warmth or using multiple percussion elements to create rhythmic interest.
Experiment with EQ and balance, ensuring that each sound finds its space without overwhelming others.
Balancing clarity with depth is key.
Don’t shy away from juxtaposing contrasting sounds, as they can create intriguing harmonies and enhance the overall auditory experience.
Creative Use of Audio Effects
Audio effects are essential for adding character and life to your tracks.
Creative use of effects like reverb, delay, and distortion can transform a simple loop into something extraordinary.
Utilize plugins to tweak these effects precisely, manipulating how they interact with your base sounds.
For instance, a subtle delay can add space, while distortion can bring grit and intensity.
Explore automation for dynamic changes over time, such as fading in an echo effect during a quiet section.
This approach not only adds interest but also guides the listener’s experience through the track’s progression.
Collaboration and Sharing

Collaborating in music production enhances creativity and allows diverse musical visions to come together.
Sharing projects involves using digital tools and platforms which make collaboration efficient and accessible.
Working with Other Producers
Teaming up with other producers can elevate your music projects significantly.
If you’re both using the same Digital Audio Workstation (DAW), it’s often easy to bundle all project files, including samples and DAW-specific data, into a single compressed folder for sharing.
This way, your collaborator can access and contribute to the project seamlessly.
Shared vision and clear communication are crucial here.
You want to ensure both parties are on the same page regarding song structure and overall theme.
This mutual understanding can lead to dynamic recordings and rich soundscapes that reflect combined creative input.
Platforms for Music Collaboration
Several platforms are tailored for music collaboration. Soundtrap is a popular choice, offering an online DAW that simplifies recording music and collaboration in a shared virtual space.
It allows you to connect and work together in real-time, making it easy to build on each other’s ideas.
Another option is Splice, where you can upload music projects and share work directly with others.
These platforms not only facilitate collaboration but also provide a way to track changes and improvements.
By leveraging these digital tools, you can focus more on creativity and less on logistical challenges.
Enhancing Productivity and Creativity
Balancing creativity with productivity in music production requires the right tools and techniques.
Focusing on efficient workflows and staying inspired can help you craft unique pieces while maintaining a smooth production process.
Developing Efficient Workflows
Creating an efficient workflow starts with mastering your Digital Audio Workstation (DAW).
Familiarize yourself with shortcuts and features, whether you’re using Pro Tools, Ableton Live, or Soundtrap for education.
This not only saves time but also allows your creative ideas to flow seamlessly.
Implementing templates for recurring tasks can significantly speed up your process.
For instance, if your music production involves a standard set of tracks and effects, setting up a template in your DAW can give you a head start each time you compose a new project.
This minimizes repetitive setups and lets you focus on writing music and experimenting with production techniques.
Automation is another key element.
Automating tasks like level adjustments and panning within your tracks can free up time for more creative aspects, such as refining lyrics or exploring innovative sounds.
Maintaining Inspiration and Innovation
Maintaining a fresh perspective in your music production involves tapping into various sources of inspiration.
Exploring different genres or experimenting with unconventional styles can reignite your creativity.
Consider diving into music theory to deepen your knowledge and find new ways to express your ideas.
Engaging in collaborations can bring diverse viewpoints into your songwriting.
This collaborative spirit can introduce novel ideas and insights, enhancing your creative process.
Lastly, regular breaks and a clear mind play a crucial role.
Sometimes, stepping away from a project can spark new ideas upon return.
It keeps your creativity in check and prevents burnout, ensuring that your passion for music stays alive.
Frequently Asked Questions
When diving into music production with a DAW, many common questions pop up.
From starting as a newbie to choosing the right tools, this guide covers some of the essential aspects to help you kick-start your journey into music creation.
How can I start making music as a beginner using a DAW?
To get started, choose a user-friendly DAW that suits your style.
Explore free versions like Cakewalk by BandLab.
Begin by experimenting with basic features and work on short projects to grasp the workflow quickly.
Don’t hesitate to watch tutorials and participate in community forums.
Which equipment is essential for a home music production setup?
You’ll need a computer with decent processing power, a digital audio workstation (DAW) software, a good pair of headphones or studio monitors, and an audio interface.
Additionally, a MIDI controller and a quality microphone can enhance your capabilities, though they aren’t always necessary right away.
What are the basic steps to producing a song in a DAW?
Start by setting up your project in the DAW and laying down a basic track.
Record or program instruments, such as drums and bass, followed by additional melodies and harmonies.
Then, arrange the parts to structure your song and proceed to mix the elements, adjusting levels and effects for a polished sound.
How do I choose the best DAW for my music production needs?
Consider your budget, the features you seek, and your operating system compatibility.
PreSonus Studio One is great for beginners due to its ease of use, while professional users may prefer DAWs like Ableton Live or Logic Pro for their advanced capabilities.
Test out demos of software to see which fits your workflow.
Can I teach myself music production at home, and if yes, how?
Absolutely! Plenty of online resources, free tutorials, and courses are available.
Start by setting up your DAW and exploring its functions.
Consistently practice and challenge yourself with small projects.
Engage with online communities to exchange feedback and ideas, enhancing your learning process.
What are some helpful resources for learning music production as a beginner?
Online platforms like YouTube offer a wealth of tutorials.
Websites dedicated to music production, such as Sound on Sound and Producer Hive, provide articles and detailed guides.
Consider enrolling in online courses on platforms like Coursera or Udemy, which offer structured learning paths in music production.