Getting started in music production can feel like diving into a world of endless options and gear.
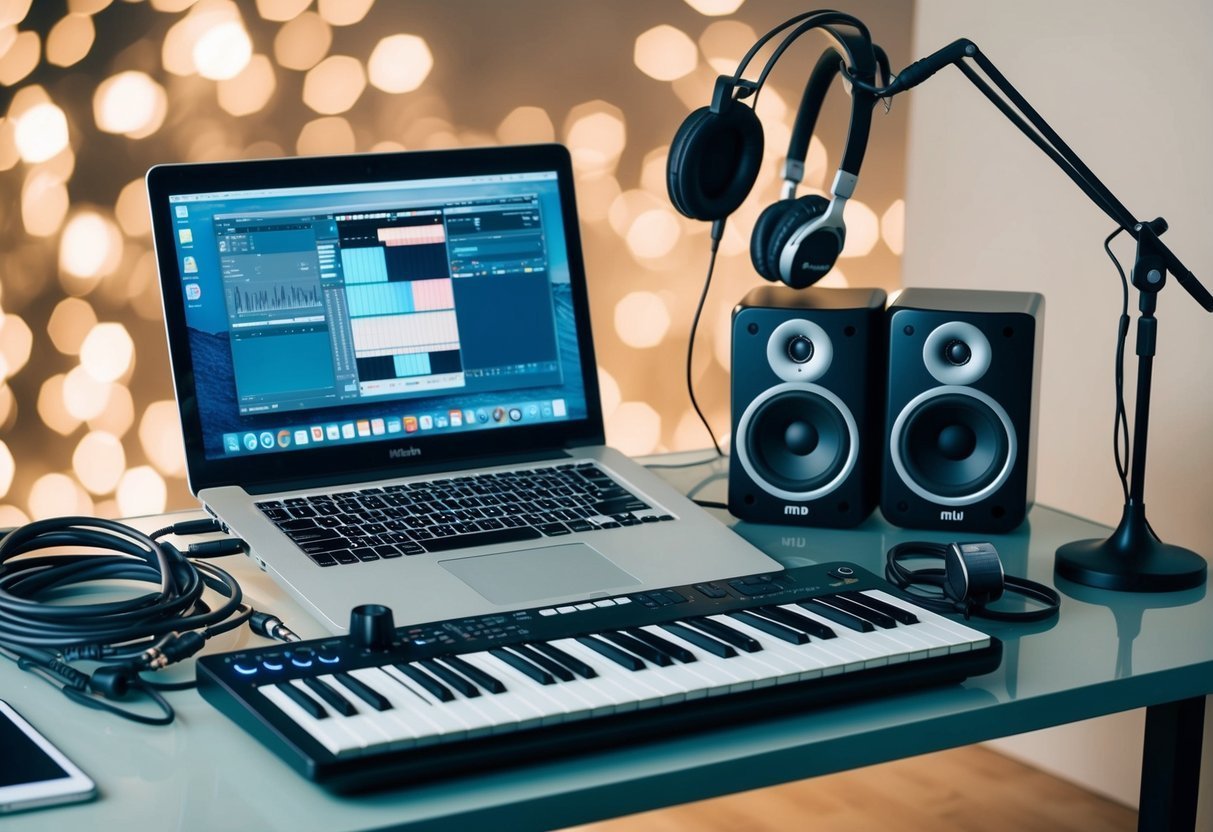
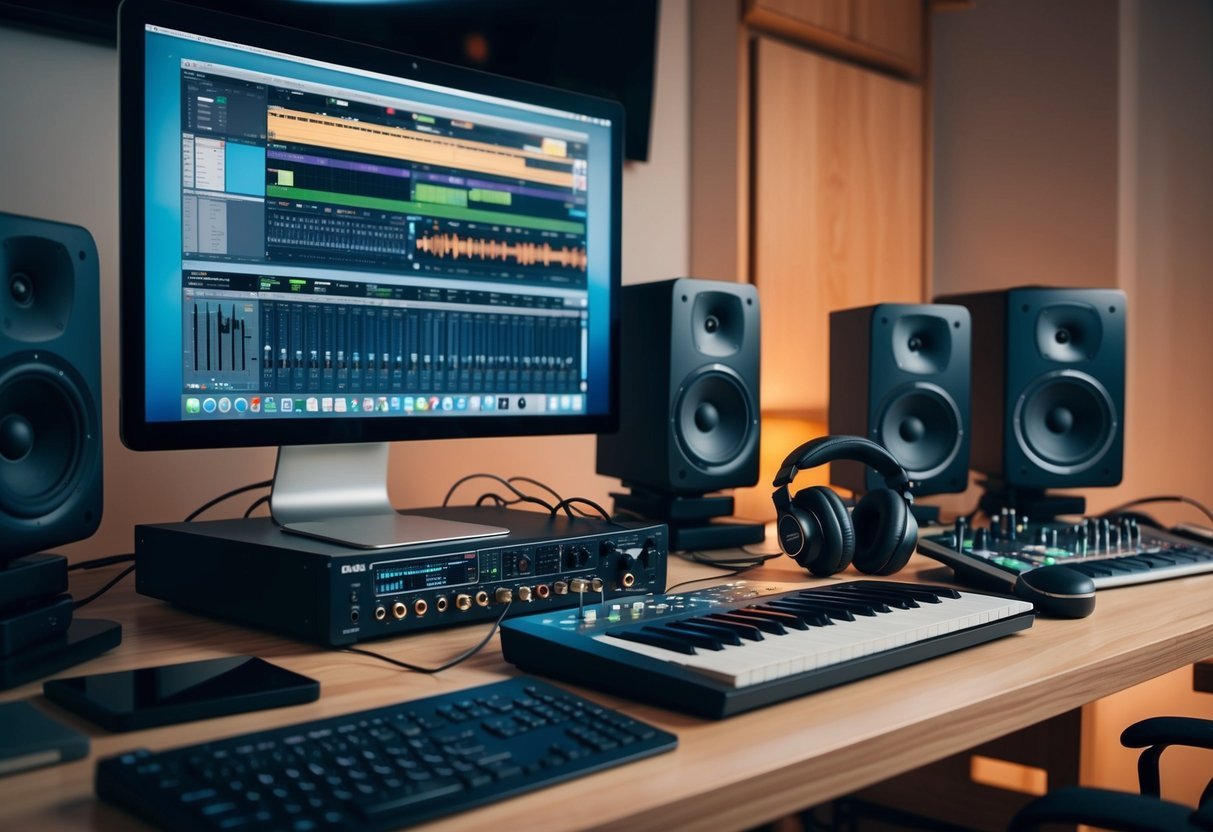
Some equipment is essential to kickstart your journey. You’ll need a reliable computer, a Digital Audio Workstation (DAW), and quality headphones—the foundational trio that sets you up for success.
Your computer acts as the central hub, powering your DAW and handling your software demands.
A DAW is like the canvas for your creative ideas, allowing you to record, edit, and create your tracks.
Good headphones are crucial for mixing and mastering, providing clarity and detail that speakers might not.
Once you’ve got the basics down, the world of music production opens up with more gear options like studio monitors, audio interfaces, and possibly even microphones.
These tools can significantly enhance your recording and editing capabilities, letting you explore and refine your unique sound.
With the right setup, you can transform your musical ideas into reality.
Setting Up Your Workspace
In creating a functional music production studio, selecting the right computer and incorporating acoustic treatment are crucial.
These elements ensure a streamlined workflow and optimal sound quality.
Choosing the Right Computer
When considering a computer for your music production setup, focus on processing power and storage capacity. Laptops and desktops are both viable options.
However, a strong processor, like the Intel i7 or Apple’s M-series, can handle demanding music production software efficiently.
For storage, consider a solid-state drive (SSD) for quicker data access.
An adequate RAM size, aiming for a minimum of 16GB, ensures smoother multitasking, allowing you to run multiple plugins and applications without lag.
Portability and screen size are additional factors to weigh, especially if you need mobility in your workspace. Assess your specific needs to identify the computer that best aligns with your setup.
The Role of Acoustic Treatment
Acoustic treatment significantly enhances the sound quality within your music production studio by minimizing reflections and absorbing unwanted noise.
Start by evaluating your room’s shape and size, which influences how sound waves behave. Bass traps, diffusers, and foam panels can be strategically placed to control sound reflections.
Focus on corners and reflective surfaces like walls and ceilings.
Implementing a carpet or rug on the floor and using curtains can also help in reducing sound bouncing.
These adjustments ensure that what you hear is true to the actual sound, aiding in precise mixing and recording.
Prioritize acoustic treatment in your planning to create an effective and immersive music environment.
Digital Audio Workstations (DAWs)
When diving into music production, choosing the right Digital Audio Workstation (DAW) is key.
You need software that suits your style and needs, offering features like automation, virtual instruments, and easy editing.
Understanding the Software
Digital Audio Workstations are your main tool in music production.
These software programs let you record, edit, and produce audio tracks.
Most DAWs come with features such as multitrack recording, automation, and plugin support to keep your creative flow smooth and efficient.
When picking a DAW, consider its compatibility with your operating system and hardware.
Some DAWs cater specifically to beginners with intuitive interfaces, while others offer advanced features, ideal for more seasoned producers. FL Studio and GarageBand are particularly user-friendly, making them great starting points.
Popular DAWs Explored
Let’s talk about a few popular DAWs that many music producers rave about. Ableton Live is favored for its powerful performance capabilities and innovative session view, making it excellent for live performances.
Logic Pro X is known for its user-friendly interface and extensive virtual instruments, ideal for creating professional-quality tracks without steep learning curves.
Lastly, FL Studio boasts a comprehensive set of tools and a straightforward interface, making it perfect for beginners keen on creating electronic music.
Each DAW often includes options to expand with plugins, helping you tailor the software to your stylistic needs.
Audio Interfaces
Audio interfaces are vital in elevating the sound quality of your recordings.
These devices effectively connect your computer to audio gear, enhancing the overall music production experience.
Function and Importance
Audio interfaces play a key role in recording by converting analog signals from instruments and microphones into digital signals for your computer.
This conversion process is crucial for maintaining high sound quality.
An interface usually offers multiple inputs and outputs, allowing you to connect different equipment like mics, instruments, and monitors.
Choosing the right audio interface is important.
Look for one with good preamps, such as the Focusrite Scarlett, to ensure clear, professional sound.
Features like USB connectivity and portability are essential if you plan to record on the go.
Reliable audio interfaces can significantly improve the clarity and richness of your music projects.
Microphones 101
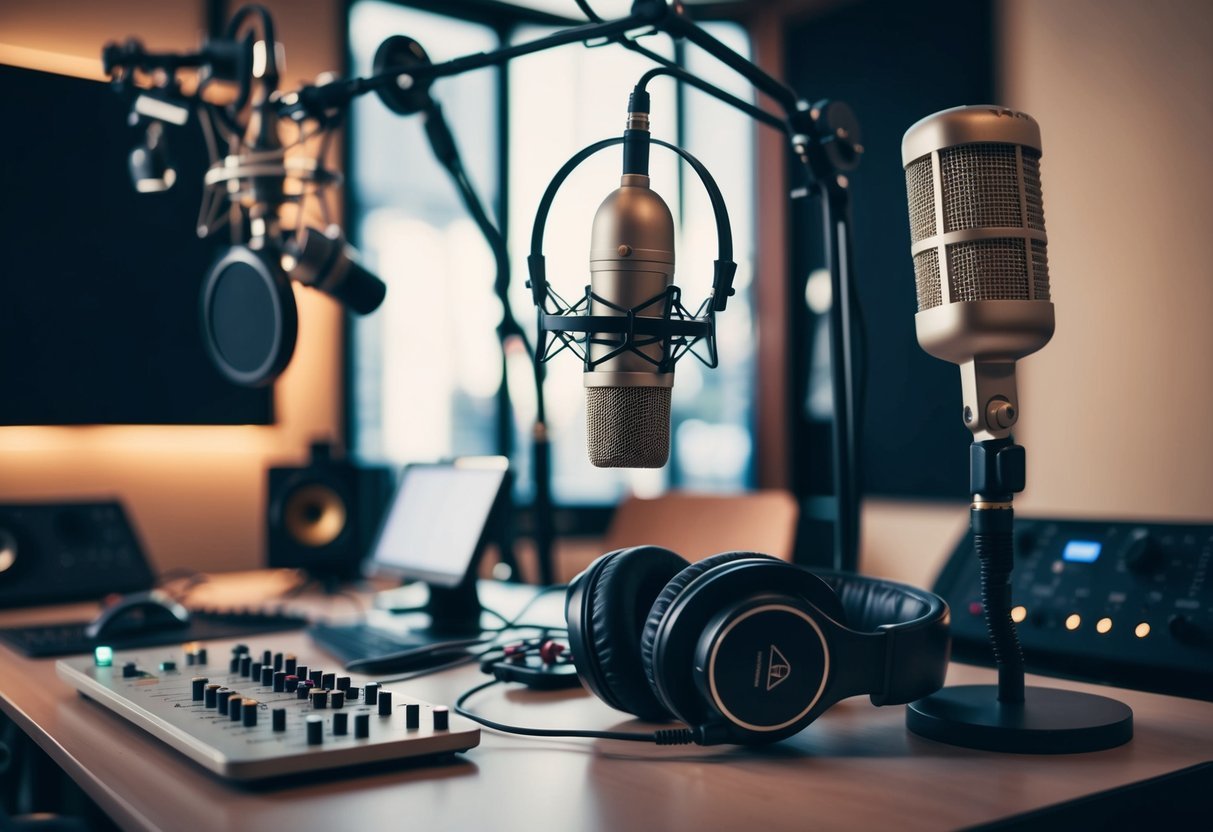
Choosing the right microphone is essential in shaping the sound of your recordings.
Understanding the differences between microphones and mastering basic recording techniques will help you capture high-quality audio.
Dynamic vs Condenser Microphones
When you begin exploring microphones, you’ll usually encounter two primary types: dynamic and condenser.
Dynamic microphones are typically durable and straightforward, making them ideal for live performances or capturing loud sound sources.
They have a simple design and often don’t require external power.
These microphones are perfect if you need a hardy option that can withstand various recording situations.
Condenser microphones are more sensitive, capturing detailed audio, especially at higher frequencies.
They’re popular in studios for vocals and acoustic instruments.
Keep in mind that condensers usually require phantom power from an audio interface or mixer.
Understanding these distinctions can help you make the best choice for your recording needs.
Mic Techniques for Recording
Mastering recording techniques is as crucial as picking the right microphone.
Start with mic positioning.
Placing the mic off-axis a small amount can reduce popping noises from plosives.
Using a pop filter is another essential technique, especially when recording vocals.
Pop filters intercept burst of air from vocal plosives, ensuring a cleaner recording.
Another tip is to maintain consistent distance from the mic to avoid unwanted volume fluctuations.
Experiment with various techniques to find what works best for your project.
Understanding how to position and use your mic will significantly impact the clarity and quality of your recordings.
Monitoring Your Sound

To ensure your music sounds great on any system, it’s crucial to use the right monitoring equipment.
This includes understanding the benefits and uses of studio monitors and choosing the appropriate headphones for different production needs.
Studio Monitors Explained
Studio monitors play a key role in giving you an accurate representation of your mix.
Unlike regular speakers, these are designed to deliver a flat, uncolored sound, helping you catch mistakes that might not be evident through other systems.
Invest in a pair of nearfield studio monitors.
They are ideal for small spaces and provide a close listening experience.
If your room has acoustic treatment, that’s even better, as it enhances sound accuracy.
Look for monitors with good frequency response and consider the size based on your room.
A 5 to 8-inch woofer is commonly preferred for most studio setups.
Remember, positioning your monitors correctly can have a significant impact.
Keep them at ear level and form an equilateral triangle with your listening position to ensure the most accurate sound.
Headphones for Music Production
Headphones are essential for checking mixes and working in environments where loudspeakers aren’t ideal.
There are two main types: open-back and closed-back headphones.
Open-back headphones provide a more natural sound, making them great for mixing.
They allow air to pass through the ear cups, reducing pressure build-up.
This design provides an airy soundstage, ideal for hearing the fine details of your mix.
On the flip side, closed-back headphones are excellent for recording.
They prevent sound leakage, ensuring that your microphone doesn’t pick up playback sound.
This design often offers better bass response, which can be useful during beat-making or when isolating specific tracks during recording sessions.
Consider having both types to cover all your monitoring needs effectively.
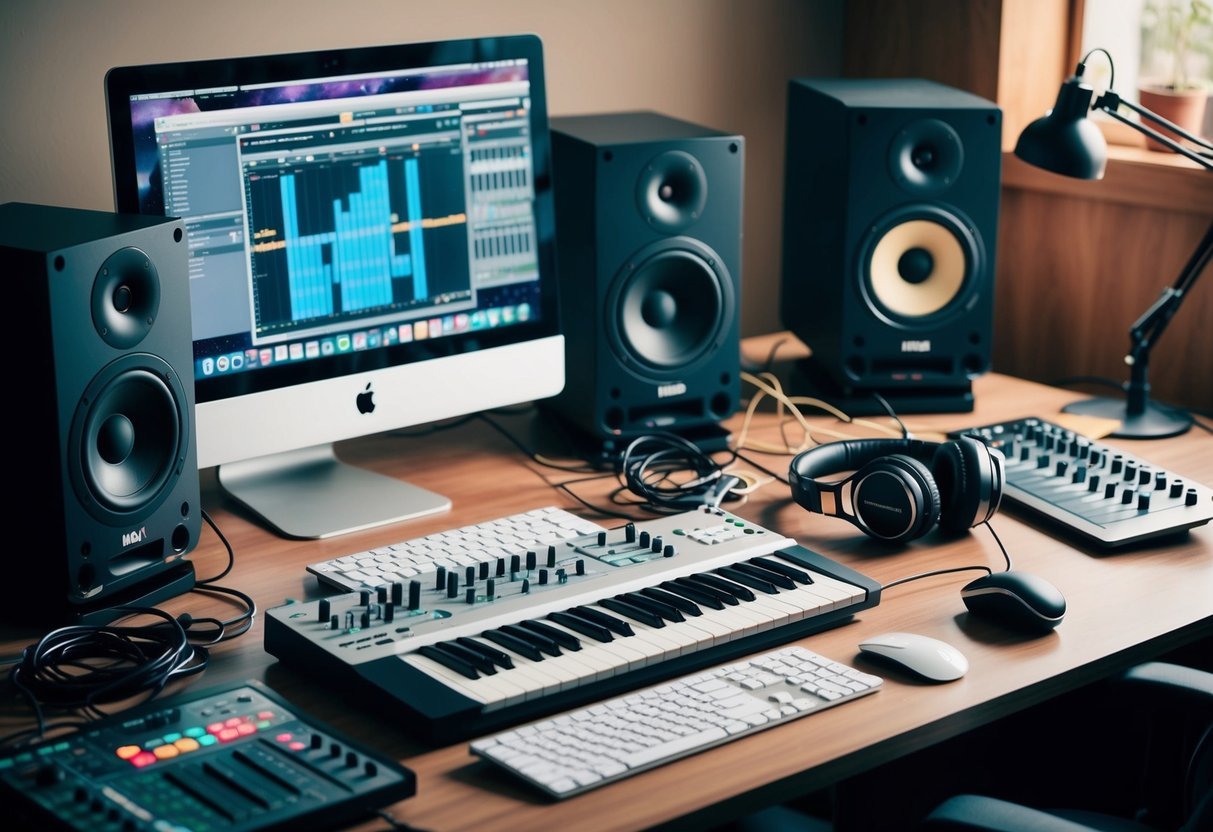
MIDI Controllers and Keyboards
MIDI controllers and keyboards are indispensable tools for music production, allowing you to interact with virtual instruments and enhance your composition capabilities.
Choosing the right one for your setup can greatly influence your creative process.
Integrating MIDI into Your Workflow
When it comes to integrating MIDI devices, think about your music production goals.
A MIDI keyboard like the Akai MPK Mini MK3 offers portability and essential features like percussion pads and pitch-control thumbsticks.
These devices connect to your computer and DAW, enabling you to play and control virtual instruments.
Using a MIDI controller helps shape your unique sound and refine your composition by testing out different melodies and harmonies in real-time.
Experiment with various controller features like knobs and faders to manipulate sound parameters.
This hands-on approach can significantly improve your music-making experience, allowing for intuitive adjustments.
The Art of Mixing

Mixing is where your song starts to come alive, transforming raw tracks into a cohesive masterpiece.
Focusing on EQ, compression, reverb, and delay is essential for achieving a polished and professional sound.
Balancing Tracks with EQ and Compression
Understanding EQ and compression can dramatically boost your mixing skills. EQ, or equalization, is like sculpting sound.
You can adjust frequencies to make each instrument stand out or blend better with others.
Boosting high frequencies can add shine to vocals, while cutting lower frequencies might remove muddiness.
Compression helps control the dynamics of a track.
It reduces the volume of loud sounds while raising the quiet parts.
This process creates a smoother and more balanced audio experience.
Consider using a threshold setting to determine when compression kicks in, and play around with attack and release times for tailored results.
Using Reverb and Delay to Create Space
Reverb and delay are vital tools for crafting a sense of space. Reverb simulates the effects of sound in different environments, from a small room to a vast hall.
This effect can make instruments feel more natural, as if they exist in a real space.
Applying subtle reverb to vocals or instruments can add depth and warmth.
Delay adds echoes to your track.
You can control the time between repeats and how often they occur, which can create interesting effects or emphasize particular elements.
Use delay sparingly to avoid cluttering the mix and give specific sections a sense of motion or depth without overwhelming the listener.
Crafting the Perfect Beat
Creating the perfect beat involves a keen sense of rhythm and the right equipment.
Drum machines and samplers are crucial tools that help you design unique sounds and patterns that drive the energy of your music.
Drum Machines and Samplers
Drum machines are brilliant for laying down the foundation of your beat.
They offer a wide variety of pre-programmed rhythm patterns that you can tweak to your liking.
Whether you’re aiming for a classic boom-bap or an electronic vibe, drum machines give you the flexibility to switch it up.
On the other hand, samplers allow you to work with snippets of sounds—think chopped vocals or instrumental loops. They turn ordinary sounds into unique musical elements. You can load different samples and manipulate them to fit your track seamlessly.
By adjusting pitch, tempo, and effects, samplers enable infinite creative possibilities.
Composition and Songwriting
Effective music composition involves creating melodies and harmonies that resonate with both you and your audience.
Equally important is arranging your song in a way that makes it engaging from start to finish.
Developing Melody and Harmony
Crafting a melody is where creativity and technique intersect.
It’s the aspect of songwriting that listeners often hum along to.
Start by experimenting with different scales and tones, making sure the melody complements the style you’re aiming for.
You can also record your melody on a basic instrument or a Digital Audio Workstation (DAW).
This can help you visualize and tweak it as necessary.
Harmony enhances your melody, providing depth and richness to your song.
Align the harmony with your melody using simple chords initially.
Try layering harmonies to involve multiple instruments like keyboards, guitars, or synthesizers for a fuller sound.
The goal is to achieve a balance that maintains the focus on your melody while adding emotional depth.
Song Structure and Arrangement
Understanding song structure is vital for creating a compelling track.
Common structures include verse-chorus form, where the verse tells the story, and the chorus captures the emotional high point.
It’s essential to know how to arrange these sections for a cohesive song flow.
Consider incorporating a bridge to add contrast and break the monotony.
Use your DAW to sketch out each segment and experiment with different arrangements until you find one that maximizes engagement.
Arranging also involves decisions about instrumentation, dynamics, and layering, helping your song evolve naturally and hold the listener’s attention.
Mastering the Final Mix
Mastering is the final stage in music production, enhancing sound quality and ensuring your audio tracks are polished and consistent across all formats.
It’s crucial for giving your music a professional touch.
The Mastering Process
In mastering, you start by importing your final mix into a Digital Audio Workstation (DAW).
Here, you work with tools like EQs, compressors, and limiters to adjust the track’s sound quality.
EQ is used to balance frequencies, ensuring no range overshadows another.
Meanwhile, compression helps even out the dynamics, so your track maintains a steady volume throughout.
Limiting is essential for maximizing loudness without causing distortion.
This phase also includes checking the track across different playback systems, ensuring it sounds good on everything from studio monitors to earbuds.
Final touches might involve adding metadata like track names and artist info.
This stage is where you make your mix ready for distribution, maintaining consistent audio quality across all platforms.
Mastering isn’t just technical—it’s an art that can elevate your music to a professional standard.
Continuing Education

Continuing education in music production can take your skills to the next level.
New techniques and approaches are always emerging, offering opportunities to refine your music theory, sound design, recording techniques, and more.
Staying Updated with New Techniques
Keeping up with new techniques is essential for growth in music production.
You should explore online courses and tutorials, which can teach you the latest in recording techniques and sound design.
Podcasts and webinars are also excellent resources for learning.
You can hear directly from industry experts who share tips and insights into their creative process.
Additionally, joining music production forums or communities helps you connect with others, learn about new trends, and discuss how music theory is evolving.
Trying out new tools and software updates allows for experimentation, further broadening your capabilities.
Adopting this habit of continuous learning and exploration ensures that your music production skills remain sharp and relevant.
Frequently Asked Questions

Starting with music production can feel overwhelming, but with the right gear and some guidance, you’ll be creating beats in no time.
Here’s a rundown of common questions you might have when setting up your home studio.
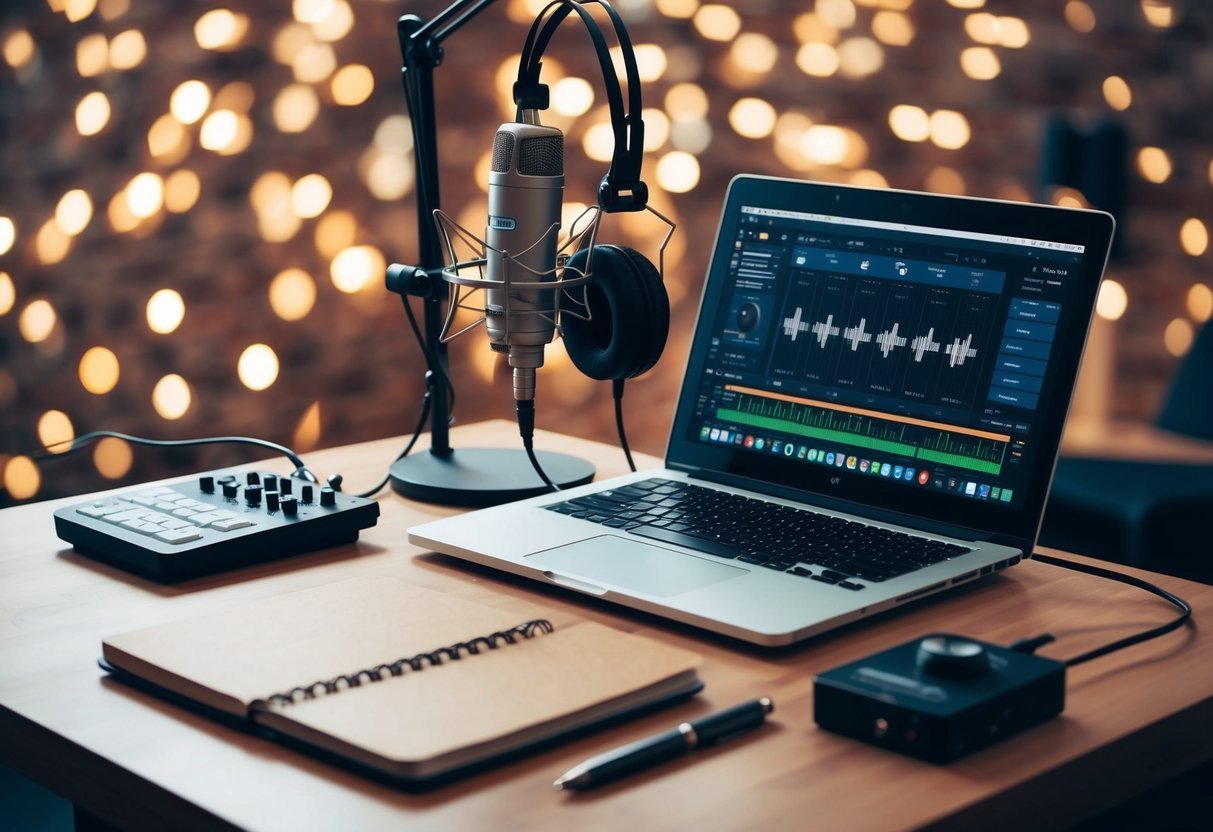
What gear do I need for a basic home recording studio setup?
You’ll want a computer or laptop with strong processing power, a digital audio workstation (DAW) for making music, and a MIDI controller to play sounds.
Headphones or studio monitors can help with sound clarity, and an audio interface connects your instruments to your computer.
Can I start producing music on a budget and what would that involve?
Yes, starting on a budget is possible.
Begin with a computer you already have, use free or affordable DAW software, and get a basic MIDI controller.
Online tutorials and free plugins can help enhance your production without extra costs.
Look for sales or discounts on essential gear.
What equipment is essential for a novice music producer to invest in?
Invest in a reliable computer, a good DAW, and quality headphones.
Consider a basic keyboard or MIDI controller, as well.
These are foundational tools for learning and improving your skills.
Upgrade your gear as you become more experienced and understand your specific needs better.
How do you choose the right equipment when you’re new to making beats?
Focus on quality and versatility.
Research popular DAWs like Ableton, FL Studio, or Logic Pro.
Try software demos to see what feels intuitive.
Look for MIDI controllers with good reviews from other beginners and consider the type of music you want to create.
What’s a good first purchase for a newbie building a DIY music production space?
A DAW is an excellent first purchase.
It’s the software where you’ll create and edit music.
Pair this with affordable, high-quality headphones.
These two pieces of equipment allow you to start producing music with minimal investment in physical space or gear.
Are there any all-in-one production bundles suitable for beginners?
Many brands offer beginner bundles that include a DAW, audio interface, MIDI controller, and headphones.
Look for reputable brands and read reviews to ensure the quality of the components.
These bundles simplify your decision-making process and can often save you money compared to buying items individually.